


Hey there! Welcome to my Drone Tips Series, where I provide you with individual ways to improve everything about operating your drone—from flying it to capturing better photos and videos, and even enhancing your drone business. Everything we cover in this video consists of tips I implement in my everyday work, whether I’m flying for clients or capturing images to share on social media. These are short topics that don’t really deserve their own in-depth YouTube videos because they’re quick and easy to explain, yet they’re still important. That’s why this is the first episode in a series of quick drone tips. If you’re watching this video and want more tips afterward, I’m going to leave a link in the description to my playlist so you can binge-watch all of them and implement these tips into your own workflow. This will help you take better photos and videos and operate the drone you’re flying more effectively.

Drone Tip 1: Adjust Gain and Expo Settings
Now, I figured there was no better topic to kick off this series with than the Gain and Expo settings. This is my first tip to share with you, and it’s probably one of the most important things I could tell someone flying a drone: adjust the settings within the Gain and Expo section. It really does affect how the drone flies. If you think it’s too fast or too slow, you can go in there and tweak every parameter to change how the drone yaws, moves, and how the gimbal pitches up and down. You can completely alter the feel of your drone to make it smoother and more cinematic or faster and more responsive.
This tip teeters on the edge of being something quick I can tell you to do—go change your Gain and Expo settings—but it also requires a little more in-depth explanation due to all the different settings in that section. I’ve actually made a full video on my Gain and Expo settings, where I walk through what all the options mean. I’ll leave that link in the top corner and in the description. For this first tip, I urge you to adjust those Gain and Expo settings. I couldn’t think of a better way to start this series than with this key advice: change the way your drone flies.

Drone Tip 2: Set Signal Lost Action Properly
This next tip is all about flight safety, and I think it’s something often overlooked by people flying for fun or work. It comes down to what happens when the connection between your drone and controller is lost. So, my second tip is to make sure your Signal Lost Action is set properly before every flight.
To give you an idea of where this is in the settings—since I think a lot of people overlook it—open the live view in the Fly application, press the three dots in the top right corner, and under the Safety section (the first menu), scroll to the bottom. Tap on Advanced Safety Settings, and under Signal Lost, ensure it’s set to Return to Home, Descend, or Hover.
I always tell people that Return to Home is the way to go. If your drone is, say, 1,000 feet away and you lose connection, you don’t want it to just hover there—you want it to fly back to you and land safely so you can figure out what went wrong. But if you’re flying indoors, you’ll probably want to switch to Land or Hover, because you don’t want the drone trying to return home inside and hitting the ceiling. Instead, you want it to land or hover in place so you can grab it wherever it’s flying.
Here’s a funny story: One day, I was flying inside a massive warehouse under construction for work. The next day, I went to take photos of an office building for sale but didn’t change my Signal Lost Action, which was set to Land. As I flew up and over some trees, the drone lost signal and landed right in the parking lot. I was wondering why it wasn’t returning home, then remembered I hadn’t adjusted the setting. I had to drive around to get it—thankfully, it was a Saturday, and the parking lot was empty. That could’ve been avoided if I’d checked my Signal Lost Action beforehand.

Drone Tip 3: Use Auto Exposure Bracketing for Photos
My next tip is for those of you who want to take still images with your drone. Whether you prefer photos over video or you’re a dual threat doing both, if you’re taking photographs, make sure you always use the Auto Exposure Bracket function in the shooting modes. When you press the shutter button, your drone’s camera will take multiple photos at different exposure levels of the same frame, which has lots of benefits.

For example, I can leave my drone’s camera on automatic exposure mode so I don’t have to worry about it. Think about everything involved in flying a drone—it’s way more complicated than using a camera on the ground. You’ve got to fly the drone, handle airspace safety, watch for manned aircraft, fly safely, check battery levels, ensure you have enough power to return home, and frame your shot properly. With so much to manage, the last thing I want to do is adjust shutter speed or ISO. I’d rather let the camera do the work and pick the best exposure from the bracketed shots when I’m at my computer.
Plus, screens on controllers or phones can be too dim or bright to judge exposure accurately. Sure, I could use the exposure value or histogram, but I find that when I try to nail the exposure perfectly, I’m usually off due to factors like the sun, colors, and screen brightness. I’d rather have five images to choose from in a controlled environment at my office. Often, when I photograph something bright from the ground, even with bracketing, the initial image is off, so I use a darker one. Overall, bracketing makes editing easier and gives you better-looking photos.
Drone Tip 4: Fly from Your Car in Cold Weather
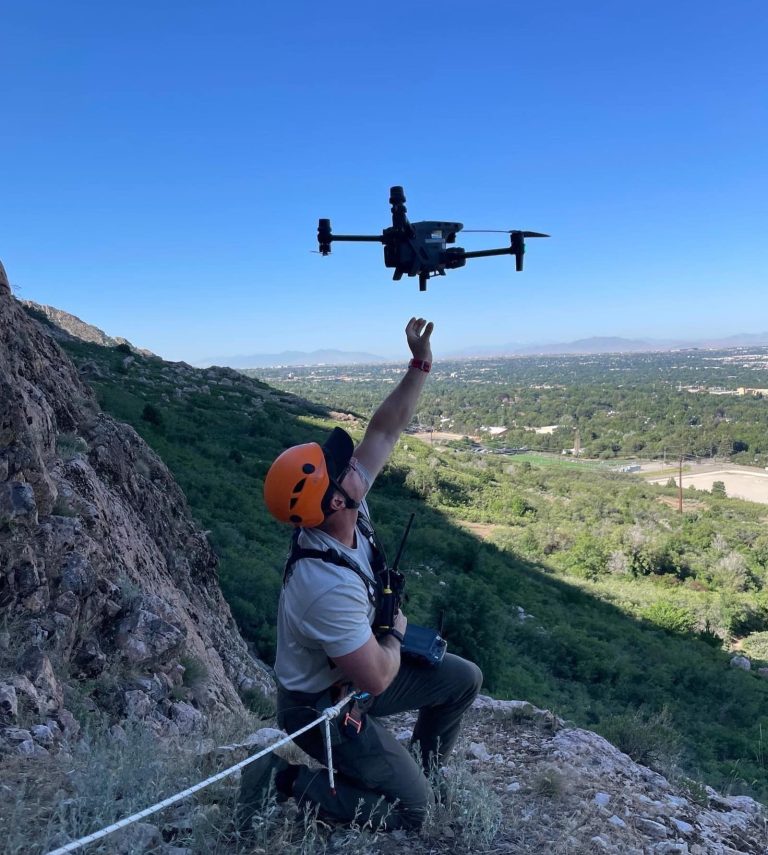
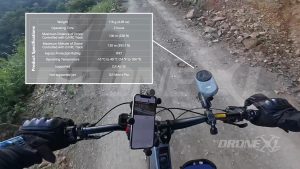
This next tip is something I’ve done since I started flying drones, and I’ve used it a lot recently because of the cold weather here in Philadelphia: fly from your car. There’s nothing better than reaching over to your passenger seat, grabbing your drone, lowering your window, taking off from your hand, rolling the window up, and sitting in the warmth.
It’s almost impossible to get a good Drone Video or a smooth shot on the sticks when your hands are freezing or you’re wearing bulky gloves. The car is best for me because I can control the climate, plug in my controller for nearly infinite power, and see the screen better. I mentioned earlier how sunlight makes exposure hard to judge—well, in the car, I can see the screen clearly. Plus, I’ve got a good visual line of sight out the windows.
If you can’t get your car close enough to where you’re flying, I’d also suggest investing in fingerless gloves. I’ve got a pair with magnets that fold over to cover my fingers like mittens, but when I fly, I can expose my fingers for precise control on the sticks. That’s been a game-changer this season. I’ve seen people use pouches around their waist for the controller, which could work too, but your body will still get cold without enough layers or gear. For me, the car is the best spot to fly my drone.
Drone Tip 5: Use Squarespace for Your Drone Business
Moving on, our fifth tip comes courtesy of this video’s sponsor, Squarespace. As you know, Squarespace has been a great sponsor of the channel for the past couple of years, and I truly feel I couldn’t run my business without them. I wanted to take you through the back end of my website to show you how I’ve set it up.
What’s great is that with Squarespace, I started with a template and customized it exactly how I wanted. I’ve got a homepage, an about page, a contact page, and I list all the services I offer as an aerial photographer and videographer. It’s a one-stop shop for anyone who wants to hire me—they can see what I’m about, contact me, and check my work to see if I’m a good fit.
Recently, I added a print section to my Squarespace site to sell prints of shots I’ve taken in Philadelphia—like images from the Eagles’ Super Bowl parade and cool color splash photos of city landmarks. This has been a great extra revenue stream, letting me sell my work. Squarespace also offers business tools like invoicing, so I can manage everything in one place—sell prints, share info, invoice clients—without needing another service. Big thanks to Squarespace for sponsoring this video and helping me showcase my work online for over five years.

Drone Tip 6: Bring Enough Batteries and Portable Power
Tip number six is all about power. You want to ensure you have enough battery power to fly as long as you need. Drones are pretty power-hungry, so I always say four batteries are the sweet spot: three for the charging hub and one in the drone. It’s handy for travel and gives you enough juice for a good amount of flying during the day.
But if you’re away from an outlet with no extra power, you’re stuck with those four batteries. That’s why I bring portable power. I’ve got two Anker batteries in my backpack. One’s a powerhouse with 27,650 mAh, featuring one USB-A port and two USB-C ports, with 250 watts of output. I can charge multiple drone batteries at full speed or even my 16-inch MacBook Pro fully once. It’s great for extra flying or charging devices like controllers if they’re low.
The second battery is smaller, with less capacity and power, but it has two built-in USB-C cables—one extends like a ripcord, and the other doubles as a handle. It also has a USB-A and USB-C port on the side. It’s super convenient—I can grab it and go without extra cables. I keep it in my sweatshirt pocket to charge my controller while flying. Both batteries are awesome, and I’d say always have backup power for your drones and other devices you bring.
Drone Tip 7: Pack Extra Propellers
In the same vein as bringing extra batteries—drone or portable—I’d also recommend bringing extra propellers. My next tip is to pack as many propellers as you can fit in your backpack’s small pockets.
I’ve been on jobs 2 to 3 hours from home, crashed my drone with no major damage, but nicked a propeller and couldn’t fly because it broke. If I’d brought spares, I could’ve swapped it out and kept going. This raises a bigger point: if you’re doing this for work, maybe carry a second drone—I do. But if you’re traveling with just a backpack and one drone, propellers are a common failure point. Without extras, if one breaks, you’re grounded—a silly reason to miss out on aerial shots. So, pack extra propellers—they’re vital.
Drone Tip 8: Use Grid Lines and Center Point for Framing
To me, the key to a good photo or video clip is proper framing. I take pride in angling my photos and videos so everything is lined up perfectly and symmetrically, making the frame pleasing—whether it’s a skyline, building, moving train, or boat. It has to look good to be enjoyable to watch or view.
To line everything up perfectly, turn on your Center Point and grid lines on your controller. In the Fly app, tap the three dots in the top right, go to the Camera section, and scroll down. Enable the Center Point and grid lines. You can add a diagonal line too, but I find it annoying and obstructive, so I stick with the grid and Center Point. This ensures I frame shots perfectly and create great-looking images every time.

Drone Tip 9: Use Vision Assist for Safety
For our 9th tip: use Vision Assist. I’m bookending this video with two of the most important tips I can offer drone pilots. First was adjusting Gain and Expo settings, and now Vision Assist—one of the best features DJI has added to their drones.
I’ve made videos about Vision Assist before, diving deeper into it for different drones. In short, it’s a pop-up that lets you see through the drone’s obstacle avoidance cameras. As I move side to side, it shows what’s in the direction I’m flying. It’s great because if I’m moving laterally and can’t see ahead through the main camera, I get a preview via Vision Assist.
Flying older drones without it feels like I’m blind. During an orbit shot, if I can’t see to the side, I worry about hitting something and cut my shot short to check. Vision Assist is a game-changer. For more info, I’ll link my full videos in the top corner and description.

Wrapping Up The Drone Tips
That wraps up our first tips video! I want to continue this drone tips series, building a playlist of tips to help you get better at flying your drone, taking photos and videos, and growing your business—we’ll dive into that more in future episodes. Thanks for watching, and I’ll talk to you later. Peace!
Note: Tip 10: is watch more of my videos and keep reading DroneXL. 😉
Discover more from DroneXL.co
Subscribe to get the latest posts sent to your email.


+ There are no comments
Add yours