


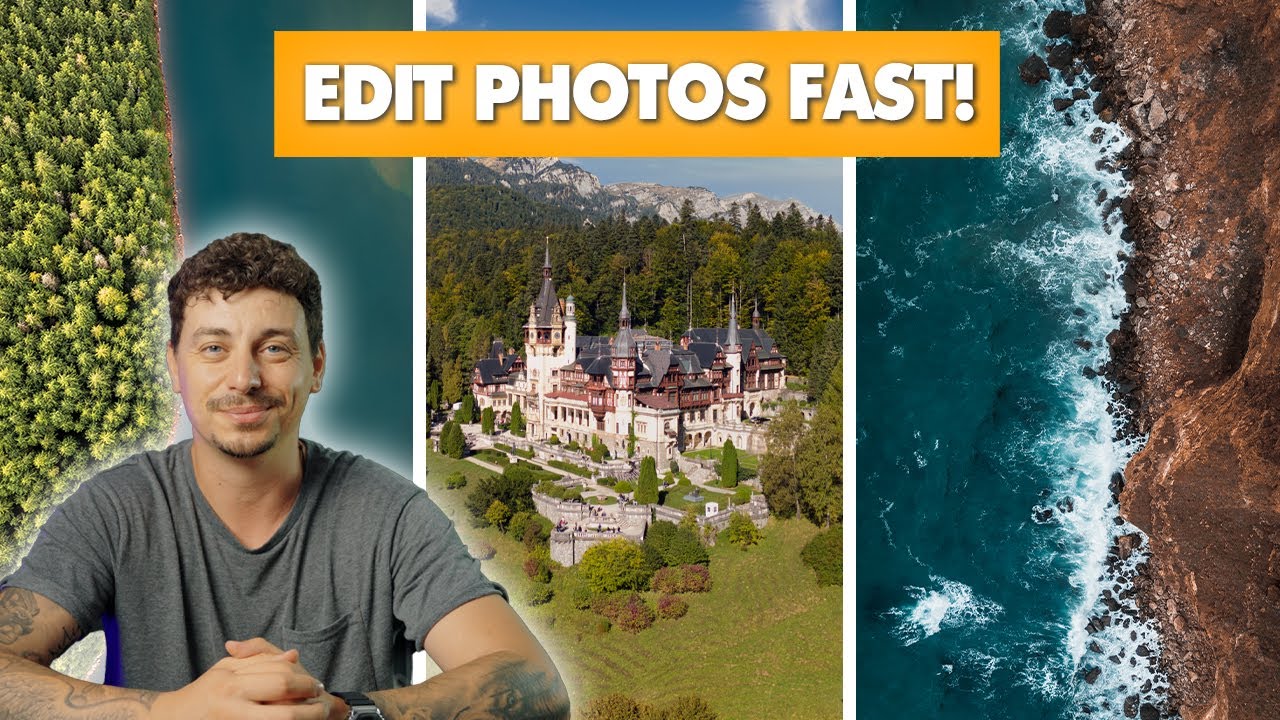
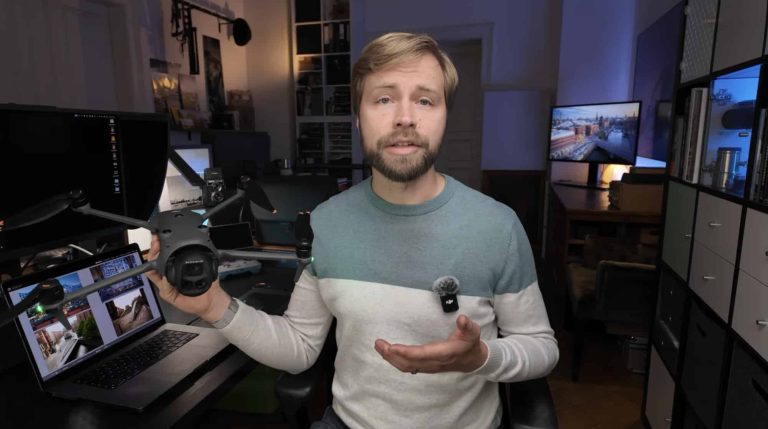
What’s up guys? Welcome back to another video. I hope you guys are doing great today. I have a little statement that I want to make, and that is that I absolutely hate the fact that all platforms have turned towards short-form video, such as Shorts, Reels, and TikToks. If you’re one of those people, similarly to me, who still enjoys taking and posting Drone Photos, you’re kind of out of luck. But if, regardless of all these things, you still keep taking photos and you want to learn how to edit them better, then this video is definitely for you.

Sponsorship Announcement
First things first, this video is sponsored by Luminar Neo. I want to thank them for continuously working with me here on my channel for the past couple of years. I will show you how easy it is to completely transform your drone photos from boring to epic in a matter of minutes or even seconds. It really depends on how quick we are with the sliders.
The Importance of Moderation in AI Editing
One thing I want to really emphasize is that when it comes to Luminar Neo, they have a lot of AI features and little things that will help you quickly get the job done. But with one huge disclaimer: you should not go overboard with any of these things. You need to keep it simple so you can still have a photo that is realistic, looks great, and doesn’t scream AI.
I think this is a very important topic that needs to be discussed because we don’t want to just drop our photos into software and have it spit them out as polished little gems that look very artificial. That’s not the goal. The goal is to quickly edit and still get great results, but being moderate with what you’re adding and doing to the photo. Nobody wants these polished AI photos that we keep seeing everywhere. We want to have them realistic but with a little touch, a little pinch of greatness added to them.
Getting Started with Luminar Neo
I think this is a great description of what Luminar Neo can do for your drone photos. With that being said, let’s get straight to editing. Here we are in Luminar Neo’s interface, a very familiar place. Without wasting any time, let’s get straight into editing the first shot that I have in mind for this tutorial.

Editing the First Photo
We’ll start with this one. This is a shot that I recently took in Romania with the Mavic 3 Pro, and I’m really happy with how it turned out. Unfortunately, I’m not too happy with how the water turned out because it looks very bland, like a swamp, and it could be better.
Cropping the Photo
First, of course, we need to crop this photo. I always start by cropping the photo in 4×5 aspect ratio for Instagram, which is where I post the majority of my photos. Now we have the freedom to really decide how we want to crop and frame this photo.
Using Water Enhancer
One thing I really like is the water enhancer. This is a new feature which can really save the photo in this occasion. If we go and slide this amount slider, nothing happens because we need to make a mask showing the software where the water is. Sometimes it detects it automatically; sometimes it doesn’t because of all these reflections, so it probably doesn’t know it’s water.
Editing the Second Photo
Now let’s move on to the second image that I want to edit for this little tutorial. This is one of the shots that I took. As you can see, it’s not cropped properly because I took a photo of the left side of this castle and then the next shot is a photo of the right side of this castle.
Stitching Panoramas
It’s in vertical orientation because these photos have been taken on the Mini 4 Pro. This is the great thing about the Mini 4 Pro and the vertical orientation of the camera. If you’re going to post on social media like Instagram, you want to have a vertical photo that has a lot of detail in it.
Creating an HDR Panorama
Finally, as you can see, we have a lot of photos here which I want to make into one giant photo. These photos are actually with three different exposures. These are HDR photos that I will merge into one big photo.
Conclusion
And there you have it, guys. This is Luminar Neo. This is how you can easily and quickly add a little bit of spice to your photos. Hopefully, you guys have enjoyed this video. If you have, don’t forget to check the first link in the description as this will give you a 30% discount with a special code that is only valid for my subscribers.
This will give you 30% off Luminar Neo if you want to buy this software. Check it out for yourself and start editing your drone photos with ease. You can do that by making sure you check the link in the description. Let me know if you are buying this software; I would really like to hear your feedback down in the comments.
With that being said, this is everything I have for you. Drop a like, subscribe, and I’ll catch you in the next video very soon. Ciao!
Discover more from DroneXL
Subscribe to get the latest posts sent to your email.


+ There are no comments
Add yours