


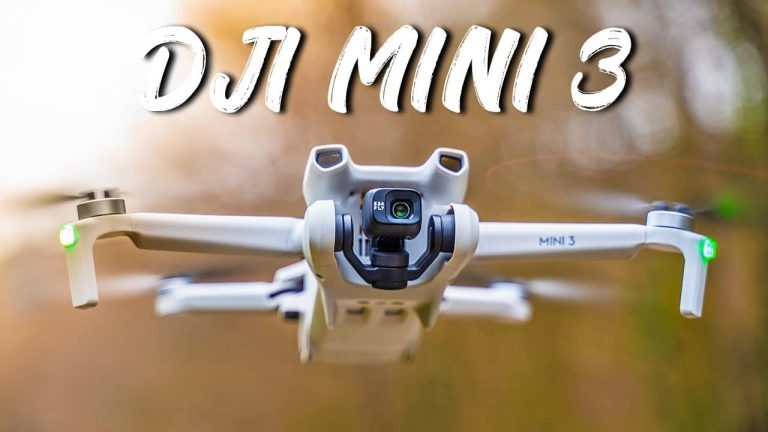
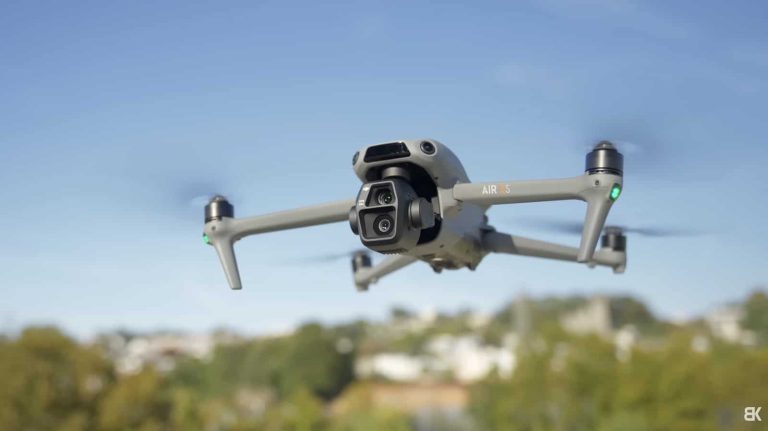
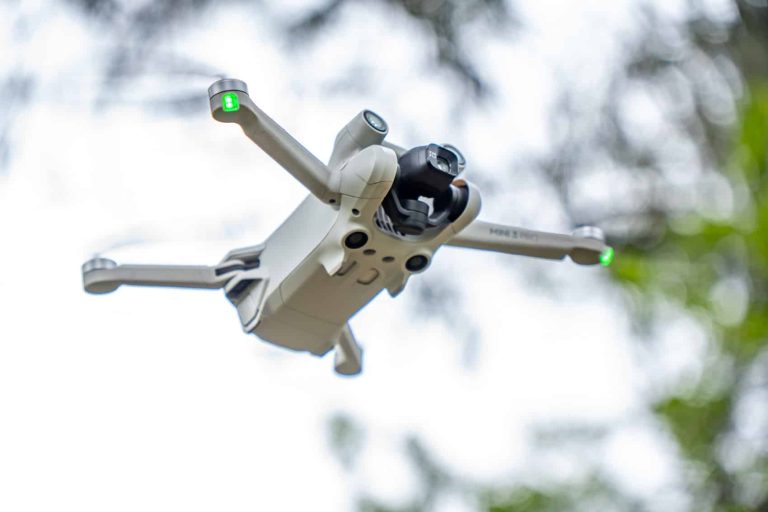
Good day, folks! Shawn here from Air Photography. Perhaps you’ve recently purchased a brand-new drone, such as the DJI Mini 4 Pro, the new DJI Flip, the DJI Neo, or the DJI Air 3S series, and you’re wondering what to do with the footage after capturing it. If you’re new to filming, it can feel overwhelming: what to do with the footage, how to edit it, and how to share it with family and friends on social media.

Exploring Editing Options
There are many free apps for editing footage that you can download directly to your smart devices, like a tablet or phone. In this video, however, we’ll focus on the DJI Fly App.

All the tools you need to edit and share are built right into the Fly app. To begin, I’ll assume all content has been transferred from the drone to your device—whether a smartphone or tablet. If you’re unsure how to do that, I uploaded a video about a week ago explaining how to transfer content from your drone to your device. I’ll include a link to that video in the description below. To start, launch the DJI Fly app; in the bottom left-hand corner, you’ll find an icon called “Create”—that’s our editor.
Understanding the DJI Fly App Editor
That’s where we’ll do all our editing. One key thing to note—based on Apple devices like iPads and iPhones (I’m not sure about Android, as I’m not an Android user)—is that it can only read files stored in the Photos app. So, if your footage is in the Files app, you’ll need to transfer it to Photos first. A great feature of the Fly app is that you can edit footage beyond just DJI products. You can edit your drone footage, but also mix in clips captured on an action camera or smartphone. Let’s launch the editing tool. You’ll notice it edits in a vertical format. On a phone, that’s fine, but on an iPad, you’ll need to adjust to editing vertically.

Editing Options: Auto vs. Manual
There are two main editing approaches, which I’ll split into two parts. Auto editing lets the software handle cuts, transitions, and music—perfect if you’re not into editing and just want a quick, shareable result. I’ll cover auto editing in a separate video, so stay tuned. For this video, we’ll focus on traditional timeline editing, giving you full control over everything.
Navigating the Editing Interface
Upon launching, you’ll see the main interface. At the top, there’s “New Project,” “One Tap Edit,” and a “Drafts” icon on the right for accessing saved projects. There are also pre-made templates, but we’ll stick to timeline editing. Tap “New Project,” and you’ll see “DJI Album,” which is content transferred to the Photos app. I currently have three files there. Preview them by tapping the corner icon to scrub through and decide what to include. You can also change albums—any albums on your device will appear. If you’ve got smartphone footage in the main camera roll, the app won’t read it unless it’s in an album. Create an album, name it whatever you like, and add your clips there.
Building Your Project
I’ll select drone footage and some files for our edit, including one shot on the Action 5 Pro. At the bottom, selected clips appear in the order they’ll be added to the timeline. Adjust their order by pressing, holding, and dragging—either now or later during editing. Once your footage is selected, hit “Next” to create the timeline (skip “One Tap Edit” for now, as that’s for auto editing). Initially, my video is 27 minutes with raw footage, so we’ll trim it down—perhaps to 30 seconds for social media shorts or 2-3 minutes for a dramatic piece for YouTube or Facebook.
Refining Your Timeline
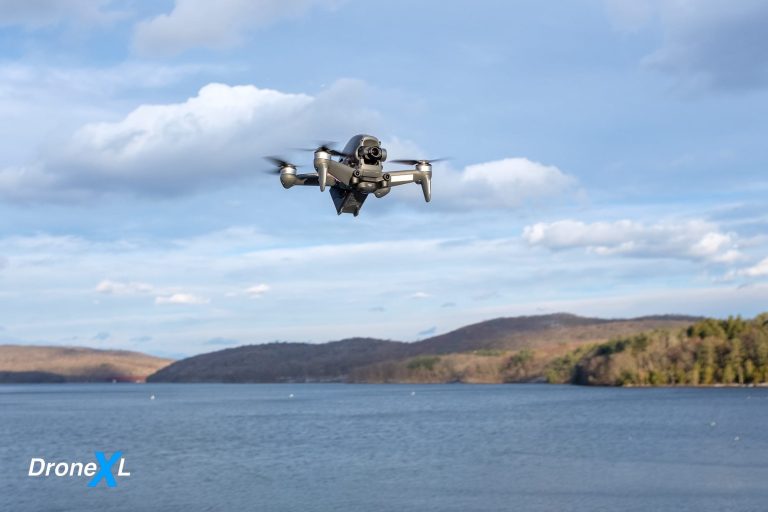
For a visual preview, pinch to zoom in or out on the timeline. Before editing, set your aspect ratio via the top button—16:9 for YouTube or 9:16 for social media. For 9:16, expand the video to fill the frame; for this video, I’ll use 16:9. Adjust clip order by dragging, or hit the plus button to add more footage. Now, use built-in tools to trim, add music, apply effects, and color grade. For the first clip—drone footage over water—I’ll trim it to under a minute. Cut unwanted sections by splitting and deleting, like the front part and excess after the opening.
Enhancing Your Clips
As you progress, cut where needed—e.g., keeping a drone rise with a boat appearing in the harbor. Use undo/redo if you make a mistake. You can also reverse clips or adjust speed (up to 8x or down to 0.25x). Slowing too much may look odd depending on frame rate, but 4K 60 footage halved looks natural. Variable speed allows speed ramping for dynamic effects—like reversing a drone rise to a descent. Trim each clip, monitoring the total length to stay under a minute.
Adding Finishing Touches
After trimming to about a minute from 27, enhance with effects, titles, and color grading. DJI’s auto mode footage often looks great without much grading, especially for beginners. Add music via the “Music” tab—mute original audio or blend it for effect. The Fly app’s library offers styles like “Cheerful”; preview and select one, noting copyright for monetized edits. Add music early to cut with tempo changes for drama. Import royalty-free music under “Local” if preferred. For visuals, apply Filters (adjustable strength) or manual color tweaks (temperature, highlights, shadows). Glamour effects smooth skin, while Color Recovery revives flat profiles like DLog M. Aqua adjusts underwater footage colors.

Adding Effects and Text
Under “Effects,” add options like snow, autumn vibes, or falling leaves for flair—depending on your taste. For text, tap “Click to add text,” enter a title (e.g., “Drone Video“), and tweak font, color, and size with templates. Add stickers—like a DJI logo or emojis—for personality.
Exporting and Sharing
Preview your edit, refine as needed, then export. Set resolution (1080p, 2.7K, 4K) and frame rate—I’ll use 1080p here. Export time varies (30 seconds to minutes) based on length and resolution. Once saved to the camera roll, share manually or directly via the app to platforms like Facebook or Instagram. Unfinished projects auto-save under “Drafts” for later editing.

Final Thoughts
That’s editing with the DJI Fly app—a powerful, free tool included with your drone. It’s ideal for transferring and editing footage, especially with devices like the DJI RC2. Hopefully, you found this helpful—if so, give it a thumbs up! Thanks for watching, and see you in the next one.
Discover more from DroneXL.co
Subscribe to get the latest posts sent to your email.


+ There are no comments
Add yours