Good day, folks. Shawn here from Air Photography. This is my beginner’s guide for the new DJI Flip. If you’ve just purchased the Flip drone or plan on purchasing it, this video is a great place to get started. We’ll go over the hardware, basic functionality, and help you prepare for your very first flight.
The DJI Flip is a very versatile drone. It can be flown completely autonomously, taking off and landing in the palm of your hand with just the touch of a button. It can also connect to a smartphone, which unlocks enhanced features like virtual joysticks that let you fly it more like a traditional drone. On top of that, you can connect it to a controller—such as the DJI RC-N3 or the DJI RC2—for a more traditional drone flight experience with better precision and longer range.
Purchasing Options and Packages
When you purchase the DJI Flip, there are a couple of different ways to buy it—essentially different packages. You can buy a single combo that comes with a controller, the Flip drone, spare propellers, a screwdriver for changing the props, a USB-C to USB-C data cable (also used for charging), and a small information package.
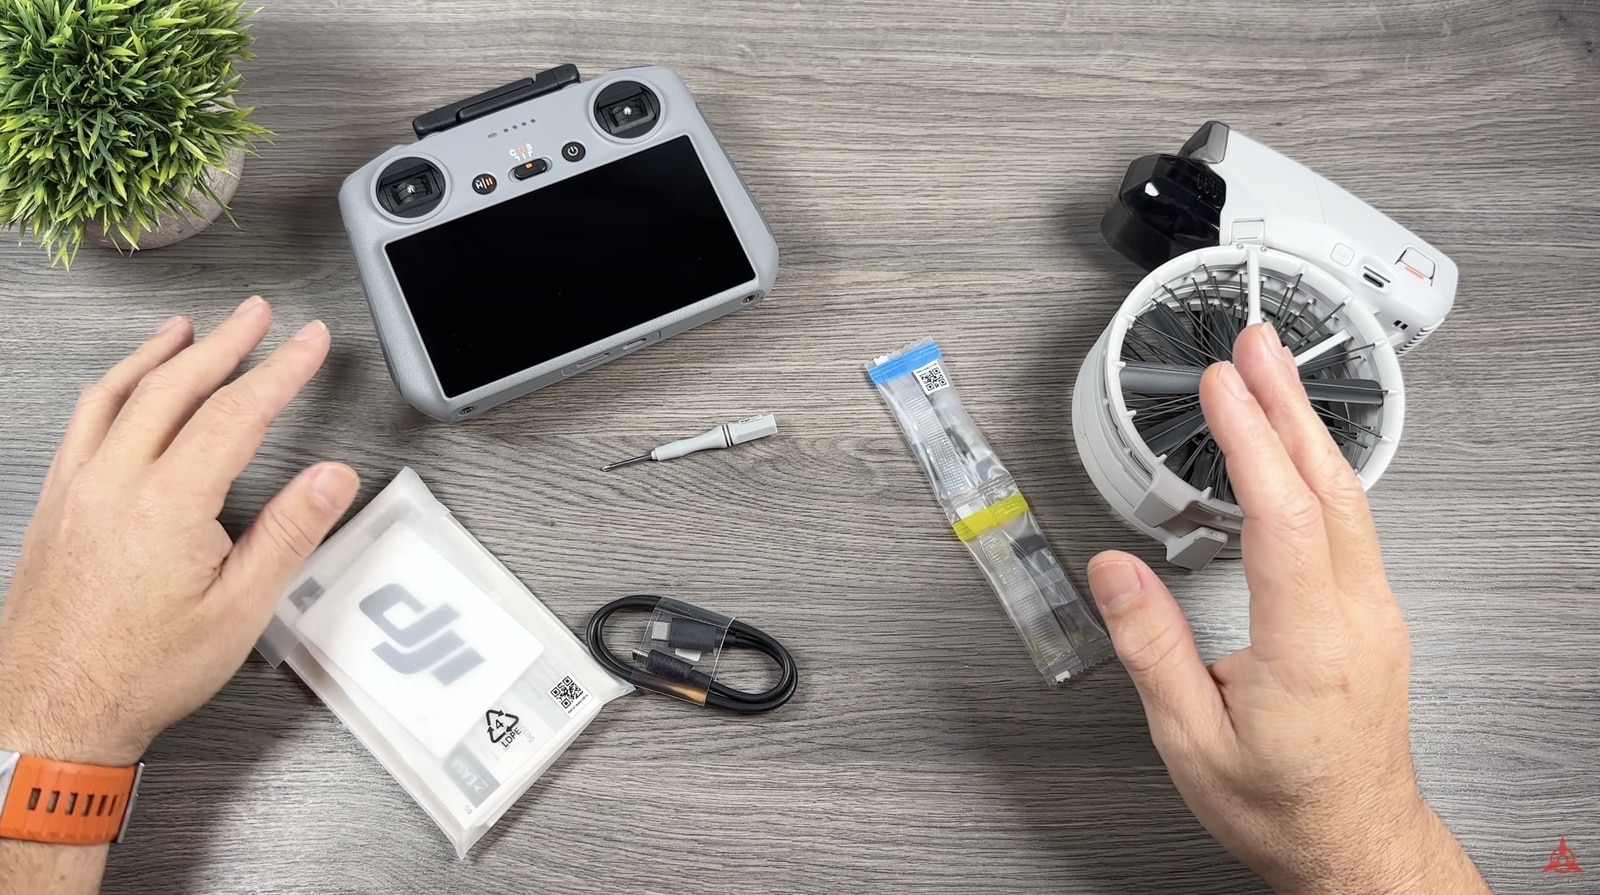
With the base kit, you can choose either the DJI RC2 (the one with the built-in screen) or the RC-N3 (where you must mount your smartphone). Both are equally good, so it depends on personal preference.
If you want more, there is a Fly More Combo, which is the same but includes a few extra propellers, two spare batteries, and a charging hub that makes it convenient to charge multiple batteries. You also get a carrying case. If it fits your budget, the Fly More Combo is highly recommended because the case is handy and it’s very beneficial to have extra batteries. These batteries are rated for 31 minutes of flight time (though you won’t typically get the full 31 minutes).
Drone Hardware Overview
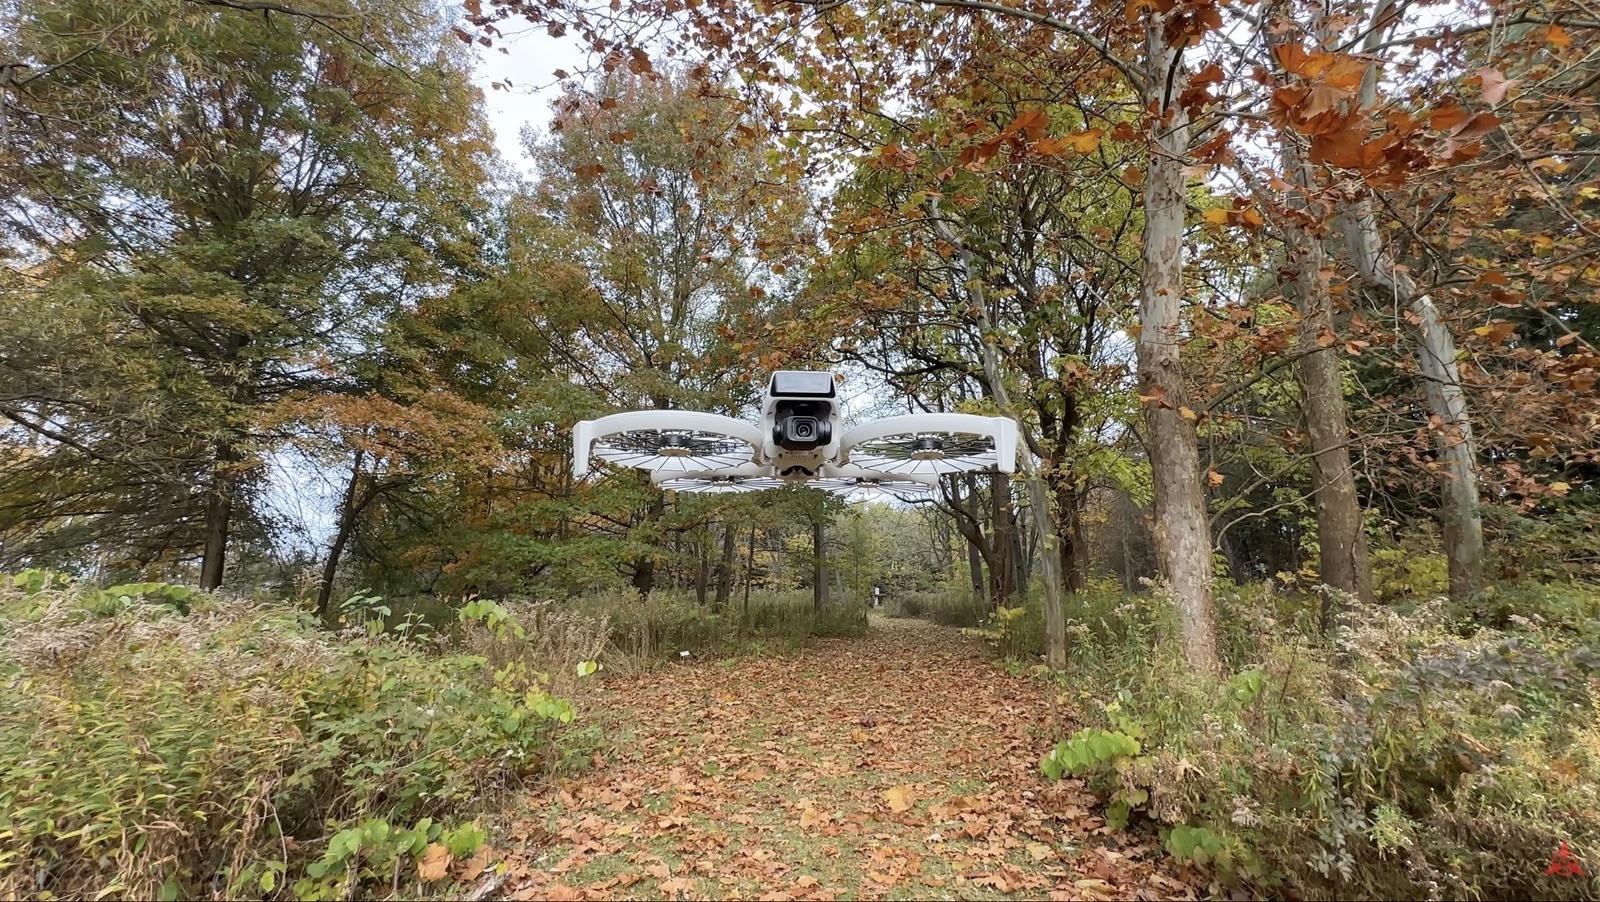
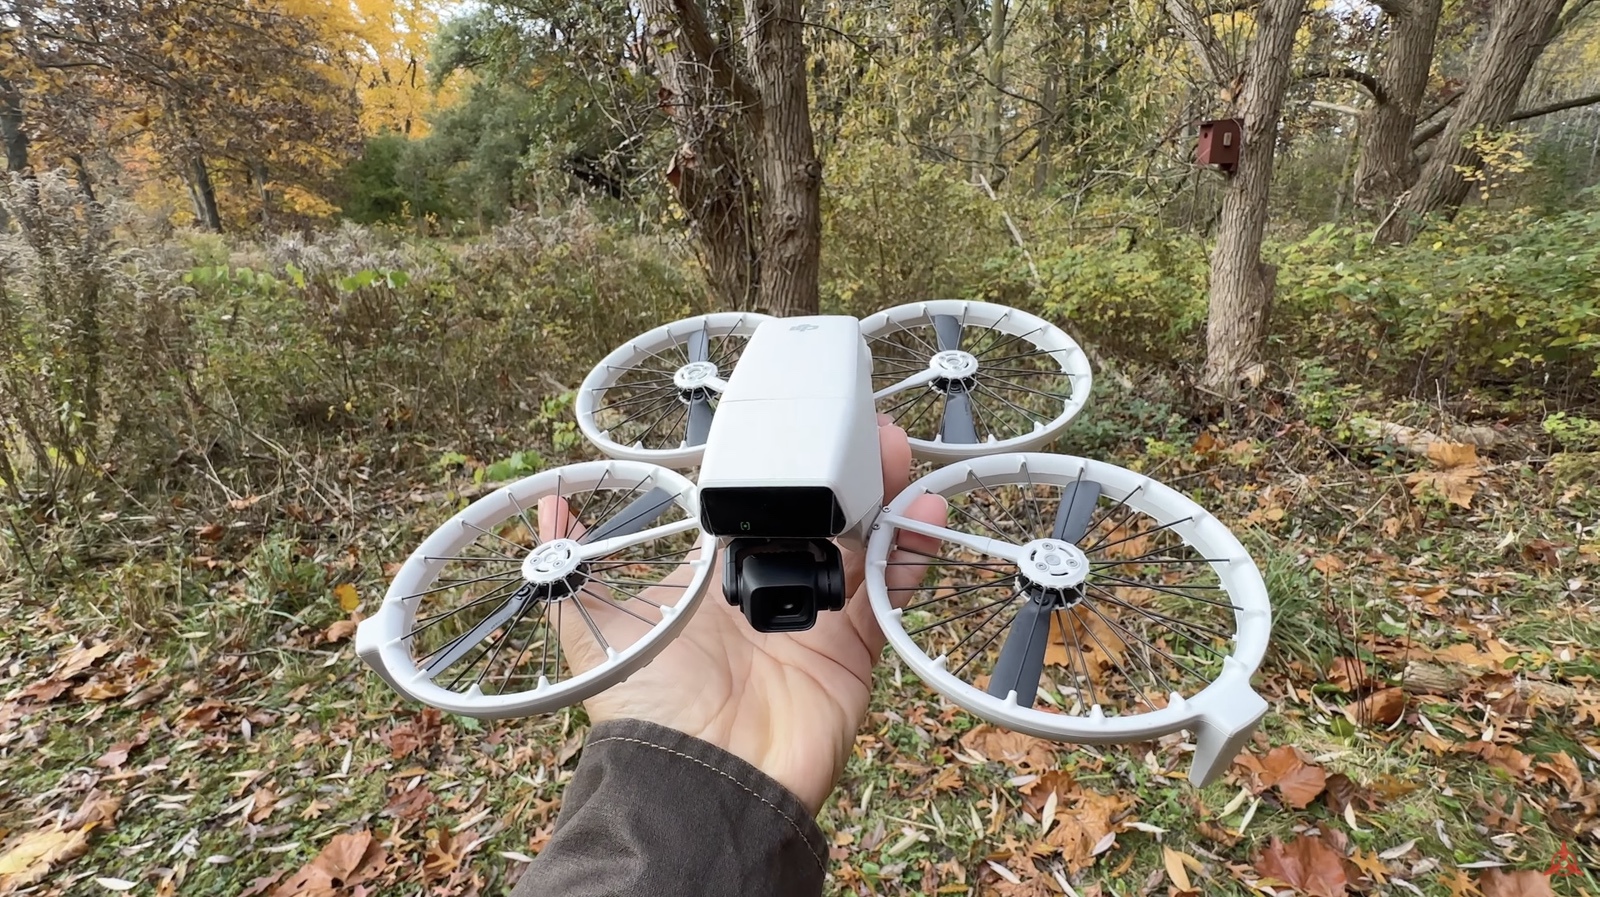
Before looking at the controllers, let’s explore the drone itself. At the front, you’ll see a gimbal guard. To remove it, press on the sides, and it will pull right off. When your drone is brand new, there will also be a rubber housing over the camera—keep it if you want extra protection.
This is a folding drone. We’ll unfold it shortly. On one side, there’s a USB-C port that can connect to computers for firmware updates and content transfers, and this is also how you charge the battery while it’s installed in the drone. Above that, there’s a memory card slot. Next to it is a button used when the drone is in autonomous mode (for cycling through flight modes and launching the drone from your palm, which we’ll demonstrate later).
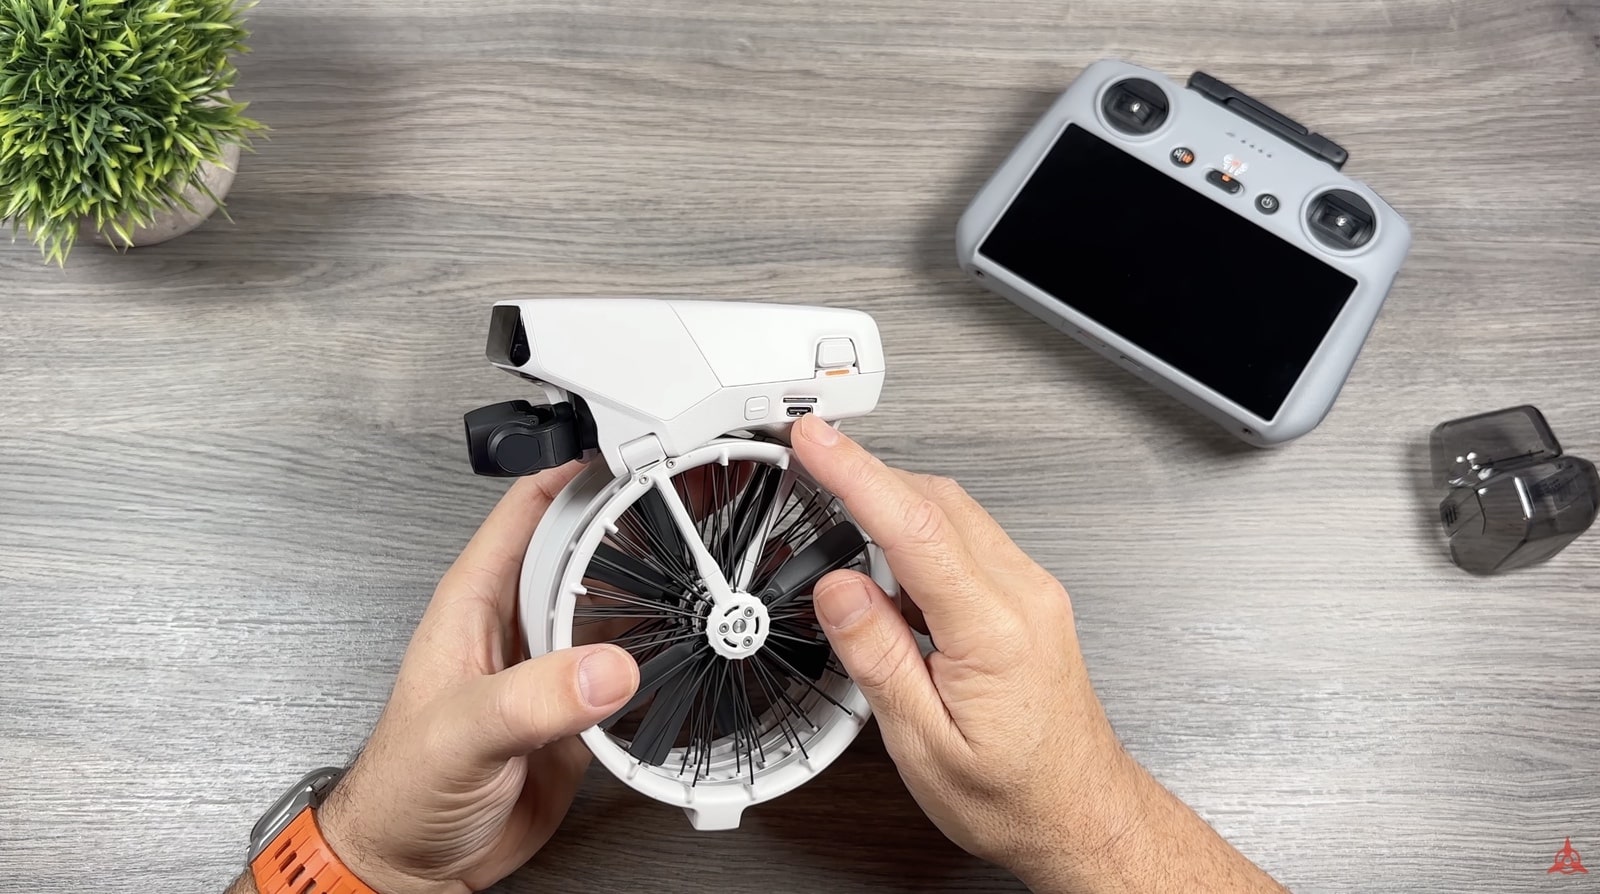
On the other side, there’s a power button and LED lights. The Flip will automatically power on when unfolded, which makes it quick and easy to deploy in autonomous mode. You can also manually power it off or on using a short press followed by a long press of the power button.
At the top is where the battery is installed. To remove the battery, press the side buttons, and it will slide out. The camera and gimbal are at the front, along with a 3D infrared sensor that helps detect obstacles. While it doesn’t have full obstacle avoidance like some DJI drones, it does increase safety in certain situations. There are also small front-facing lights that illuminate symbols when flying autonomously without a controller.
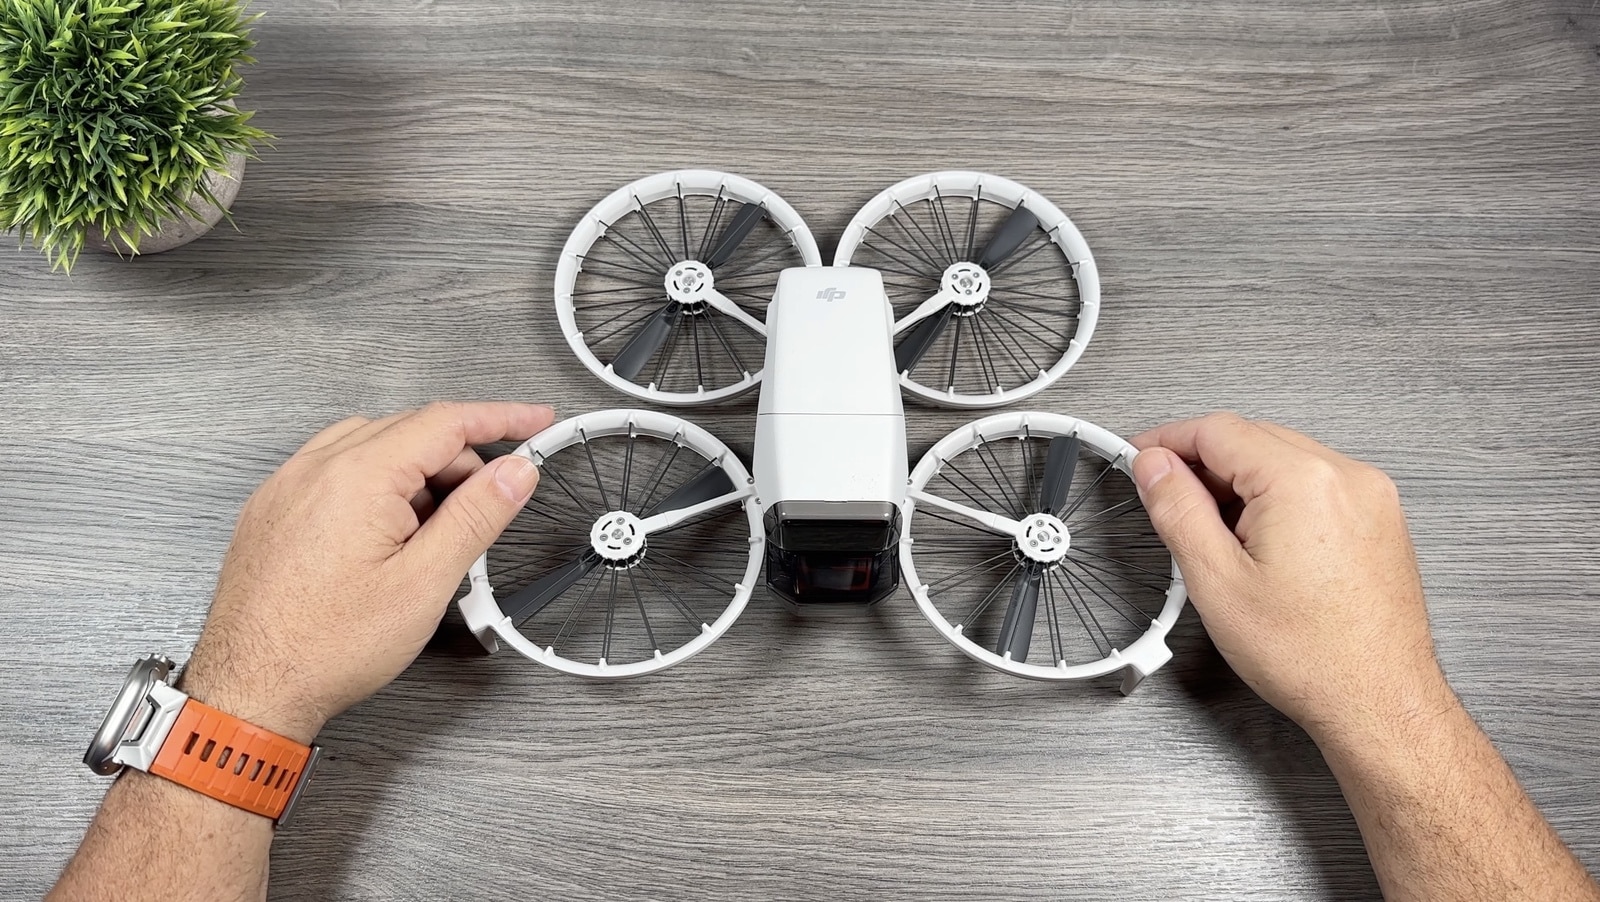
To unfold the drone, pull out each arm, starting with the front. As you fold out the back arms, you’ll notice the drone automatically powers on. If needed, you can power it off by doing the short press and long press on the side button, and use the same sequence to power it on again.
Controller Options
DJI RC2 (Built-in Screen)
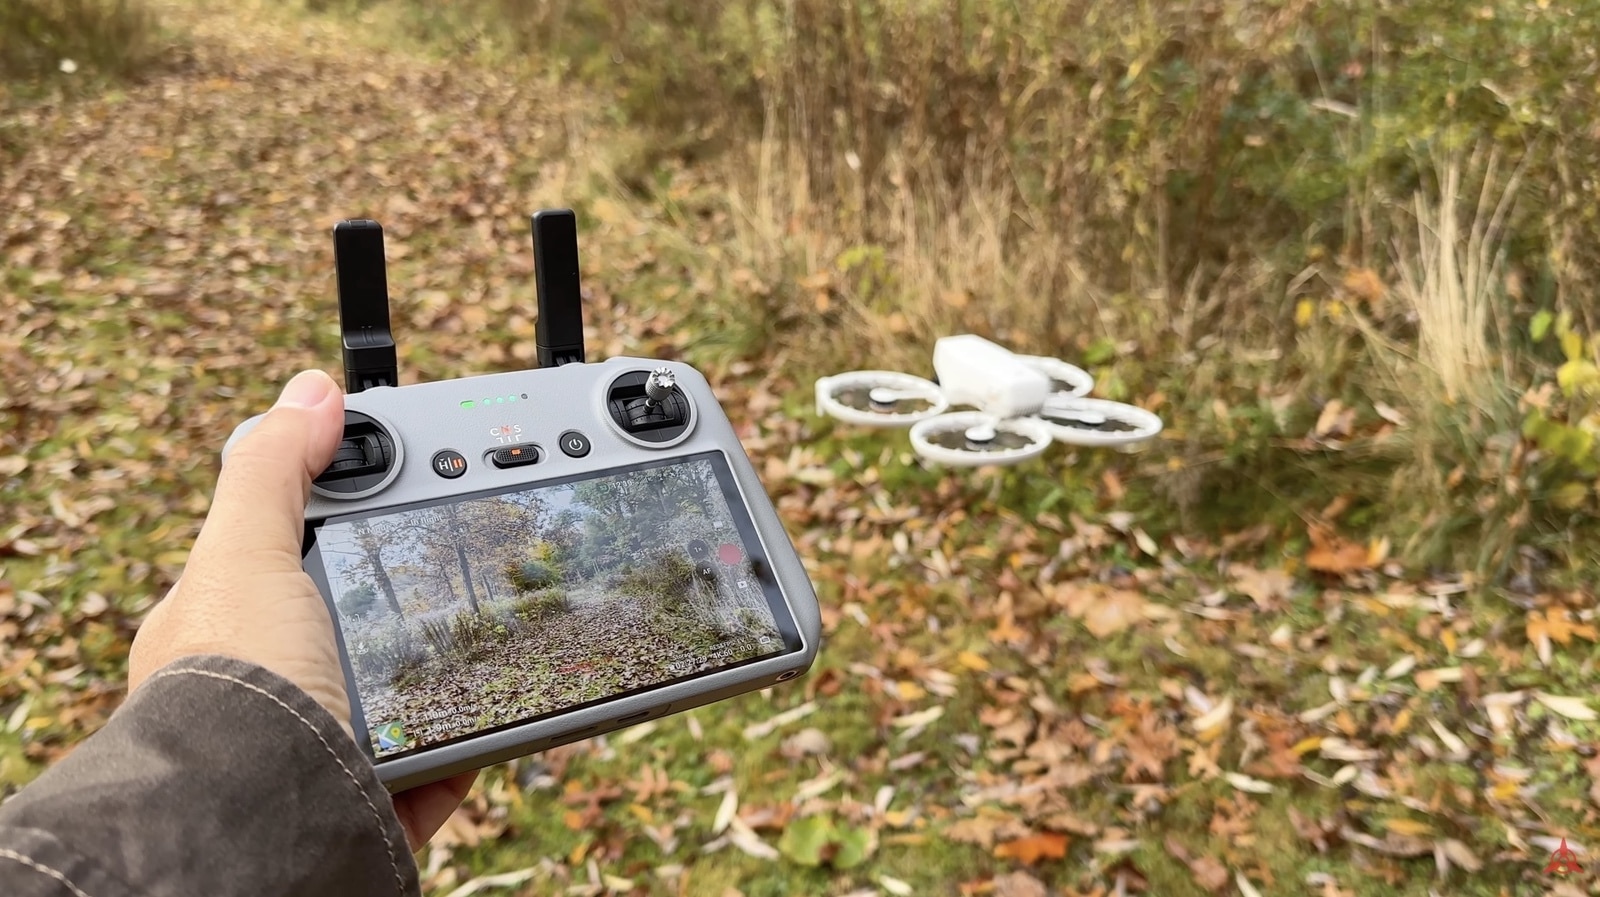
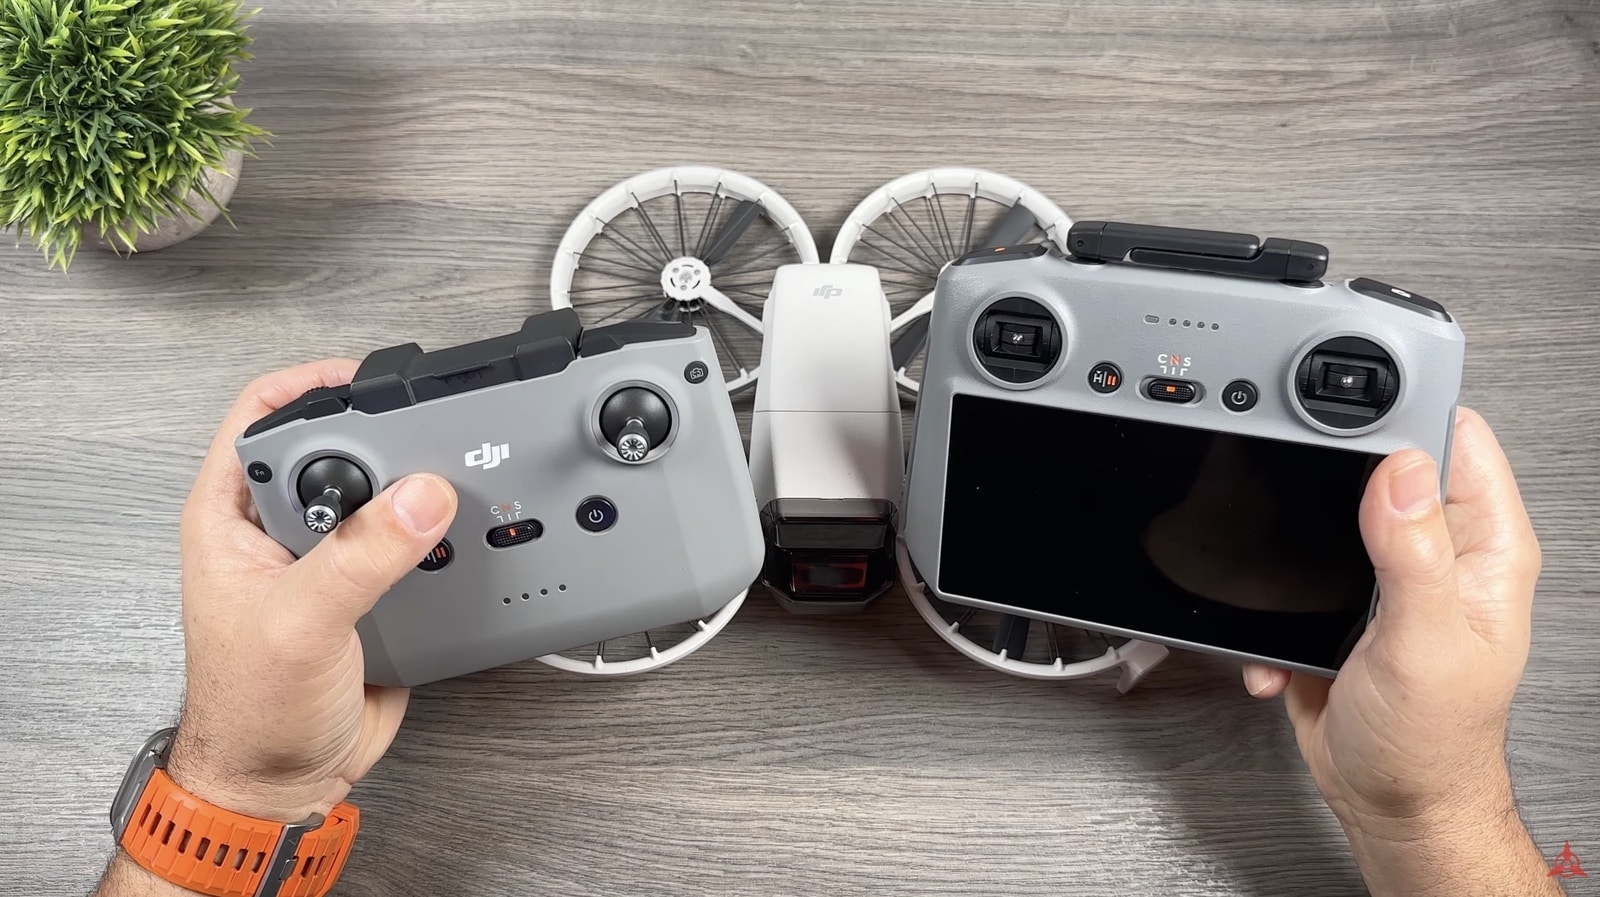
Let’s start with the DJI RC2, the controller with a built-in screen. At the top are fold-out antennas. The control sticks are stored in the back, and you can screw them on when you’re ready to fly. It’s a good habit to remove them when traveling to avoid damage.
On the front, there’s a power button. A quick press shows the current battery level, and powering it on or off requires a short press followed by a long press—just like the drone. In the middle is the mode selector: Cine, Normal, and Sport. Normal is for everyday flying; Sport increases speed but can be more abrupt; Cine slows everything down for smooth, cinematic shots.
The pause button next to the mode selector will stop any intelligent flight mode in progress, and if you press and hold it, the drone will initiate Return to Home. At the bottom is a USB-C port (for charging or firmware updates), and beside that, a memory card slot. You don’t need to use a memory card in the controller, but it’s handy for extra storage for tasks like screen recording.
On the back are two customizable buttons, C1 and C2. On top, there are two dials. The left dial tilts the camera gimbal up or down, and the right dial controls digital zoom (up to 3x, which can degrade quality slightly). There’s a record button (for video) on the right and a shutter button (for photos) on the left.
RC-N3 (Use with Smartphone)
Next is the RC-N3. It’s similar to the RC2, but you mount your smartphone to use it as the screen. The removable control sticks are stored at the bottom. On the front, there’s a power button (same short press + long press to power on or off), a mode selector (Cine, Normal, Sport), and the pause/Return to Home button. There’s also a function button (like the C1/C2 buttons on the RC2).
A switch on the right side toggles between photo and video mode. On top, there’s only one dial for adjusting the gimbal angle. Digital zoom is done via the app since there’s no separate zoom dial. There’s also a shutter button for starting/stopping video or taking photos, depending on the mode.
At the bottom is a USB-C port for charging or updates. This controller has no memory card slot. The antenna flips up from the top, and this is also where you mount your phone. A built-in cable (USB-C or Lightning, depending on your device) plugs into your phone. If your phone uses a different connector, DJI includes a suitable cable.
With the RC2, everything you need (including the DJI Fly App) is built into the controller, which can be more convenient. If you use the RC-N3, you’ll need to download the DJI Fly app from the Apple App Store or, for Android, directly from DJI’s website (it’s not on Google Play).
For this guide, we’ll continue using the DJI RC2, but if you have the RC-N3, the process is almost identical.
Charging and Memory
When you buy the DJI Flip, it won’t include a memory card. You’ll need to purchase a microSD card separately. DJI recommends UHS-I Speed Class 3 cards. A good choice is the SanDisk Extreme or Extreme Pro, often in sizes like 128 GB, though you can go larger if you wish.
Install the card by inserting it into the slot with the graphic side facing up. The drone does have under 2 GB of internal storage, but that won’t hold much footage. If you want a memory card in the RC2 controller, insert it into the slot at the bottom (again graphic side up).
The DJI Flip comes with a USB-C to USB-C cable for charging, but no charging brick. Most modern USB-C chargers for phones or tablets will work. DJI also sells compatible chargers. You can use any reputable USB-C power adapter, like a 65 W Anker brick.
There are two ways to charge the batteries:
- Inside the Drone
Insert the battery into the drone and plug the cable into the USB-C port on the side. LED lights near the power button will show the charging status. - With the Charging Hub (if you bought the Fly More Combo)
The hub can hold up to four batteries (two on each side) and charge two at a time. Plug the USB-C cable into the hub’s side port, and LED indicators will show each battery’s status. The hub can also act as a power bank if you need to charge other devices.
To charge the controller, simply plug the USB-C cable into the port at the bottom. The LEDs on the front will indicate the charge status.
Activating and Updating Firmware
Before your first flight, you need to activate your new drone and update the firmware. DJI regularly releases updates that fix issues and add new features.
- Power on the drone by unfolding it (or using the power button).
- Power on the controller using the short press + long press method.
- Because the equipment is new, follow the on-screen prompts on the controller to choose your language, region, connect to Wi-Fi, and log in with your DJI account (or create one).
- After logging in, you’ll be prompted to activate the drone. The process is straightforward.
- Once activated, you’ll be prompted to update the firmware if any updates are available. It’s recommended to always install the latest firmware.
DJI Fly App Overview
The DJI Flip can be flown in three ways:
- Completely autonomously without a controller.
- Using your smartphone (virtual joysticks via the DJI Fly app).
- Using a traditional controller (RC-N3 or RC2).
Even if you have the DJI RC2 with its built-in Fly app, you may still want the DJI Fly app on your phone to manage settings and transfer content when you’re not carrying the controller.
Using the App with Just a Smartphone
- Power on the Flip by unfolding it.
- Launch the DJI Fly app on your phone.
- Tap “Connect” when it detects the Flip and join the drone’s Wi-Fi if prompted.
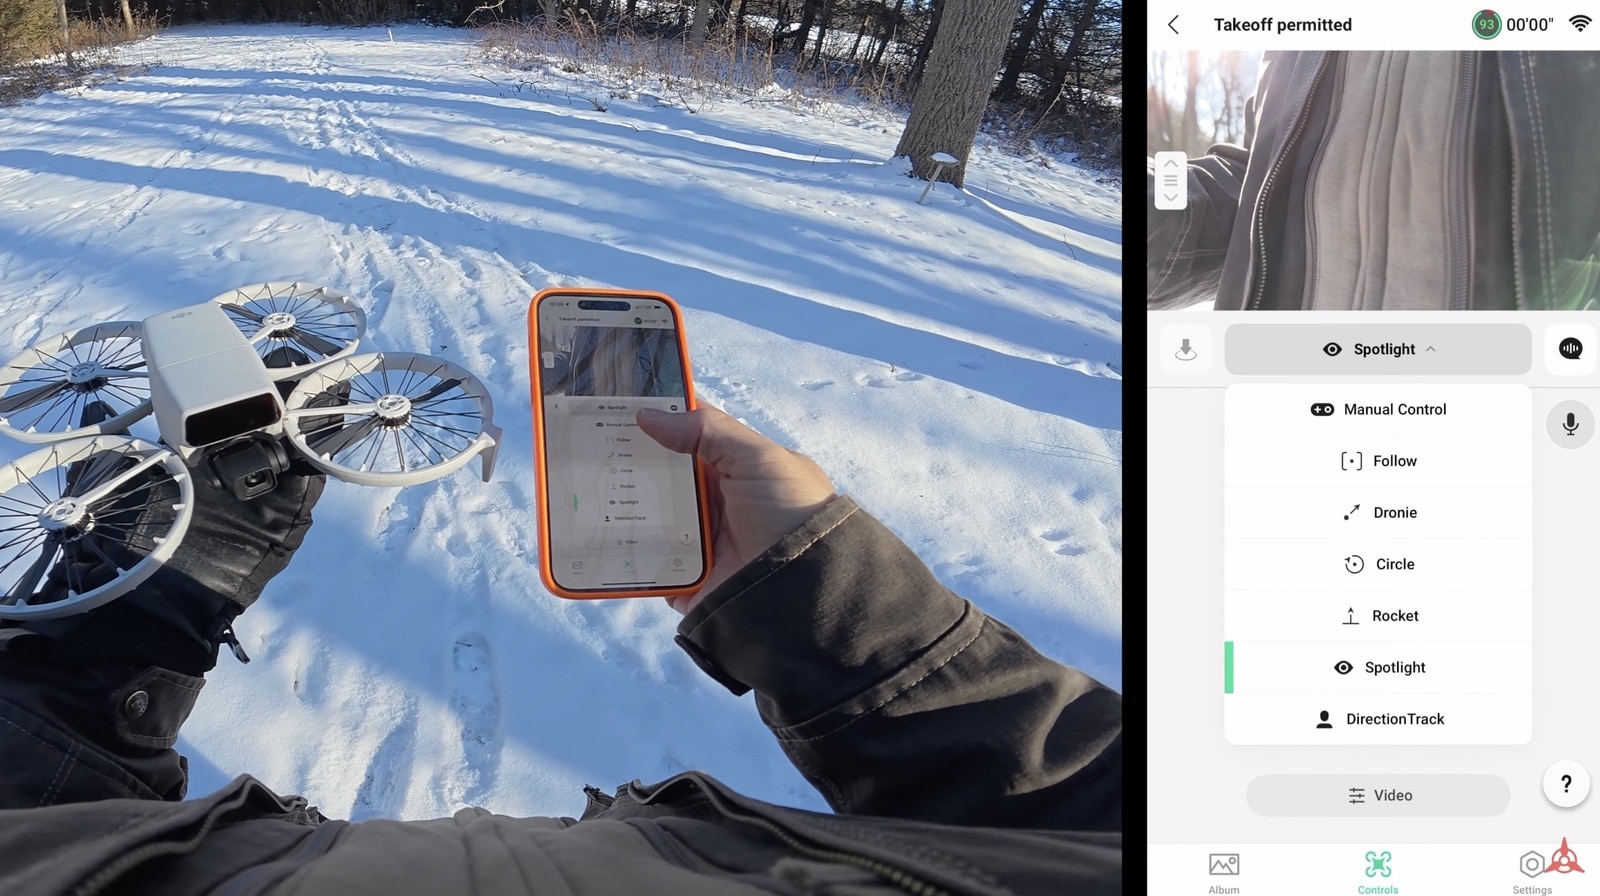
You’ll see a main screen with three tabs at the bottom: Control, Settings, and Album.
- Album: Previews the content on the Flip’s memory card. You can download photos or videos to your phone.
- Control: Lets you switch between autonomous modes (Follow, Circle, etc.) or select manual control for flying with on-screen joysticks. You can also toggle between photo/video modes, record, and enable/disable the microphone.
- Settings: Adjust parameters for each intelligent flight mode (distance, height, etc.) and camera settings (resolution, frame rate, normal mode or D-Log M, and codec). You can also format your memory card here.
This is also where you can enable voice commands. The Flip can respond to voice for tasks like recording, following, and some safety commands.
Using the App with a Controller
When flying the Flip with the DJI RC2 or the RC-N3, the Fly app looks slightly different but has the same core functions. You’ll see information such as satellite count, obstacle sensing status, RC signal strength, and battery level.
- The left side of the screen often shows the takeoff/landing button and a map.
- The right side shows camera settings like resolution, frame rate, and whether it’s in Auto or manual mode (where you can adjust ISO, shutter speed, etc.).
- Tapping the three dots at the top right gives you deeper settings, including Safety (Return to Home altitude, max altitude, etc.).
- Keep an eye on any error messages at the top center. If everything is good, it will say “Normal” or “Ready to Fly.”
Test Flight Demonstration
Now let’s head out and do a quick test flight. If it’s your first time, pick a wide-open area free of obstacles and people. Make sure you understand the drone regulations in your country.
Flying Autonomously (No Controller or Phone)
- Unfold the Flip to power it on.
- The camera must detect you for autonomous modes to work.
- Press the button on the side once to cycle through modes (Follow, Circle, Rocket, etc.).
- Hold the drone firmly from underneath, ensuring your fingers are clear of the propellers.
- Press and hold the same side button to launch.
The drone will recognize you and perform the chosen flight mode (e.g., Spotlight, Circle). When you’re ready to land, move your hand underneath the drone and it will automatically land in your palm.
Flying with a Smartphone (Virtual Joysticks)
When you connect the Flip to your smartphone, you can adjust all settings and also fly manually:
- Power on the Flip.
- Open the DJI Fly app and connect to the drone.
- In the Control menu, select an autonomous mode or tap Manual Control for virtual sticks.
- For autonomous flight (e.g., Spotlight), tap Start in the app, and the drone will take off.
- For manual flight, press and hold the Take Off button on the screen. Virtual joysticks will appear, allowing you to fly just like a regular drone.
- To land, put your hand underneath it, and it will automatically descend.
Flying with a Traditional Controller
Using a controller offers greater precision and a better signal range due to DJI’s O4 transmission system:
- Place the drone on a flat surface or hold it in your palm.
- Power on the drone and the controller.
- On the screen, tap the Takeoff button. Press and hold the pop-up to initiate takeoff.
- Wait until you have a good GPS connection (usually at least 14 satellites) so the drone can set a home point.
- Practice moving the sticks to get comfortable. The right stick moves the drone forward/backward and left/right; the left stick controls altitude and rotation.
- When ready to return, you can manually fly back or use Return to Home by pressing and holding the pause button on the controller or tapping the on-screen RTH button. The drone will ascend to the preset RTH altitude and fly back to the home point. You can cancel at any time and resume manual control.
- To land, either use the automatic landing on-screen or place your hand underneath the drone so it lands in your palm.
Conclusion
That’s my beginner’s guide for the DJI Flip. If you’re interested in this drone, make sure you’re subscribed to the channel because I’ll be covering it in-depth over the coming weeks and months with many tutorials. This was a general guide, but stay tuned for more detailed videos on specific features.
Thanks a lot for watching my DJI Flip Beginners Guide, and we’ll see you in the next one!
Discover more from DroneXL.co
Subscribe to get the latest posts sent to your email.






+ There are no comments
Add yours