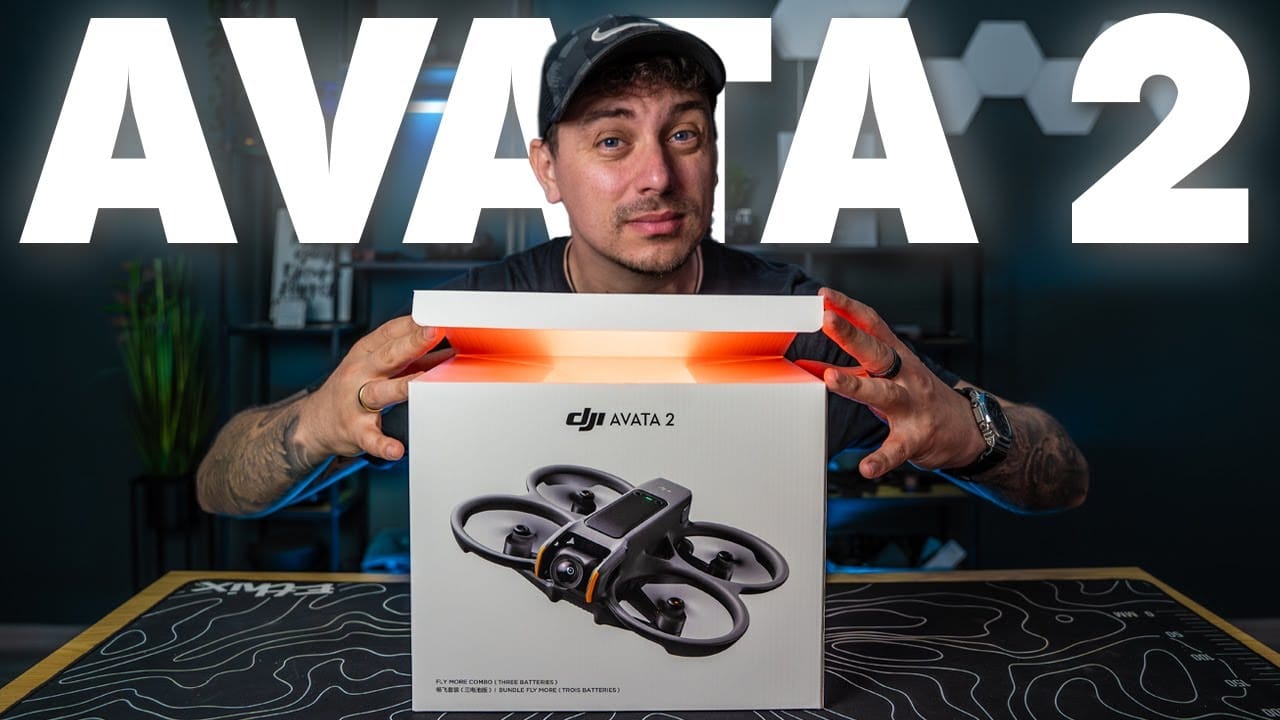
What’s up, guys? Welcome back to another video! Today I’m really excited to bring you this unboxing and first flight of the brand new DJI Avata 2. Let’s get started!
Unboxing the DJI Avata 2 Fly More Combo
So here we have the box of the DJI Avata 2, which is the Fly More Combo, and then we have another little box with the ND filter set, which we’ll open in a second because I’m dying to open up this package first.
The Avata 2 with the Fly More Combo includes three batteries. We can see some of the things inside, but I don’t want to watch the pictures, I want to see the real deal. So let’s open up the box!

Sling Bag Contents
The first thing we see is the sling bag which holds everything inside. DJI loves using these sling bags or shoulder bags for all of their Fly More kits. There’s lots of stuff inside.
Let’s start with this little pocket first, as I really want to keep the most important things for last. Let me just take everything out first:
- We have some spare props which are labeled A and B, so you never put them on the wrong side, which is very important for FPV and everything that flies.
- We have a USB-C to USB-C cable, which I don’t need for now.
- We have a little wrench tool to tighten the props.
- We have some diopter Filters or corrective lenses. If you wear glasses, you might want to use some of these to properly see through the goggles.
- We have a forehead pad to protect the goggles and make them more comfortable if the lenses are too close to your eyes.
- We have a USB-A to USB-C cable for connecting your smartphone.
- We have all of the different quick start guides, the DJI Fly App which you can scan and download, and some stickers. This is something relatively new from DJI – they started to include stickers inside their packages.

RC Motion Controller 3
Now let’s open up – wow, is this the new RC Motion Controller 3? This is tiny! I never had a clue that this would be so small. The previous RC Motion Controllers were kind of taller. This one literally just fits in the palm of your hand and doesn’t stick out much more than that. It seems very comfortable.
Since this is the device that you will be using with the Avata 2, at least for the most part as of right now (I don’t have a remote controller included in this bundle, I think it will come at a later time), it’s important for it to be comfortable in your hands. I’m curious to see how this will work with the DJI Avata 2.

DJI Goggles 3
Let me move these out of the way a little bit, because we are getting to the most important parts. Let’s open up the goggles first. I’m super curious about the Goggles 3, especially after the rumors that they have built-in cameras.
Wow, okay, so this is a new design that I’m seeing here. We have the goggles with a very similar design as the Goggles Integra or the Goggles 2, but now we have these cameras here on the front and we have different types of vents here on the front as well. These cameras will help you see the surroundings around you.
The forehead pad is going to be controversial, I think. It seems like the goggles themselves have a forehead pad here. Let me just put them on very quickly so I can check it out.
We have a really weird material here, and it’s like – okay, let’s check it out first. Oh, I see now. This thing attaches to your forehead pretty much, or is just slapped on your forehead, and then from there you can actually move the goggles around. You can kind of feel there are different positions to put them closer or a little bit farther away from your eyes, depending on how much you want them to stick to your face.
Some people have problems with light leak and stuff like that, but with these little curtains, you won’t have this issue. It’s like filling all the little gaps from the light around you and it’s complete pitch blackness here inside the goggles. I can only assume this is looking ridiculous, but it’s working. As of right now, as my first impressions, it seems to be working. There was no light leak, no light spill from the side because of these curtains. Yeah, really interesting new design of the DJI Goggles 3.

Battery Charger and Batteries
Now we have the battery charger. This is the charger that can hold all three batteries, and we seem to have two batteries here. It’s very traditional from DJI, very similar to other drones from their lineup, mostly from their camera lineup. This is the charging brick or should I say the charging cradle. I think there’s only one more thing that is left inside the bag – here it is, empty. We don’t have anything left, so let me just put it away.
DJI Avata 2 Drone
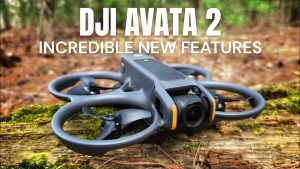
And here we have the DJI Avata 2. I’ve never seen it before, so these are my genuine first reactions, only based on the photo on the box. Wow, it is different. It is definitely different. It looks a little bit more flat and a little bit wider, so it definitely has a different shape. It is looking like a real cinewhoop now with bigger sized propellers, or at least it seems that way. I’m not even sure, I have to compare it to the Avata 1, which by the way I will do soon in a video that’s coming very soon.
We have some stickers here that indicate a lot of things that we should know before flying with the Avata, before even activating it. Wow, that camera is massive. We have a new sensor size on this camera. This is going to record similar type of video as the Osmo Action 4, so it will have better night capabilities. It has a bigger, better sensor which records in higher quality.
The battery seems to be a lot bigger, or because it has another shape, it feels bigger. But the whole drone feels very different. From what I know about this drone, it’s upgraded in all the right places compared to the Avata 1. I’m really curious to see how this thing handles and how it flies.
We seem to have a little bit of a base shape here that is kind of like the base of the drone, and then the drone is kind of slapped on top of it. This frame shell is divided, it’s even in a different color. It’s different from the top, it comes with this black reinforced plastic or I’m not even sure what type of material that is. I’ll have a lot to learn about this drone, so don’t quote me on anything that you hear in this video, because I am seeing this thing for the very first time, similarly to you.
Hopefully this will be a good product. I’m super curious and super excited to start flying with it straight away. I just need to activate it, bind everything together if it’s not bound yet, and then it’s go time.
By the time you’re watching this video, I should have posted maybe a video or two already, so browse my channel if you want to see more videos, and don’t forget to subscribe if you want to see the upcoming videos that I am going to prepare for the Avata 2 for you. But now it’s time to activate everything, charge all the batteries, and let’s go for my very first flight with the Avata 2!
ND Filter Set for the Avata 2
Oh yeah, I forgot the ND filter set. With all of that excitement, I forgot to unpack the filters, and the filters are extremely important. I’m happy to see that they are included in this package that I received, because for cinematic videos, it’s a must. It’s just a must.
So here we have the box with the filters. We have three filters inside which are huge, of course understandably so, because the sensor size is much bigger, so the whole lens takes a lot more space now. We need bigger glass to cover that.
We have ND32, ND16, and ND8. This should work for a variety of different weather and lighting conditions. Maybe an ND64 might be needed in case you’re shooting on a very bright and sunny day, but we’ll see about that. For now, I think ND32 will be sufficient. So there you guys have it, everything is unboxed. Let’s go and fly this thing!
First Flight with the Avata 2
Okay, here we go, first flight with the Avata 2. We’re starting out in normal mode with the smart remote controller, and my first impression is that the drone is really sensitive. It reacts really well to the movement of the remote, which I’m not sure will result in good footage, but for a first flight, I think that’s not really necessary.
The good thing with the Avata is the fact that you can always just let go of the controller and it will level itself, so you don’t have to worry about hitting an obstacle. This thing seems quite precise. The fact that you can just move around with your hand – I was told by DJI that this is the preferred way for many people to fly their Avata, that’s why they don’t include the FPV remote controller in the bundle, and that’s why I don’t have one yet. But I will get one as soon as possible.

Let’s do a full speed test. Wow, wow, this is maximum speed and this is really, really fast. But it’s kind of weird flying like this with just the remote. I’m not so used to that remote, but I’m enjoying it because it’s quite nimble and sensitive, like I said.
There are some people in the park, so I need to be careful. Okay, let’s just move around and go back. This thing picks up speed very, very fast, and it is a little bit windy today, that’s something that I also wanted to mention.
So now I am flying with this new sensor that we have here on this camera, and for demonstration purposes, I have decided to use the RockSteady stabilization. Obviously you can turn that off and use GyroFlow, for example, to stabilize the footage yourself afterwards in post. But for this first flight video, I just wanted to see what the drone will do by itself. That’s always something that I prefer to do in my first flight videos.
If you notice, I am quite far from my takeoff point. Now we are getting lower and lower bitrate. I’m not sure if I’ll be able to pass through this forest. So yeah, let’s just go back, because I’m at one megabit and – yeah, no problem. As soon as I got back, as soon as I turned around, I regained all the signal back.

We have a better transmission on this drone, and with all of these trees, it’s so nice to be able to just cruise around and not having to worry too much about the signal. Obviously there are some limitations, especially when you are flying in a park like here, because we have a lot of obstacles, a lot of interference.
So yeah, for now this seems like a fantastic drone for cruising, and it’s really sensitive. That’s one thing that I can definitely say. The signal seems very similar to the original Avata. I’m sure it’s a bit better. So far I can’t really say, but I will switch to sport mode in just a second, because I want to experience that as well.
Now we’re getting low signal as well here, so let’s just turn back. The way the signal degrades is actually nice, because it’s not so blocky. I mean, it is blocky, but at the same time you can still see what’s going on. It’s not just a huge mess. But it’s still, you know, not ideal, the way that it degrades. But it’s okay, so you can understand that it’s time to stop pushing and start turning around.
There we go, sport mode. Wow, wow, it’s screaming like crazy! Wow, wow, wow, wow, wow. Okay, I was not expecting that. The thing is really moving. I can definitely say that it’s impressive how quick it moves. And yeah, I’m sorry for my bad controls, I’m really trying to get used to it. It’s not ideal to fly this drone with a remote like this if you’re trying to get super smooth cinematic shots. At least you need some experience with it, and as of right now, I don’t have that much experience with this
At least you need some experience with it, and as of right now, I don’t have that much experience with this remote. The way it’s made and configured, it’s quite sensitive for my taste, but still usable.
Battery Life
We’ve been flying for 6 minutes, cruising and trying some fast maneuvers here and there, and we are at 71% battery, which is really impressive. The battery life that DJI is stating for the Avata 2 is about 24 minutes, I believe. That’s really quite a lot for a drone of this size with a battery like this.

Smooth Flying and Improved Sensor
If you can actually manage to be smooth with the remote controller, it feels amazing how you’re gliding over the surface. You can do a lot with this drone, especially with the new improved sensor size, which is 1/1.3″. That is very similar to what the Action 4 has, so it’s pretty much an Action 4 sensor in this drone.
D-Log M and Color Grading
The Avata 2 comes with D-Log M, as opposed to D-Cinelike on the original Avata. We now have an improved flat color profile that we can color grade, and D-Log M is fantastic for color grading. I’m a huge fan of that, and right now, I’m flying in flat color profile and will be grading that later. You can always check my LUTs, as I have some available for D-Log M that are pretty cool and easy to use.
Hovering and GPS Rescue
For cruising, this drone seems fantastic. The best thing about this drone is the fact that you can just let go, and it will hover in place. That’s pretty much the best feature, and of course, the fact that it has built-in GPS. The GPS rescue is super good on these drones from DJI.
Easy Acro Mode with the Avata 2
I want to try a new feature called Easy Acro. Let’s see the 180° drift, which is a new Easy Acro move. You’re moving forward, and when you press left or right on the joystick, the drone just drifts and starts flying backwards automatically. You’re still pressing the accelerator, but the drone actually moves back. That’s one of the reasons why this drone has backwards-facing sensors.
Flip and Roll
We also have flip, and you only need to select the direction. You can do right, left, front, and back. The drone kind of rolls or flips, and it’s really nice. You can do that while you’re doing something in the air, while you’re moving, and it does it very smoothly. It’s not really the best cinematic move, but I guess it’s usable if you want to incorporate that in your footage.
First Impressions and Conclusion
This is pretty much my first impressions of the drone so far. It’s fantastic, and I’m really enjoying it. It seems like a really nice first impression. That was it for my very first flight with the Avata 2. This was genuinely my first time ever putting this drone in the air. So far, I can say that it was a fantastic first experience with the new RC Motion Controller 3, the new improved sensor size, and the better camera quality.
The drone flies fantastically, and I cannot wait to put it in manual mode so I can do some acro moves myself as soon as I have the FPV Remote Controller 3. For now, this is everything I have for you from today’s video. Thank you so much for watching. This is Mike from Drone Supremacy. I’ll catch you in the next one. Ciao!








+ There are no comments
Add yours