Today, I want to talk about the latest version of the DJI Fly application, version 1.2.8, which emphasizes user experience and keeps you updated on all the rules and regulations you need to follow when flying your drone.
DJI Fly App Update Explained
Explaining the C labels
First things first, there are still many people unaware of what different C labels mean on a drone.
Perhaps you’ve seen labels like C0, C1, C2 and don’t know their meanings.
There are also different subcategories where you can fly your drones, such as A1, A2, and A3, and I’m going to give you a quick rundown of all that.
For example, C0 drones are those that weigh less than 250 grams, such as the Mini 4 Pro or any other drone within the mini category of DJI drones that also fits the C0 criteria.
C1 drones weigh between 250 g and 900 g, such as the Air 2, the A2S, and the Air 3, all classified as C1.
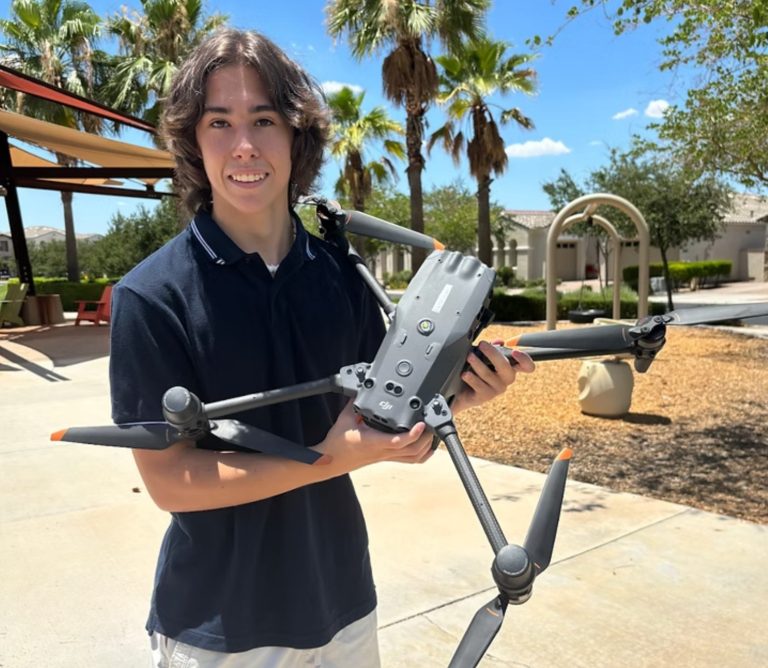
C2 drones weigh between 900 g and 4 kg, like the Mavic 3 Pro, which is just over 900 g and falls into the C2 category.
Drones like the Mavic 3 Classic, the Mavic 3, and the regular Mavic are all within the C1 category, as they weigh less than 900 g.
Finally, we have the C3 and C4 drones, weighing between 4 kg and 25 kg.
These are larger drones used for filmmaking, agriculture, surveillance, and other purposes, but they belong to a completely different category because of their weight.

Explaining the subcategories
Then we have categories like A1, A2, and A3.
In the A1 category, you can fly over people but not over large gatherings, like concerts.
A2 allows you to fly close to people but not over them.
And in A3, you must fly far from people.
These rules and regulations are unified across most European Countries, so whether you live in one of these countries or plan to visit and fly there, you must obey these rules.

Easy online tests
Fortunately, the test that grants you the license in the A1 and A3 categories, which allows you to fly close to or over people depending on your drone type, is quite easy.
It’s all online, and you can study for just a couple of hours.
There are many free materials online, and the test itself is also free.
It costs nothing besides a little time and effort to pass the test and ensure you are licensed to fly your drone in those European countries safely.
DJI Fly app helps
DJI has made it super easy to access all this information within the DJI Fly App.
Whenever you want to fly, you can open the app, check the rules and regulations, and be aware of any requirements in the specific area you plan to fly. You’ll know if you’re breaking any rules.

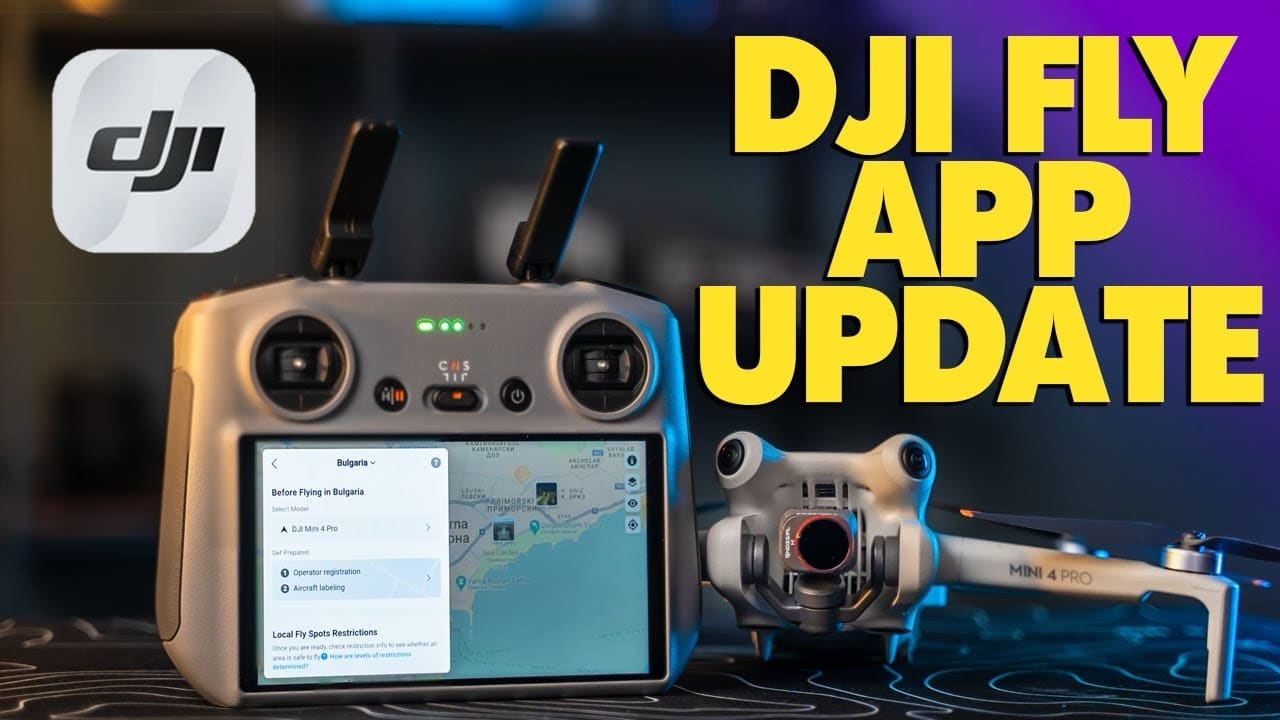
When you open the DJI Fly application, in the upper left-hand corner, you’ll see a new button that says “Before You Fly.” It will automatically locate you and show you the local rules and regulations.
The app will display different Geo zones, the unlock zones, the authorization zones, and new flying spots, which I’ll discuss later in the video.
There’s also a sign that says “Before flying in Bulgaria, check out now,” which I’ll press.
First, you can select the model of drone you’re planning to fly, as different drones have different requirements.
Let’s say I want to fly my Mini 4 Pro. I select that, but you can choose any other drone, even older models like the Spark.

Next, in the “Get Prepared” section, you’ll see that you need two things: operator registration and aircraft labeling.
You need to register yourself as a pilot with your National Aviation Authority, then get a number to label all your drones.
Besides that, you can see local flying spots and restrictions, whether they have weak, moderate, or strong control.
However, I’m not sure how accurate this information is, as we don’t have any spots with strong control in my area, only four with moderate control and the rest with weak control.
This feature makes it super easy and convenient to know what you need to comply with the rules and regulations and is also helpful if you plan to travel to a different destination and want to know if it’s worth bringing your drone.

As you can see, my drones are both turned off, yet the app works and gives you the ability to check different things, plan accordingly, and learn more about the licenses and things you need to have.
This feature prepares you with the maximum information you need to know before even powering on your drone.
Now, let’s dive a little deeper into the new interface of the fly spots feature in the DJI Fly app.
DJI Fly App Shows You Cool Spots to Fly
We’ve seen this map already, and I want to quickly demonstrate what all these buttons do, how you can browse these fly spots, add your own, and take advantage of this great new feature. First, we see these little

thumbnails of flying spots added by other people in this city. If we zoom in, we can see the Cathedral, one of the most popular places in the city and its biggest cathedral.
We see a thumbnail of this building and more information about the flying spot, such as control levels and Geo zones.
As more people visit and enter information about this place, it will be populated with more recent and accurate information.
Safety control and frequently asked questions can be found at the bottom. There’s also a review section where people can leave comments, like the spot, add it to their plan, and review it themselves.
This feature makes it super easy and convenient to browse through all these locations, create your own map of places you want to visit, and ensure no surprises await you there.
Now, let’s focus quickly on the four buttons in the upper right-hand corner of the screen. If we press the info button, we’ll see all the map layers that have been activated and some that have been deactivated, like the warning zone.
Pressing the second button shows a different map view, similar to a satellite view on Google Maps, which is handy for scouting new flying spots. Pressing it again switches back to the regular map view.

The next button toggles the visibility of the thumbnails of the different flying spots. If turned off, you won’t see the thumbnails but will see a camera logo indicating a flying spot. The last button locates you on the map using your GPS.
I love shooting hyperlapses in the city. It’s a great way to showcase action, movement, and the passing of time, and it’s just a fantastic use of your drone. Since we’re in a busy area with lots of people and cars, it’s a good idea to use a sub-250 g drone to comply most closely with all the rules and regulations.

That’s why I’m using the DJI Mini 4 Pro. I just finished filming a waypoint hyperlapse and now I’ll add this boulevard as a flying spot because I think it’s a great location for others to shoot similar scenarios, like hyperlapses or scenes with more movement.
Especially at night, it becomes even more dynamic with the lights of the cars.
Let me zoom in on this boulevard, called Leski, one of the biggest in the city. I’ll tap the plus button, select the location, and create a new flying spot called Leski Boulevard. I’ll give it a five-star review and share information about scenery, safety risks, and good photography locations to help other users.
You can add topics like overpasses, FPV shots, portraits, night views, bridges, architecture, sunrises, and sunsets, and watch for obstacles or crowds.
You can also indicate if any security staff is in the area. After adding a photo, I’ll post this spot. It’s important to note that this flying spot will not be automatically approved; it has to go under review, which is good to prevent people from adding inappropriate locations.
DJI Mavic 3 Pro is steady as a rock
Another favorite location of mine to use my drone is the chapel behind me. You’ll see it on the hill, overlooking the entire village below.
It offers stunning views of the surrounding area and is incredibly beautiful, sitting alone on the hill next to a cemetery and a toxic water waste with an interesting color.

There are no people around, not a single living person, so it makes sense to use the Mavic 3 Pro for stability in the windy conditions. After shooting with it, I’ll add this location to my favorite flying spots.

I’m going to end the video here, as my hands are absolutely freezing. But I hope you enjoyed this update on the new DJI Fly application. Don’t hesitate to drop a comment if you have any questions or concerns.
I would love to help you out if I can. This is Mike from Drone Supremacy. Take care, thank you for watching, and I’ll catch you in the next one.
Ciao!
All photos courtesy of Drone Supremacy.




+ There are no comments
Add yours