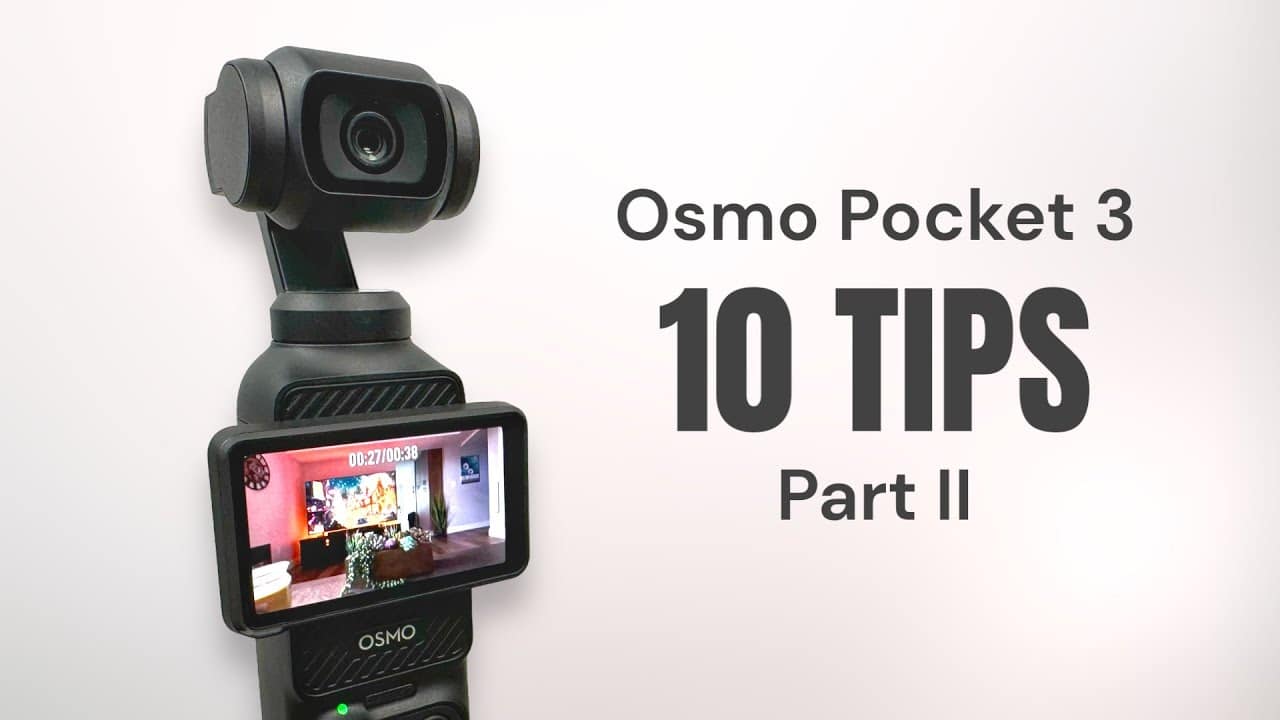
G’day folks, Shawn here from Air Photography. So, this is part two of my tips and tricks for the new Osmo Pocket 3. If you haven’t watched part one, I’ll include a link for it in the description of this video. It’s got a lot of useful tips to help those who are brand new to the Pocket 3 get familiar with their camera and where everything is located.
10 Tips for the DJI Pocket 3 Camera
Now in part two, I’ve got another ten tips that will help new users get up and running quickly with their cameras.
Tip 1: Battery Status
So tip number one is when you have the extended battery handle connected. At any given time, you can check the battery level for both devices by clicking on the icon at the top here, the little battery icon, and you can see it’s going to list the battery level of the Pocket 3 itself and for the battery handle.

Tip 2: Wireless Transmitter
Now tip number two has to do with the hard case for the Osmo Pocket 3 and the microphone transmitter. Of course, we have spots in there that will hold the wide-angle lens and the mist filter magnetically. But if you have the wireless transmitter, there’s a little spot there at the top that you can clip it in to keep it all together.
Tip 3: Joystick
Now, tip number three has to do with that joystick. The joystick is very useful for getting creative and creating some cinematic shots. Within the settings, you can actually go in and change the speed at which that gimbal moves. So, to do that, we’re going to swipe down. We’ll go over to our settings. And we’ll scroll until we get to the option where it says Joystick Speed. We can click on that, and at the side here, we can actually adjust the speed of the gimbal. It goes from a speed of 1 all the way up to 7, 4 being the default. And on the other side, we can actually control the zoom speed as well. Again, that can help you get a little bit more creative and add a little bit more precision to your zooming. With it, we can go from speed 1. Again, up to speed 7.
Tip 4: Timecode Support
Now tip number 4 is, just like the DJI Action 3 and the DJi Action 4, the Osmo Pocket 3 supports timecode. To access all the timecode options, we can swipe down to go into our settings. Then we’re just going to scroll down. You can see there is an option for timecode. You can see the current timecode. From here, we can change all our settings. This is very handy if you’re going to be filming with multiple cameras and you want to sync everything up in post. It’s not a feature that everybody’s going to use, but it definitely can come in handy in some scenarios.
Tip 5: Noise Reduction and Sharpening
Now, tip number five, has to do with noise reduction and sharpening. This was first introduced in the Action 4. And we can adjust it on the Pocket 3 as well. To access these settings, we’re going to swipe over from the right-hand side. And down at the bottom, you can see we have an option called Image Adjustment. And you can access that from both Pro Mode and Normal Mode. So, to get to the settings, we’re going to click on that. And then, we’re going to select Custom. And on the right-hand side, you can see we have the option of Noise Reduction. Right now, it’s set to zero, and from there, we can go to plus 1, or we can go to negative 2 on the other side. We have our sharpness right now. The default is 0, but we can go to plus 2 Or down to negative 2. So you can go and set your sharpening level and noise reduction to your own personal tastes.
Tip 6: Glamor Mode
Now, tip number six has to do with a feature that was introduced with the DJI Pocket 3, and that is called Glamour Mode. Glamour Mode can help smooth out your skin, get rid of wrinkles, make your nose a little smaller, and brighten your face. We can enable glamor mode by swiping over from the right-hand side. And again, you can access this setting from both the pro mode and the normal mode. But you can see here we have Glamour Effects, and right now, it’s set to off, and we can toggle it on. Now you’re going to get a message saying in order to adjust the Glamour Effects, you have to connect to the Mimo app. Now, the Glamour Effects will work whether you’re connected to the Mimo app or not. It’s just going to use the default settings. When we have Glamour Mode turned on, you can see we have a little icon of a face at the top right-hand side. And within the Mimo app, you can see here when we click on the Glamour icon, it gives us all the settings we can adjust. We can adjust the strength for each option. Now, once you have it set the way you like, you don’t have to keep the Mimo app running. You can shut that down. All those settings are going to be retained within the DJi Pocket 3.
Tip 7: Zooming
So tip number seven has to do with zooming. The Osmo Pocket 3 is capable of a 2X digital zoom, and the normal way to do it is by using that little slider at the side there. You can see we can slide up and down. But you can actually switch the zoom capability from the side there down to the joystick. So if we just tap on it, you can see now when we press up and down on the joystick, it’s going to zoom in and out. Now, we can still go side to side on the joystick, but that up-and-down movement has now been changed to zoom. But not to worry, if you want to be able to move the gimbal up and down, that button at the side that used to be our zoom was changed to the up-and-down movement of the gimbal. So you’re still able to access all the features.
Tip 8: Joystick
Now, tip number eight is again to do with the joystick. This joystick has multiple functions. Of course, we can use it to move the gimbal up and down, side to side. But if we press and hold, that’s going to lock the gimbal. So it’s going to lock it pointing forward or whatever angle you have it set at. That can come in very handy when you’re trying to get certain styles of shots. A double press of the joystick is going to recenter the gimbal. And a triple-press is going to put it over into selfie mode. Triple-pressing it again will put it back facing forward. Putting it into selfie mode can also be done by pressing that button down at the bottom right-hand side.
Tip 9: Focussing with the DJI Pocket 3
Now, tip number nine has to do with focusing. You can tap on the screen to set the focus if the pocket isn’t focusing correctly or if you want it to focus on a certain subject.

Tip 10: Active Track
Now, finally, our last tip is to do with active tracking. Of course, we can just tap on a subject to start tracking it, and it’s going to, for the most part, keep it in the center of the screen. But sometimes you want to get a bit creative, or perhaps you’re standing off to the side because you’re demonstrating something. You can actually move the joystick and the position of the tracking. We’ve got the subject off at the left-hand side there. And you can see it’s going to do its best to try and keep it at that spot even when we move the camera around. So, that can be a useful feature in many different scenarios.
Well, folks, those are another ten tips and tricks for the Osmo Pocket 3. Hopefully, you enjoyed this video and got some value out of it. Give it a thumbs up if you did; it’s always greatly appreciated, and we’ll see you in the next one.









+ There are no comments
Add yours