


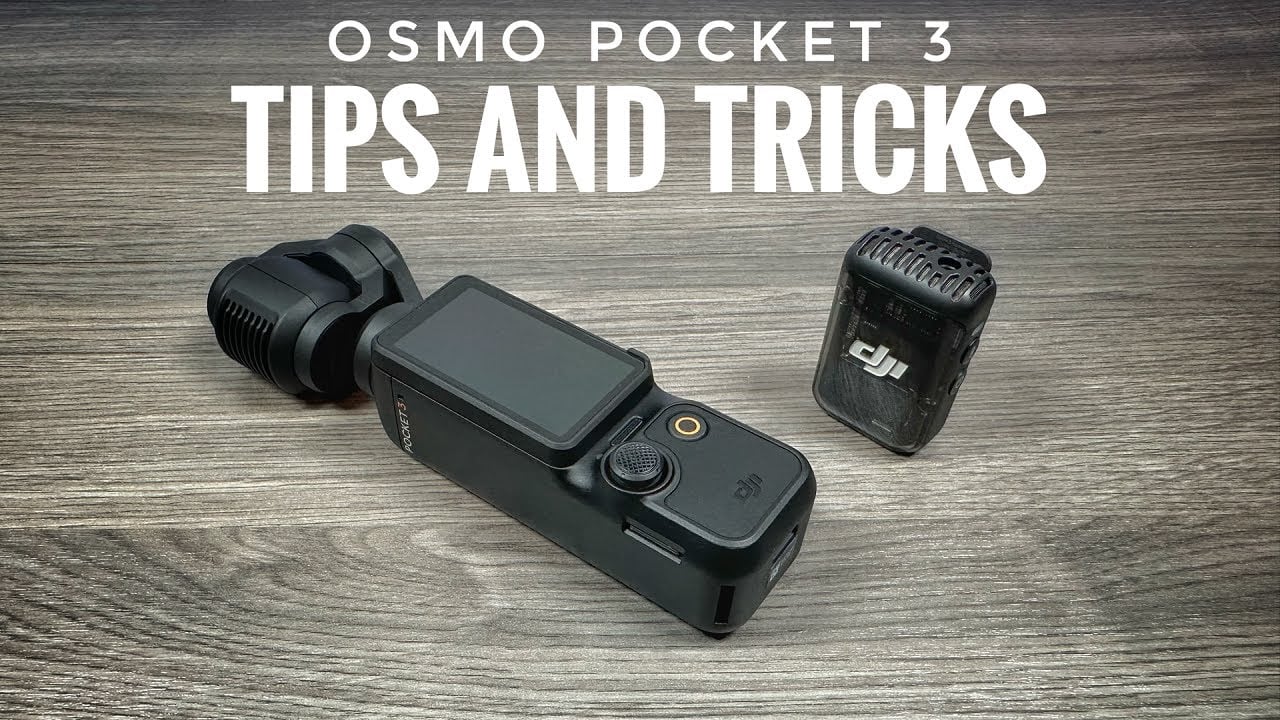
Good day, folks! Shawn here from Air Photography. In today’s video, I’ve got ten tips for the new DJI Pocket 3. We’re going to breeze through these quickly to keep this video short and sweet. So, with that said, let’s jump right in.
Tip 1: Rotating display on DJI Osmo Pocket 3
The first tip is about changing the behavior of the front screen when you power it off. By default, when you rotate the screen, the device powers on, and to power it off again, you rotate the screen, and it gives you a 2-second timer before shutting down. You can cancel that 2-second timer if you want to continue filming in portrait mode. However, in our settings, there’s an option to “rotate screen to power off.”
By default, it’s set to give you a 2-second timer, but you can set it to shut down immediately by selecting “now” or choose to have it never shut off. This way, if you plan to film a lot in portrait mode, you can simply rotate the screen, and it will go right into portrait filming. Personally, I prefer having it set to “now.” When we rotate the screen, it immediately powers off.
Tip 2: Direction the camera faces on startup
The second tip is about changing the direction the camera faces on startup. By default, when we power it on, it faces forward. However, if you plan to use your Pocket 3 primarily for vlogging, you can change it to face you automatically. In the settings, you’ll find an option called “gimbal startup direction.” By default, it’s set to “forward.” We can change that to “backward.” You can also set it to “last setting.” Now, when we power it off and then back on, it turns and faces me.
Tip 3: Auto Face Tracking
The third tip is also related to vlogging. You can have the Pocket 3 automatically start face tracking when you rotate the screen. To do this, swipe down and turn on the “face tracking selfie” feature. Now, when you rotate the camera, it looks for a face and automatically starts tracking. No matter which way you move the camera, it will keep you centered.
Tip 4: DJI Mic 2 Record Button
The fourth tip is about the DJI Mic 2. If you get the Creator combo or purchase it separately, you can use the link button on the side of the transmitter to stop and start recording on the Pocket 3. When you hit the link button, it starts recording, and hitting it again stops recording. This feature is handy if you have your Pocket 3 mounted on a tripod while filming; you can stop and start recording without walking over to it and pressing the button manually.
Tip 5: DJI Mic 2 Field Recorder
The fifth tip is also related to the microphone. If you have the microphone, which you may have purchased with the Creator combo or separately, you can use it as a standalone field recorder. It offers excellent audio quality. To use it, power the unit on and press the record button. You’ll see a red light indicating it’s recording audio. If you want to record a separate audio track while filming, you can easily do so. Later, you can connect it to your computer or iPad to transfer the audio files and sync them with your video.
Tip 6: DJI Mic 2 Audio Meter
The sixth tip is still related to the microphone when it’s connected to the Pocket 3. At the top, there’s an audio meter. The green bar along the top shows your audio levels. When you move the transmitter closer to your mouth, you’ll see a bit of orange at the end, indicating it’s peaking. If you move the transmitter further away, the audio levels decrease. This visual indicator allows you to quickly monitor your audio levels while recording.
Tip 7: Record Button to Turn On/Off
Tip number seven relates to powering on and off. You can use the record button on the front to power the unit on and off. When the unit is powered off, a quick press on the record button powers it on. While it’s powered on, a press and hold of the button powers the unit off.
Tip 8: Quick Capture Feature
Tip number eight is about the Pocket 3’s quick capture feature. When you rotate the screen to power it on, it automatically starts recording. You can enable this feature by swiping down from the top, clicking on the “screen rotate and capture” icon, and enabling it. Now, when you rotate the screen to power it on, it automatically starts recording. When you rotate the screen to power it off, it stops recording and provides a countdown option.
In that same menu, you can choose different options for what happens when you rotate the screen. You can use your last setting, record a video, perform low-light recording, or start filming a hyperlapse.
Tip 9: Active Tracking
Tip number nine relates to active tracking. You can easily start active tracking a subject or person by double-tapping on the screen. For example, you have the DJI Mic on the screen, and a double tap starts tracking it. To stop tracking, simply press the joystick.
Tip 10: Focus Style
Tip number ten is particularly interesting. You can change the focus style. To do this, swipe over from the right-hand side and enable “Pro Mode.” At the bottom, on the left-hand side, you’ll see “Focus Mode” with three different options: single, continuous (which is the default mode), and product showcase. The product showcase mode blurs the background to create a soft focus effect, giving your footage a more cinematic look.

This is a great tool for creative shots and capturing cinematic b-roll footage. When combined with active tracking, you can quickly and easily capture impressive footage.
So, there you have it, folks, these are 10 quick tips for the new DJI Pocket 3. I have more tips coming, so stay tuned for part two in the next week or so. I hope you found this video helpful and gained some value from it. If you did, please give it a thumbs up; it’s always greatly appreciated. We’ll see you in the next one.


+ There are no comments
Add yours