


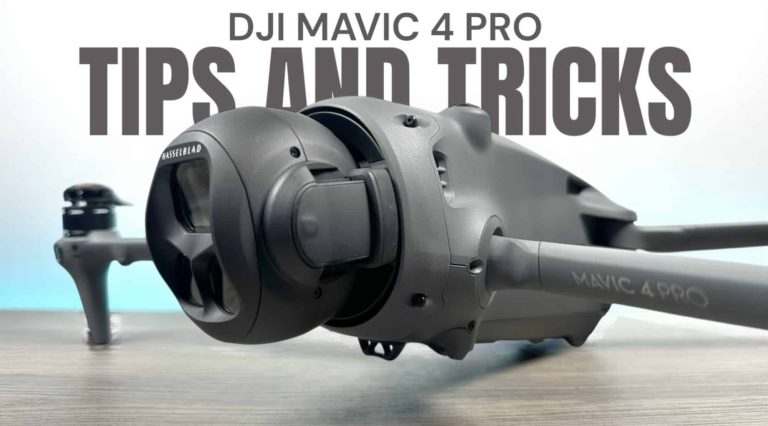
Good day, folks. Shawn here from Air Photography. So, if you are planning on purchasing the Mavic 4, I’ve got a tips and tricks video here for you. Today, we’re going to go over nine tips—different things that you may or may not know about the Mavic 4 and different things you can do with it.

Tip 1: Increase Speed
The first tip is to increase the speed. The default advertised speed of the Mavic 4 Pro is 25 m/s in sport mode, but we can actually turn that up in the settings. So, if we go over to our settings here, we’re going to go to control. Then, we’re going to go to gain and expo tuning. You can see when we go over to sport mode, the max horizontal speed is set to 25 m/s, but we can actually increase that all the way up to 27 m/s. So, that’s going to give you a little extra speed.

Tip 2: Filming in Vertical Mode and Gimbal Range
Tip number two is to do with filming in vertical mode and the range of the gimbal. You’ll notice here at the side when it shows us the pitch of the gimbal when we have it in vertical mode, we can go down to -10° and we can go up to 10°. But that’s the limitation when we’re filming in vertical.
However, there are two things we can do if we need to increase that range. First thing we can do is go to our settings. If we go over to control, we’re going to scroll down until we see this option there. It says tilt angle expansion in portrait. If we turn that on and we go back now, you can see when we go down, we can go to -22° and when we go upward, we can go to 12°. So that is going to increase the range a little bit.
However, if you need even more range, what you can do is go to your settings. We can set it to 4K 9:16. In that mode there, you can see we have full range of the gimbal. In that mode, we can go all the way down to negative 90 degrees and we can go all the way up to 70 degrees. Now, it is limited to 4K, so you can’t make full use of the sensor, but in this mode, usually you’re going to be filming for social media, so it’s more than adequate.

Tip 3: Compass Navigation
Now, the third tip is to do with the compass down in the bottom. Of course, we can tap on it to expand it into a full map, and we can use the button down at the right-hand side to switch to the compass. Tap it again. That’s going to bring up our vision assist. But instead of tapping that little button, which can sometimes be a little finicky—it’s really small—we can actually just swipe on it and that’ll cycle through the different modes.
Tip 4: Decoupling Vision Assist
And now tip number four is again to do with that compass. If we switch it over to vision assist, we can actually decouple it just by tapping on it and pulling up. That allows you to keep vision assist running. You can drag it anywhere around the screen, but it still gives you access to some of the other tools as well.

Tip 5: Tracking Modes
Now, tip number five is to do with tracking. If you’re brand-new to these drones and you’re going to be doing some tracking using active track, there’s two different types of tracking. We have auto and manual. In manual mode, you have full creative control. You can place the drone anywhere around you in a complete 360° just by touching on the screen. Just dragging the marker around will place the drone in that position. And there’s two different rings there for two different distances.
If you want the drone following a little bit closer, you just drag it to the inner ring. If you want it following from a greater distance, you can drag it to the outer ring. Now, alternatively, if you prefer to focus on your activity, you can put it into automatic mode. In automatic mode, the drone is going to make all the decisions. It’s going to take things like aesthetics into consideration.
The drone is going to move around to different positions to try and compose a good-looking shot. For some people, that’s going to be a better option that allows you to focus on the task and let the drone do all the work.
Tip 6: Powering On and Off
Now, tip number six is to do with powering on and powering off the drone. Just like we’ve seen with the DJI Flip, the DJI Mavic 4 Pro will automatically power on when you unfold it. Specifically, this back right arm by default. That’s how it’s set. But we can actually change that in the settings. If we go to our settings, we’re going to go over to safety and we’re going to scroll down near the bottom. You can see we have two options. Unfold arm to power on. By default, that’s enabled. But we can also power it off by folding it up. That’s disabled by default, but we can enable that. Or again, we can disable both if you prefer to power it on and power it off manually.
Tip 7: Previewing Log Footage
Now, tip number seven is to do with previewing log footage, footage that you’ve captured in log. If we switch to D-Log or D-Log M, just like we’ve seen with other drones in the past, we have the option for color display assist. That’s going to give you a more accurate representation while you’re filming what the footage will look like. Of course, the footage is going to be in the log format, very desaturated, but it can help visually see things and know what the footage is going to look like.
But with the Mavic 4 Pro and the RC Pro 2, we can actually view back our footage in log format as well. At the top here, you can see we have the option for color display assist. So, you can enable that or disable it. So, if you’re done filming for the day and you just want to look at your footage, you want to see what it’s going to look like once it’s been graded, you’re able to do so, or you can turn it off and look at the raw log footage.

Tip 8: Audio Options
Now, tip number eight is to do with audio. The DJI RC Pro 2 features a built-in microphone that can embed audio into screen recordings, but also your HD footage. To capture audio onto the HD footage, you want to make sure that’s enabled in the settings. We do so by going to our settings. We’re going to make sure we’re on the camera tab. And if we scroll down, you can see we have an option there for app recording. You can turn that off if you don’t want it. Or if you do want audio embedded into your videos, you can enable that.

Now, on top of that, the RC Pro 2 does support the DJI Mic ecosystem. So, you can plug one of these transmitters directly into the USB-C port, or you can pair just one of the transmitters via Bluetooth to the controller. And to pair the transmitter via Bluetooth, we’re going to go to our settings. We’re going to power on our DJI Mic 2. We’re going to go to connected devices and then we’re going to tap on pair new device and we’re going to put the microphone into pairing mode by pressing and holding on the linking button. That light will start flashing fast and then we just have to find it in the settings. Here we got DJI Mic 2. So, we’re going to tap on it. We’ll click on pair. And now you can use this microphone to embed audio into your screen recordings and into the HD video.
Tip 9: Quick Shot for Camera Rotation
Now lastly, tip number nine is to do with a quick shot that was specifically designed for the Mavic 4 Pro. Of course, one of the new features of the Mavic 4 Pro is the ability to rotate the camera. That can help get you some really interesting dynamic shots. The problem is some people find that very disorienting when you’re flying and rotating the camera. So DJI has made a quick shot that can do all the work for you.
All you have to do is go in. You can set all your parameters and then hit go and it’s going to go ahead and fly and do the maneuver. That’s going to leave you with that rotating footage, but you don’t have to worry about being disoriented. So, an interesting new quick shot that’s specifically designed for the Mavic 4 Pro.
Conclusion
So, yeah, folks, that’s it. Those are my nine tips for the DJI Mavic 4 Pro. Hopefully, you enjoyed this video and found it had value. Thanks a lot for watching and we’ll see you in the next.

Photos courtesy of Air Photography.
Discover more from DroneXL.co
Subscribe to get the latest posts sent to your email.


+ There are no comments
Add yours