


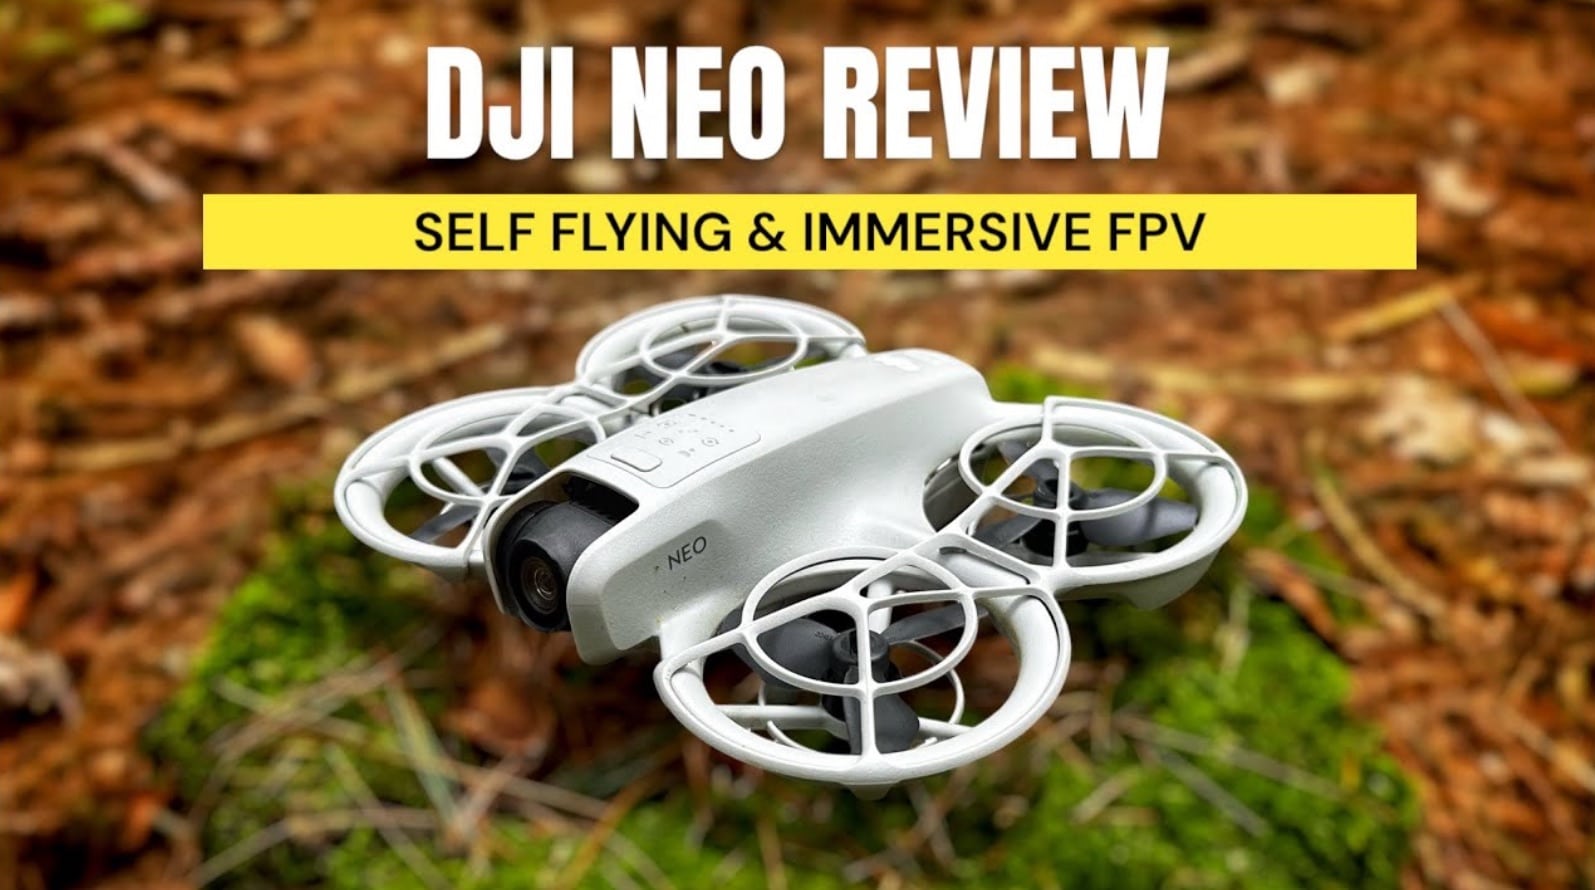
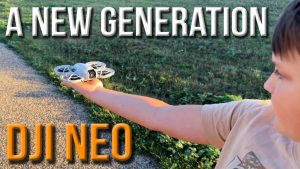
Good day folks, Shawn here from Air Photography. Today, DJI has launched a brand new drone called the DJI Neo, and I think this drone is going to be very appealing to many types of users due to its capability and ease of use. It can go from an easy-to-use autonomous drone that can launch from the palm of your hand to a traditional drone that you fly with a controller, right to an FPV drone that you can fly with the DJI Goggles Motion 3 or FPV Controller. This is an ultra-small and compact drone.
Design and Specifications
The DJI Neo comes in at 135 grams and its styling is very similar to that of the DJI Avata 2. For some visual reference, here is the Neo and here is the Avata 2. You can see that they are very similar; both have a ducted design. The Neo has propeller guards that come pre-installed but can be easily removed. It comes with a 2-in-3 blade prop and is capable of filming in 4K at 30 frames per second. It features a 1/2-inch sensor, has 22 GB of built-in storage (no memory card slot), and is rated for 17 minutes of flight time with the prop guards installed and 18 minutes without them.
Versatility in Flight Modes
What makes the DJI Neo really unique and different for DJI is the many different ways in which you can utilize and fly it. In its simplest form, it is a completely autonomous drone that can take off and land in the palm of your hand. It has a simple one-button control to cycle through all the different intelligent QuickShot modes. You press the launch button, the drone goes up, performs the task, and then lands back in the palm of your hand once you place it underneath. Modes include Dronie, Circle, Rocket, Spotlight, Direction Track, Follow Bar, and Follow 3.2.1. In this mode, the Neo is super quick to deploy; it literally fits in your pocket.
For vloggers, this is going to be a great tool—just so quick and easy to deploy. The self-flying autonomous mode is going to be a great tool for those who just want to easily capture some footage to share on social media or for vloggers who want to capture some B-roll to mix into their vlogs. It’s really convenient and allows you to enjoy the moment without being bogged down with gear.
Smartphone and Controller Options
The next way to fly it is by connecting it to your smartphone and using the DJI Fly App. In this mode, it connects via Wi-Fi, so you are limited to range, but it allows you to go in and change all the settings, adjust the parameters of all the QuickShots, and get a visual feed of what the drone sees. There’s even a manual mode that brings up some virtual joysticks so you can get some more traditional footage. It’s a very intuitive interface, very simple and easy to use, even for complete beginners. They’ll be able to figure it out very quickly. While using the app, you’re able to deploy all the QuickShots.
The third way you can fly is with the brand new RC-N3 controller. Once you have your smartphone mounted, you use the DJI Fly app and have full access to all the settings. It’s going to be very familiar to those who have flown DJI drones in the past. Essentially, you just fly it like any traditional drone. Flying with the RC-N3 controller, you’re going to have more precise movements using the sticks. Again, you can go in and change all your settings and set your safety settings. So for many people, the RC-N3 is going to be a great option. You can get traditional drone flight but at any time, you can switch it back to the autonomous mode and go back and forth depending on what the situation calls for.
FPV Mode
The other way you can fly it is by using the DJI Goggles 3, the FPV Controller 3, or the Motion Controller 3. When using it with this equipment, essentially it becomes just like a mini Avata. It has a level 4 wind rating, so you will have to be careful on extremely windy days, but I actually have flown it on some pretty breezy days and it’s performed quite well. In sport mode, it can reach speeds of up to 8 m/s. If you put it into manual mode, you can get up to 16 m/s, just like the Avata. This has normal mode, sport mode, and you can configure the controller to put it into manual mode if you want to have a completely manual flight if that’s something you prefer to do. It’s extremely quiet, coming in at 79 dB, so it’s not going to be obtrusive to other people also enjoying the space in which you’re flying.
When flying in FPV mode, you have the option of using RockSteady to have stabilized footage. You can also enable HorizonSteady if you don’t want the horizon moving at all, but you also have the option of turning the stabilization completely off if you prefer to use something like GyroFlow. When you’re using the Motion 3, the DJI Neo is capable of that easy Acro feature that we’ve seen introduced with the Avata 2. Easy Acro allows even beginners to do complex aerial maneuvers. You can do things such as rolls, flips, and 180° drifts. It also supports head tracking, so if you have it connected to the Goggles 3, you can enable head tracking.
Additional Features
As you can see, the Neo is a very versatile drone. It can go from being an autonomous drone taking off from the palm of your hand to a more traditional drone flight with the DJI Fly app and even FPV-style flights. On top of that, the Neo actually has some really interesting features. First of all, it supports voice commands. At the time of filming this video, that’s not available yet, but it should be available upon launch. Once it is available, I’m going to make a full video demonstrating that.
It also has a really nice feature allowing you to capture audio with your smartphone when connected to the Neo. There’s a switch right on the screen that allows you to toggle on voice capture. The DJI Fly app will automatically remove the drone noise, and when you transfer the content over to your mobile device, the audio will be automatically synced to the video. You can utilize a microphone built right into your device. However, additionally, you can connect something like the DJI Mic 2, and that’s going to ensure even better audio. So that feature is going to be great for people who are going to be using the Neo for vlogging and creating social media if you want to have audio in your clips.
Conclusion
So one really nice new feature of the DJI Neo is the ability to capture audio, and you can capture via the DJI Mic 2 connected to your phone or you can use the built-in microphones of the phone itself. The DJI Fly app will get rid of most of the drone noise so you shouldn’t be able to hear it, and when you transfer the footage over to your phone, the Fly app will synchronize both the audio and video. It works with all the different QuickShots.
The DJI Neo supports QuickTransfer, so you can easily transfer footage over to your mobile devices. You can also plug it directly into your mobile device or computer where you can manually transfer over all the content. The nice thing is you don’t have to have the Neo powered on to do that. In fact, you don’t even need to have a battery in it.
You do have an option of purchasing a Fly More Combo that does come with some extra batteries and a charging hub. It’s really interesting about this charging hub—it’s the first charging hub from DJI for a drone that supports simultaneous charging. So as long as you’re using a 45W charger or higher, all three batteries will charge at the exact same time compared to the past where it would only do one battery at a time. If you’re using a 30W charger, it’ll only do two at a time. So that’s actually a nice feature as well that will get you back up and flying a lot quicker.
Of course, if you get the single unit itself, you can just plug it into the USB-C on the back there, and that’ll charge the battery while installed in the drone. Just like the Avata, we have a one-axis gimbal; the rest of the footage is stabilized with electronic image stabilization.
So yeah, that is the DJI Neo. What a fun little drone! I think this drone is going to be appealing to many different types of creators and hobbyists. Not only is it super easy to deploy—no controller needed—you can just hit a button and capture the footage you want to capture. Or if you want, you can fly it with a traditional controller to get a traditional drone flight. And on top of that, you can fly it FPV style with the Goggles 3, the Motion 3, and the FPV Controller 3. You may end up finding you’re using it quite a bit just for the fact that it is so easy to deploy in situations where you normally wouldn’t fly a drone and capture footage just because it’s too inconvenient. You don’t want to bring a big bulky drone with you, a controller—if you’re riding a bike or just out doing some hiking, this is a great way to capture the moment and not be bogged down with gear. Something so simple like this just allows you to enjoy the moment but yet still capture those memories.
Now, if this is a drone you’re interested in, make sure you’re subscribed as I will be covering it fully over the coming weeks and months. I have many videos planned about it. Well folks, thanks a lot for watching, and we’ll see you in the next one.


+ There are no comments
Add yours