


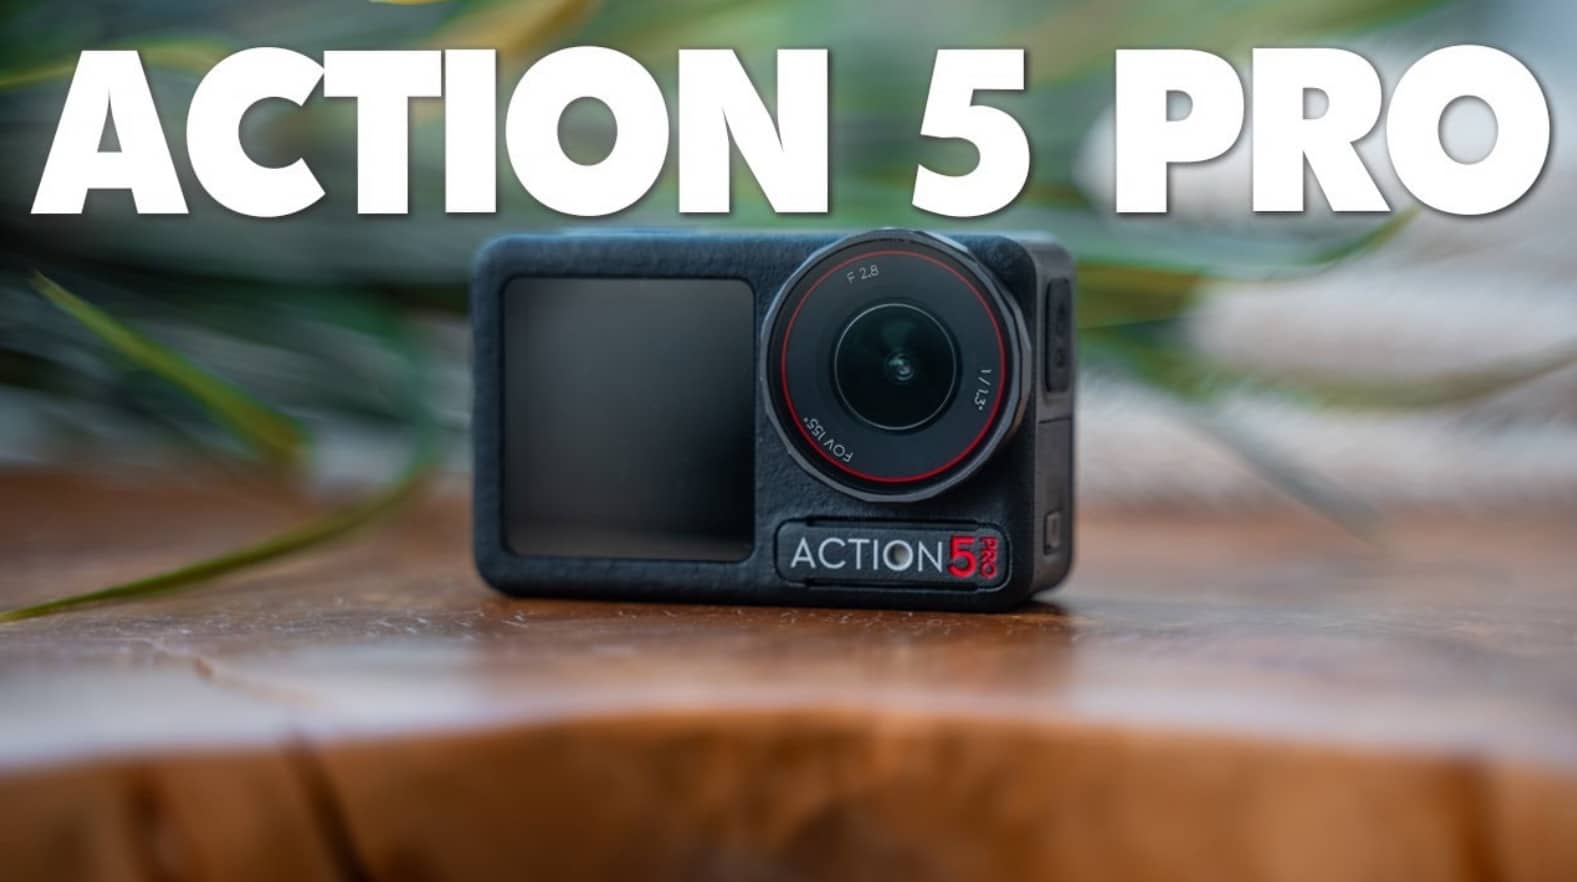
What’s up, guys? Welcome back to another video. Today, as you can see, I’m in a different location. I’m currently on holiday in Greece, but since the weather is kind of terrible – it’s been raining all morning – I figured why not record this video to showcase some tips and tricks that I have for you for the DJI Osmo Action 5 Pro.
This brand new camera that DJI just released has been my go-to for the past couple of weeks, and I think the small things I have to say could be beneficial for some of you who might want to extract the most out of this great, amazing camera. So, without any further ado, let’s get started.

Better videos with the DJI Action 5 Pro
First things first, I’ve already posted an in-depth Review about this camera on my YouTube channel. I’ll link it down below if you’re curious and want to know more about this camera. Make sure you watch that, but this video will be all about some little things, little tips and tricks that I have for you on how to maximize the usage and get the best footage possible out of the Osmo Action 5 Pro.
Frame Rate and Resolution
Starting out, we have frame rate and resolution. Usually, the rule of thumb is to always use the highest resolution possible. When it comes to frame rates, it’s a little bit different because it really depends on what you plan to shoot.
For me, I’ve always shot everything with this camera in 4K resolution, never anything below that, because I just want to have the crispiest, best-looking footage possible. When it comes to frame rate, though, there is a little bit more to say about that.
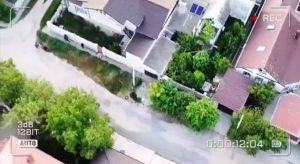
When I fly FPV and attach the camera to my drone, I tend to shoot in a slightly higher frame rate just so I can have more flexibility to slow down the footage if necessary. But that also depends on what I’m shooting. For example, here on this ATV quad and motorbike track, I knew I would have the chance to slow down and really showcase the epicness of what these guys are doing because it’s awesome. So I shot everything, or most of the shots, in 4K 100 frames per second in 4:3 aspect ratio.
This is a feature that is available here on the Osmo Action 5 Pro that allows you to shoot 4K in 100 or 120 frames per second if you want, but it has to be in 4:3 aspect ratio. This is perfect for FPV if you turn off your stabilization and plan to use GyroFlow to stabilize your footage, as this is a requirement for GyroFlow to work. It has to be in wide field of view and 4:3 aspect ratio so you can have the gyro data available and use it to stabilize your footage, which is exactly what I did when I shot these guys, and I think the footage turned out pretty awesome.
For the rest of my shots, I switched between 25 and 50 frames per second. This is just the European standard here, and that looks the most natural to the human eye. But feel free to use 30 or 60 frames per second for your own projects; that’s just personal preference.
Stabilization
For FPV shots, I turn the stabilization off so I can use GyroFlow. It gives me a lot of customization options and flexibility to use the footage as I want and to stabilize it as I want. But for anything else, I use the built-in RockSteady stabilization, which works amazingly well for pretty much everything I throw at it.
I haven’t really used HorizonSteady that much because I don’t feel like it fits the footage that I shot. Maybe on the mountain bike, but it crops a little bit too much, and you kind of lose detail when you do that. I wanted to have more visibility of the handlebars and the hands of the rider as well, so I didn’t want to use HorizonSteady with the mounts that I had for this bike.
ND Filters
A really cool thing about this camera is the fact that it uses the same ND Filters as the Osmo Action 4. These are the filters that I have from the Osmo Action 4, and they fit perfectly well on the 5 Pro. The only thing you need to do to make them fit perfectly is remove the little rubber band around the lens of the camera. You’ll see that the lens is cut in different ways; it’s not perfectly round. It has these little latches that keep the filter from falling down. You just press it, and it’s not magnetic or anything – it just fits perfectly fine on the lens and stays there.
The only filter that I used on this camera when shooting with an ND filter was the ND32. This is just how things were because I was mostly shooting in bright sunny conditions where you have a lot of light, so you need the darkest ND filter available on this camera.
Underwater Filming
One thing you should know when it comes to filming with this camera underwater is that you don’t need any ND filters or tweaks to your settings besides automatic white balance. This is very important for this camera because it has a built-in sensor to know when it is underwater, and it’s adjusting the white balance accordingly. When it knows that it’s underwater, it’s adding a lot of blue to the tone of the footage, and it makes that underwater footage look really nice straight out of the box without any tweaks.
Audio
The built-in microphone is so good that you don’t really need an external microphone to record audio for the majority of shots. I just relied on the built-in microphone, which was pretty good, especially with the jet ski situation where there was so much wind. I was sure that I wouldn’t be able to use any sound from the camera afterwards, but it managed to record usable audio that actually captured the sound of the engine of the jet ski, and I used that in my video.
However, if you still want to record audio with an external microphone, the DJI Mic 2 that I’m currently using here is something that you can incorporate with the Osmo Action 5 Pro. It can connect wirelessly straight away, detects when the camera is turned on, and can be used immediately. It records 32-bit float audio that you can use and tweak a lot if you want to edit your projects with that.
Color Grading
When it comes to color grading and colors in general with the Action 5 Pro, you have 10-bit D-Log M color profile available, and you also have a normal color profile in 10-bit as well. Personally, I always stick to D-Log M just because it gives me that flexibility to add a conversion look and then add my creative look on top of that to create footage that has a more dreamy look to it.
Mounts
Finally, I want to talk about mounts for this camera. The majority of the action shots that you saw from the intro of this video have been shot with a bite mount. This is probably the best accessory that you can get for POV shots. It creates a very natural-looking field of view that you can use on your camera.
I also want to mention this tripod from DJI, which comes with an integrated battery bank. It’s a tripod with little legs that you can set up, and you have a perfectly straight tripod that you can adjust and reposition as many times as you like. The best thing about this is not only that it folds up and you can use it as a tripod, but also the fact that it has a built-in battery. You just need to plug in the cable, turn it on, and you can use it as a power bank to charge your Osmo Action 5 Pro.
Wrapping up my tips on the DJI Action 5 Pro
That’s pretty much everything I have for you guys in today’s video. I hope you enjoyed it. Let me know if you did by clicking on the like button and subscribe for many more videos like this one. This is Mike from Drone Supremacy, from very rainy Greece. I’ll catch you very soon in my next one. Take care and goodbye!
Discover more from DroneXL.co
Subscribe to get the latest posts sent to your email.


+ There are no comments
Add yours