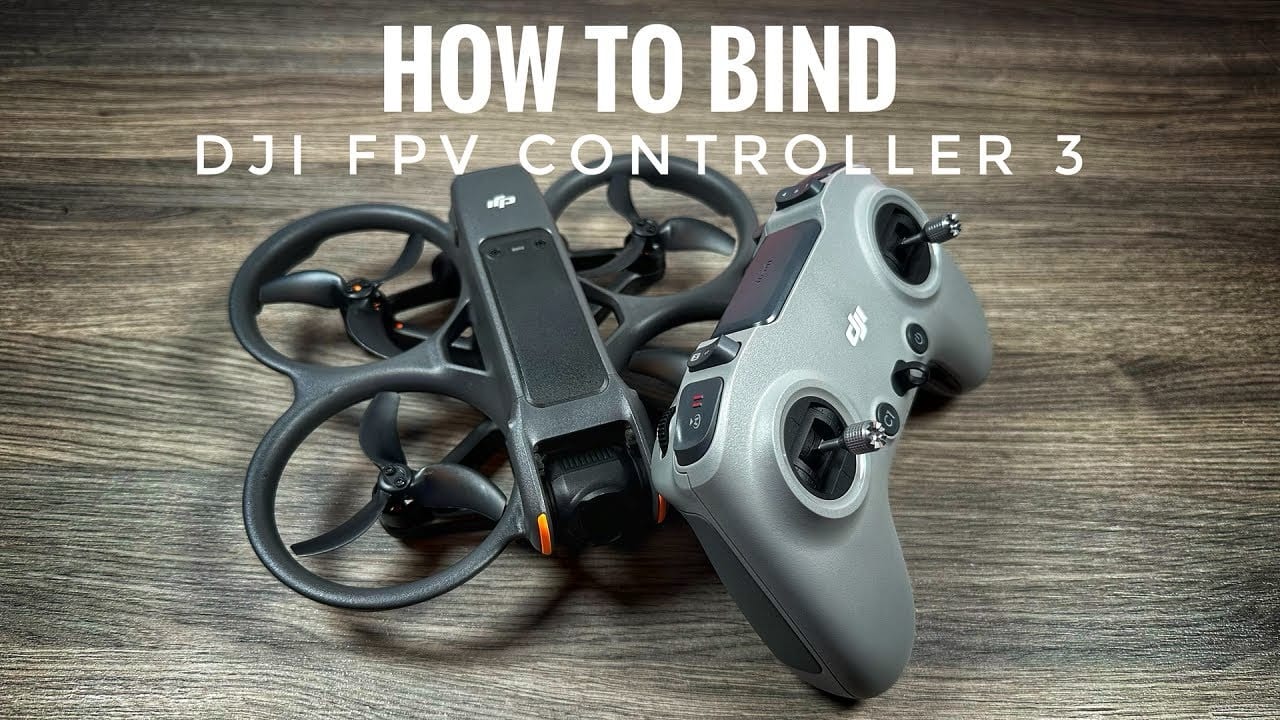
Good day folks! Shawn here from Air Photography. This is just a quick little video showing you how to pair the DJI FPV Controller Version 3 to the Avata 2. If you’re brand new and you’ve just purchased the kit, it’s going to come with the DJI Motion Controller, but if you do prefer a more traditional controller, you have the option of purchasing their FPV controller..
Updating Firmware
Before you start the pairing process, it’s a good idea to make sure all the firmware is updated on all the devices, including the goggles, the drone, and the controller. There is firmware available for it as well.
Pairing Process
I’ve already got mine paired, but I’ll just run through the process again. After that, we’ll take a look at how to put it into manual mode.
- Power everything on.
- Press and hold the power button on the controller until it starts to beep.
- Take the goggles and press and hold the power button on them as well.
- Once the goggles are on, you should see a message saying “Controller Connected.”
- Double check in the goggles to make sure there are no error messages.
- Move the dial on the goggles to confirm that it is communicating with the drone. The camera should move up and down.
Keep in mind that when you pair the controller to the drone, your Motion Controller will remain paired to it as well, so you don’t have to repair everything every time.
Switching Between Controllers
To demonstrate this, power off the FPV controller and power on the Motion Controller. You’ll see it’s already connected instantly. Turn the dial, and you’ll see the camera moving on the drone. Power off the Motion Controller, power the FPV controller back on, and it will automatically pair. It’s very convenient to switch back and forth easily.
Enabling Manual Mode
If you want to fly in manual mode, there are a few things you need to do first:
- Take the tension out of the throttle spring. You want your throttle all the way down and to be able to control it manually. Fold up the rubber flap and use the included Allen key to adjust the tension of the left stick.
- Go to the goggles menu, select “Settings,” then “Control,” and choose “Remote Controller.”
- Go to “Button Customization” and scroll to the bottom to find “Custom Mode.” This is basically our manual mode, assigned to the toggle switch. Press the toggle down to the “M” position for manual mode.
- Confirm the selection.
Once in manual mode, the drone will ask you to do a stick command to line up some dots, ensuring you’re ready to go.
Disabling Attitude Limits
By default, there are still some limits to manual mode, preventing you from accidentally flipping over. To disable this and have full manual control:
- Go to the goggles menu, select “Settings,” then “Control,” and choose “Remote Controller.”
- Go to “Gain and Expo” and find “M Mode Attitude Limit” near the bottom.
- Confirm the warning message to disable the limit.
At this point, you’ll have full control of the drone in the air and can put it in any position you want.
Adjusting Rates
From the “Gain and Expo” screen, you can also adjust your rates. This can be complicated, and everyone likes different types of rates. If you’re just learning, the stock rates are fine. There are many YouTube videos that explain rates in more detail and can help you decide what works best for you.
That’s basically it, folks! That’s how you pair the DJI FPV Controller Version 3 to the DJI Avata 2 and enable manual mode by customizing the button. Thanks a lot for watching, and we’ll see you in the next one!






+ There are no comments
Add yours