Hi everyone! If you are trying to think of a unique gift to give someone and you own a drone, I have a great idea for you. An aerial photograph or video is something that not many people can provide for others, so it’s a little more special.
So, today, what I’m going to do is give you some tips on how to best capture the shots that can be presented as a gift that anyone will love.
Hi everyone, welcome back to the channel, and if you’re here for the first time, my name is Russ. Nice to have you here. Now, just a few things to mention before we get to the tutorial.
First of all, if you’re going to be capturing photographs or video footage of someone else’s property, just make sure that it’s someone you know, or at least someone that you are confident would not be concerned to know that you are recording their property.
You see, although it’s not against the law to capture aerial footage of someone’s property, you do need to consider the feelings of the property owner.
Now, if you still want to provide an aerial gift to someone that may not appreciate that, you can always look to capture a beautiful scene in your town, or maybe there’s a landmark in your community, or somewhere that your recipient would love to see from the air.
Now, the second thing that you need to consider is… Okay, as I was saying, the second thing that you need to consider is, do you want to offer a photograph or a video?
A photograph, of course, is quite a bit easier, so if you’re intimidated by video editing, it may be the best choice.
If you want to give someone a video, I’m going to show you the best shots to capture to put together a fun little project that they will enjoy.
Now, for an example today, I’m going to use this park that’s in our community. Many of you are probably sick of seeing it, but it has a really nice focal point subject, this church right here.
Now, your focal point might be a house, or maybe a ranch, or a business, or something else unique that you want to share with someone.
Now, really quick, just a few tips for capturing photos. First of all, lighting is everything. It’s best to capture your shots in the early morning or later in the day when the sun is low on the horizon. This is known as golden hour. The shadows add much more interest, and the colors will be so much nicer.
Now, my example here that I’m using today is not the best because it was cloudy this day, but because the best view of the church is from the East, it would be best for me to capture this in the early morning hours when the sun is just coming up.
Now, secondly, try to position your focal point in one of the thirds positions. That means to position it here in the frame or on this side of the frame.
And then, sometimes, you may want to have the subject directly in the middle of the frame. It’s called the rule of thirds, but rules are meant to be bent sometimes, depending on your creative goals.
Really, just do what you think looks good, because that’s really what matters the most.
Now, my last photo tip is to capture a variety of shots from different angles, different altitudes, and distances.
And if you have a zoom camera on your drone, that’s even better, because what that does is it brings the background and the subject closer together, which looks much more professional.
You can choose to shoot in JPEG or RAW, but if you have no experience at all editing photos, just record in JPEG. Most of the time, you’re going to be just fine.
Now, let’s talk about video footage. It can be a little overwhelming because you just don’t know what kind of shots to capture.
So, what ends up happening is that a lot of people will just hit the record button and then fly around until the battery’s dead. I recommend not doing that. It’s going to take you forever to edit a video together.
So, I recommend breaking up your shots into short segments, about 20, maybe 30 seconds max each, and make a plan with a shot list before you launch your drone.
So, go scope out the area, kind of decide where you want to take the shots from, because what that will do is this will save you battery, it’s going to save you editing time, and ultimately, it’s going to mitigate any frustration during the editing process.
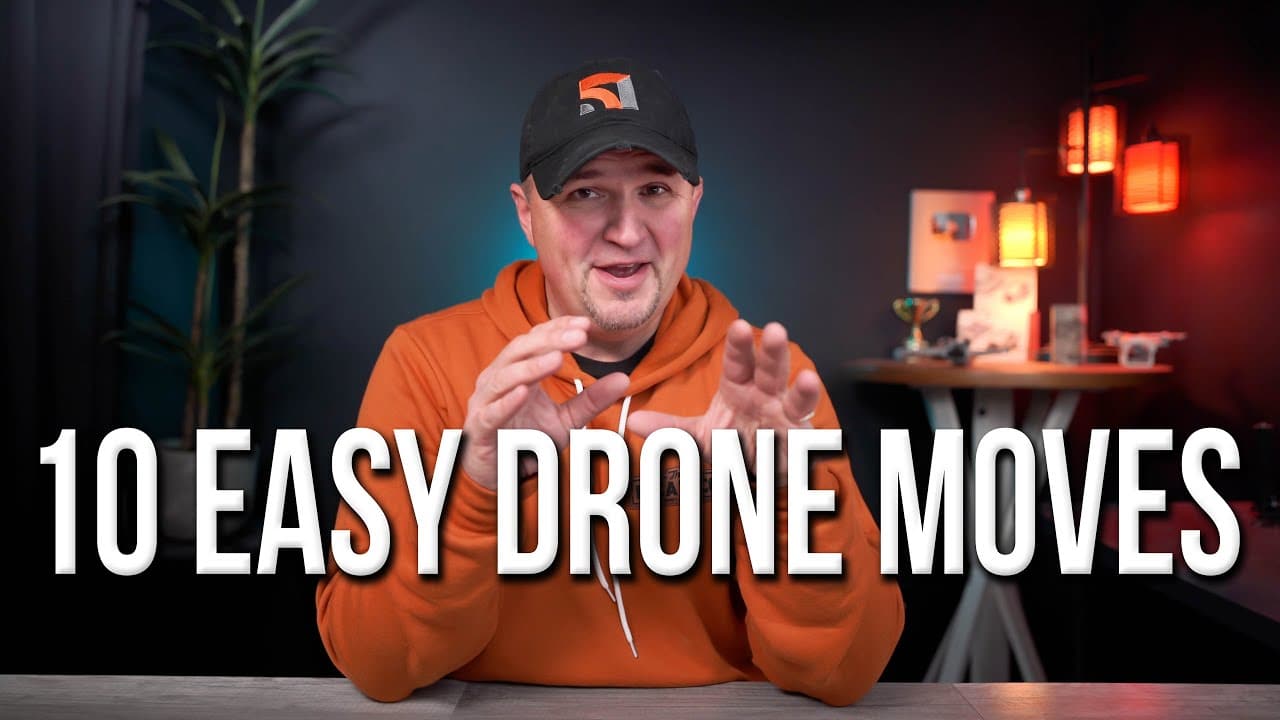
Now, to keep this simple, in this example, I’m going to tell you my recommendations for which 10 primary shots to capture, and none of these require you to move your gimbal.
I want to make this as easy as possible. So, just for now, let’s not worry about moving the camera while moving the drone. We’re going to position the gimbal before each shot, and then we’re going to leave it set right where it’s at.
As far as a tutorial on how to capture great footage while moving the gimbal and the drone at the same time, that’s going to be for another video.
So, first, get a fly-in shot. Position your drone a distance away from the property, and then fly straight ahead towards the focal point of the property.
Now, my suggestion for the speed for all of these shots is to keep it right around 8 or 10 mph, and if your drone has cruise control, use it, because that will keep your movements nice and consistent.
My second shot recommendation is just a lateral move. It’s also called trucking or sliding. What you want to do is position your drone with the subject out of the frame, or partially out of the frame, and then fly sideways until it’s almost out of the frame on the other side.
And you can do this at any height, but I actually think it’s best to stay lower to the ground. You know, Drone Video does not always have to be from way up in the sky. Some of the best drone videos happen really close to the ground.
Thirdly, capture a point of interest shot. This is where the drone travels in a circle while keeping the focal point in the center of the frame.
This is an opportunity to show more of the surrounding property. Now, most drones have a point of interest mode. You can find a ton of specific tutorials on it if you happen to need one.
Now, the best thing about the point of interest is that you can vary the distance and the height of the drone as it’s moving, and that really adds some nice variety to your shots.
Fourth, just capture one steady wide shot of the property, also known as a tripod shot. Just let the drone hover and hit record.
Fifth, do the same thing, but do it up closer. And sometimes, the closer the better, because you want to show some of the detail of the subject.
The sixth shot, get a rise-up shot. Position the drone low to the ground, hit record, and fly straight up into the air.
Seventh, get a bird’s-eye shot, where the camera is looking straight down at the subject. You can also add some nice effects to this angle by flying up or down at the same time, and you can even add some rotation to it, giving it a more dynamic feel.
Eighth, get a couple of flyover shots, where you start from far away, and you fly over the subject until it’s out of the frame. And then, do that same thing flying backward.
That’s one of the most interesting shots to capture, the reveal flying backward, where the subject will come right into the frame as you fly over it.
Ninth, capture some close-ups of the focal point by either getting the drone close or by using the zoom function on your drone. And you can just move the drone slowly in any direction while recording.
These shots should be slow and steady, so if your drone has cinematic mode or tripod mode, use that.
And then, finally, for the last shot, capture a drop-down shot. This one, combined with your flyaway, makes for a great finish to your project.
So, those ten shots will give you enough basic footage to create a nice project to share with a loved one.
Now, how do you put all those shots together into a single cinematic video? I recommend watching this tutorial right here. I made it a few months ago. I’ll post it up here; it’ll pop up on the screen.
I’ll put it in the video description as well. That video shows you how to use a free video editing program called CapCut to create a simple but very nice video.
And in that tutorial, I demonstrated with vertical video, but the process is exactly the same. So, go ahead and watch that right now, and then let me know if you have additional questions in the comments.
Like I said, providing aerial footage, either video or photograph, for someone is something that not a lot of people can do, so if someone receives something like that as a gift, you know it’s going to be really special.
And especially if whatever you’re recording has some impact in an emotional way. If someone’s like, “Oh, that was my grandparents’ farm,” and they get this beautiful picture of their grandparents’ farm from an aerial perspective, that really means a lot.
So, you know, be creative, kind of think outside the box. I’m sick of just going online on Amazon and buying something for one of my loved ones. This is something that you can provide that’s going to be really special.
So, I hope that helps you out and gives you some ideas. Hit that like button, that thumbs-up, on your way out, and subscribe if I gave you any value today. Have a great day, everyone, and as always, fly safe and responsibly.




+ There are no comments
Add yours