


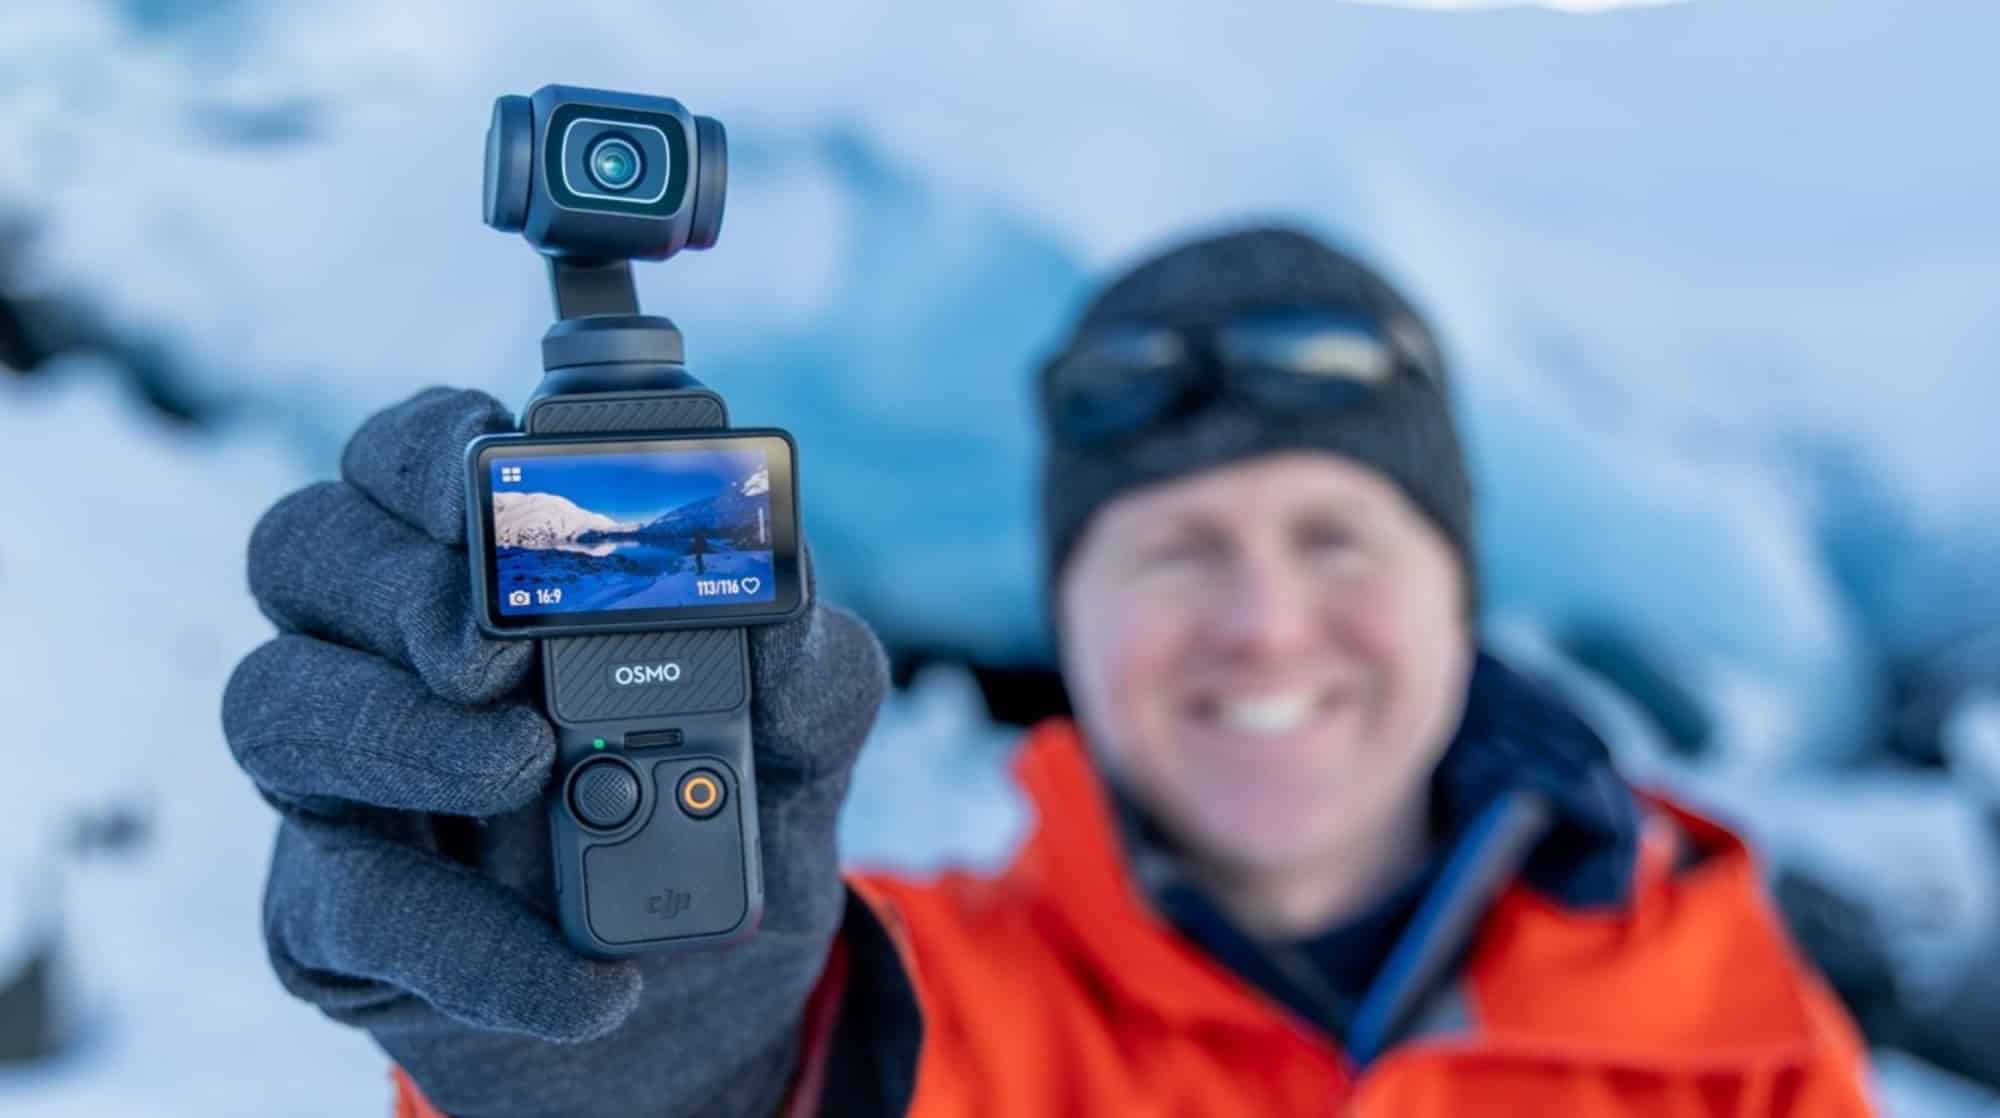
If you want to enhance your Pocket 3 footage to achieve a more cinematic look, this guide is for you. Today, we’ll explore several techniques to elevate your Pocket 3 footage to professional-level results, or as many YouTubers call it, more cinematic footage. This content is sponsored by K&F Concept, who provided some of the products featured here, which genuinely help improve the cinematic quality of your footage.

Beginner Techniques for Better Footage
While you can shoot with the Pocket 3 in auto mode, adjusting specific settings yields superior results. Here’s a beginner-friendly approach to enhance your footage:
- Access the Menu: Swipe from the right side to the left to open the menu.
- Set ISO and Exposure: Tap auto exposure and adjust the ISO to 50–100. Then, set the exposure to -0.3 to protect highlights, such as clouds, preserving detail in bright areas.
- Lock White Balance: To prevent color shifts between scenes, set the white balance to auto, wait for it to stabilize, then switch to manual to lock it. Alternatively, swipe up or down to adjust manually. Locking the white balance ensures consistent colors, especially when transitioning between drastically different lighting conditions.
Advanced Settings for Optimal Results
For more control and dynamic range, consider these advanced settings:
- Choose D-Log M Color Profile: While the normal 10-bit color profile looks great and is ideal for quick social media posts, filming in D-Log M offers greater dynamic range and flexibility in post-production. To select D-Log M, swipe over, tap the color profile, and cycle through normal, D-Log M, or HLG.
- Lock Exposure and Shutter Speed: For the best footage, manually control exposure. Set the ISO to 50–100, where the Pocket 3 performs well. Then, adjust the shutter speed to twice your frame rate (e.g., 1/60 for 30 fps). This may cause overexposure, but a neutral density (ND) filter can help.
Using ND Filters for Motion Blur
K&F Concept offers high-quality ND Filters, including variable and fixed options like the ND32. These filters reduce light entering the lens, allowing you to maintain the correct shutter speed for natural motion blur. For example, at 1/60 shutter speed, an ND32 filter corrects overexposure, making motion, like hand movements, appear smooth and natural. This is critical for fast-moving subjects like cars or waterfalls, where proper motion blur enhances the cinematic feel. The “180-degree rule” suggests setting the shutter speed to approximately twice the frame rate for optimal results.
Creative Lenses for Unique Shots
K&F Concept provides additional lenses to diversify your footage:
- Macro Lens: This lens allows close-up shots with stunning detail and a pleasing background blur, adding variety to your footage. It’s ideal for capturing intricate subjects and creating visually engaging shots.
- Wide-Angle Lens: This lens expands the field of view, perfect for scenarios like filming two people in a car or capturing expansive scenes.
- Anamorphic Lens: This lens slightly widens the frame and adds blue lens flares, ideal for sci-fi aesthetics or nighttime city shots with lights. It requires desqueezing in post-production for the full effect.
These magnetic lenses can be stacked with ND filters, offering flexibility without compatibility issues.
Practical Accessories for Versatile Shooting
Selfie Stick
A lightweight carbon fiber selfie stick from K&F Concept is perfect for quick setups, especially for active tracking shots. It’s more portable than a tripod and enables diverse angles without looking like you’re holding the camera.
Magnetic Mount
A compact magnetic mount allows you to attach the Pocket 3 to metal surfaces, such as car hoods or shelves, for creative angles. Its foldable design makes it easy to position for quick shots, enhancing storytelling.
Filming in a Car
To capture great car footage:
- Use a GoPro Finger Mount: K&F’s quarter-20 GoPro finger mount simplifies switching between setups, like selfie sticks or dashboard mounts. It includes USB-C pass-through to keep the Pocket 3 charged.
- TFPV Mode: Activate TFPV mode to lock the tilt and roll axes, keeping the horizon level during turns for natural-looking shots.
- Focus Settings: For forward-facing shots through the windshield, use single focus mode and set focus to infinity to avoid focusing on raindrops or wipers. For self-filming, use active track to keep the camera focused on your face, ensuring smooth tracking.
- Audio: Pair the Pocket 3 with a DJI Mic 2 or similar lapel mic for cleaner audio, reducing ambient car noise.
Storytelling for Cinematic Impact
Beyond technical settings, storytelling is key to cinematic footage. Use creative angles, varied lenses, and strategic mounts to build a narrative that captures your experience or environment. This approach sets your Pocket 3 footage apart, making it more engaging and professional.
Conclusion
Thank you to K&F Concept for sponsoring this guide and providing tools that enhance video creation. Links to all products mentioned are in the description. If you’re interested, check them out—they’re affordable and effective. For more tips, watch the recommended video next, leave questions in the comments, or join my live stream most Wednesday nights at 4:00 p.m. Alaska time (8:00 p.m. Eastern). See you soon!
Discover more from DroneXL.co
Subscribe to get the latest posts sent to your email.


+ There are no comments
Add yours