


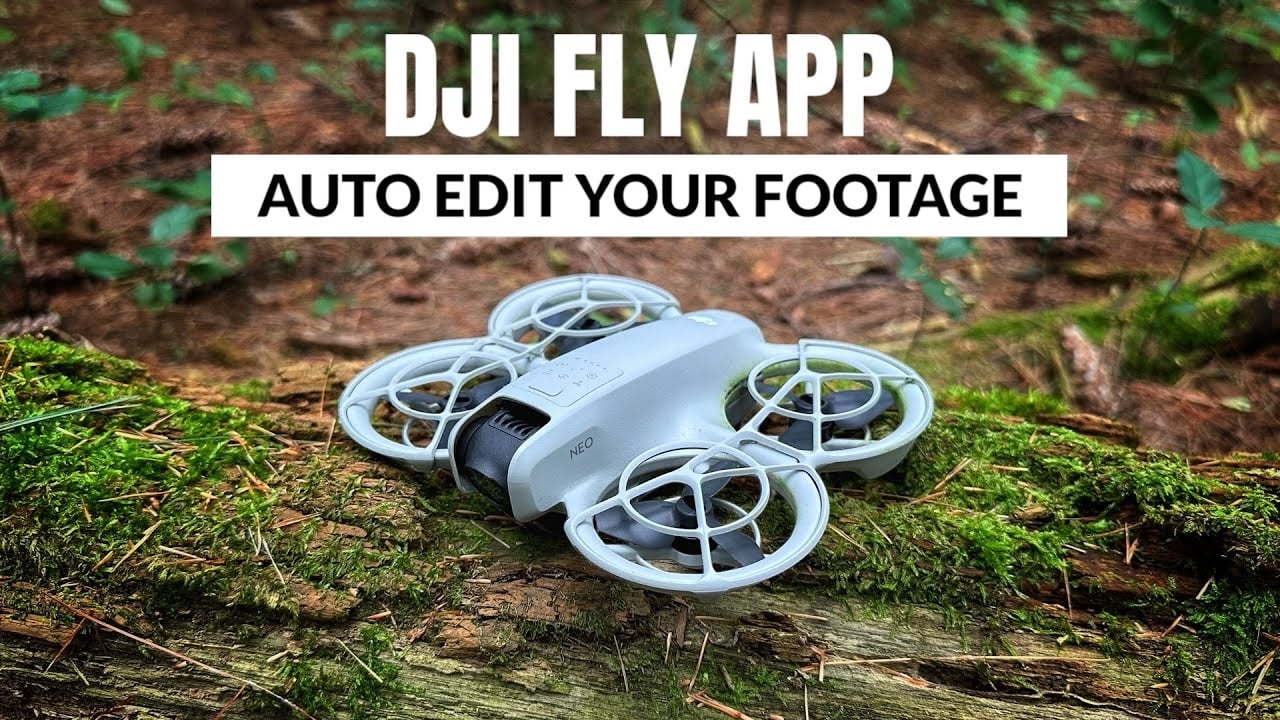
Good day, folks! Shawn here from Air Photography. In today’s video, we’re going to explore how you can use the DJI Fly App to auto-edit all your drone footage. This is technically part two. In part one, we examined how to edit more traditionally on a timeline with the Fly app, but today we’ll focus on auto-editing. Some people don’t have the time or desire to edit their drone footage; they’re more into flying and capturing cinematic moments. Fortunately, the DJI Fly app has built-in tools that can auto-edit all your drone footage, regardless of whether you’re flying something like the DJI Mini 4 Pro, the Mavic Air series, the Mavic 3 series, the Flip, or the DJI Neo. In fact, while using the DJI Fly app, you can use footage from any device you’ve captured. I’ll include part one in the description of this video if you want to learn more about traditional timeline editing. I’ll also link a video on how to get footage off your drone if you’re unsure how to do that. If you’re new here, I’ll assume you’ve already transferred your footage to your device.

Setting Up for Auto-Editing
I’m demonstrating this on an iPad, but it works identically on phones, supporting both Android and iOS devices. The DJI Fly app is a robust editing tool—intuitive and feature-rich. Even if you use a controller like the DJI RC2 with the Fly app built in, downloading it to a mobile device is recommended for editing. To start, tap the “Create” button at the bottom. You’ll notice editing must be done in portrait mode on the device. You can output footage in 16:9 or 9:16, but on an iPad, it remains portrait. Launching the editor brings you to a screen with “New Project” and “One-Tap Edit” options. “New Project” is for timeline editing, as shown in my prior video.

Exploring One-Tap Edit
Today, we’re focusing on “One-Tap Edit.” There are two auto-editing methods: the “One-Tap Edit” button or pre-made templates—I’ll show both. Starting with “One-Tap Edit,” it displays all footage on your device. Footage must be in an album to be used. For example, iPhone footage isn’t automatically in an album, but transferring from a drone or action camera places it in the DJI album. Switch albums by tapping at the top, select one with your footage, and access your videos. Next, pick clips for your auto-edit. I’ll select a few here—it recommends at least five clips for optimal results. I’ve chosen eight.

Previewing and Customizing Clips
Before moving on, tap the expanding icon at a video’s top to preview it full screen and decide if it’s worth including. You can also add highlight markers to flag specific moments for the auto-edit. This is optional—the DJI Fly app analyzes footage to pick highlights—but it’s key if you want certain segments included. Markers appear at the bottom; tap “X” to remove accidental ones. Reorder clips by dragging them to set their sequence. Once clips are chosen, hit “Next.” The app analyzes the files to find the best parts, taking a few minutes—up to five—based on footage volume. My 20-30 minutes of footage was cut to one minute and four seconds. Preview it with added music and tweak as needed.
Fine-Tuning Your Auto-Edit
You can customize more. Set the aspect ratio—default is 16:9, ideal for platforms like YouTube—or switch to 9:16. To adjust audio, choose from templates like “Aerial” or “Nature” at the bottom and preview the new theme. Fine-tune music by tapping “Music,” then “More” for the full library. Under “Edit,” view all clips in the auto-edit. Reorder by tapping and dragging, then confirm. Select a clip, tap “Extract” to see its source, and adjust start/stop points or speed. Crop it to zoom in, or replace it from the gallery. Delete unwanted clips, or add text and effects—like “Drone Video“—and adjust its duration.

Converting to Timeline and Exporting
For greater control, convert the auto-edit to a timeline via “Edit More.” This offers a familiar timeline with standard tools. Set resolution (720p to 4K) and frame rate (30 to 60 FPS), then tap “Export” to save to your camera roll. The Fly app provides sharing options for social media, or you can share manually from your Photos app. On the main page, unfinished edits save to the “Drafts” folder. Tap a draft—like ours—to adjust and re-export.
Using Pre-Made Templates
Alternatively, use pre-made templates like “Hiking Adventure.” Preview it—it requires 15 clips for a 25.1-second edit. Tap “Use,” fill slots with clips (I was one short), and remove extras if desired. Hit “Next” to analyze and generate the edit, then refine it as before.
Conclusion
That’s a quick overview of auto-editing with the DJI Fly app! It’s perfect for those short on time or uninterested in complex editing, producing shareable clips for social media, family, or friends. It lets you focus on flying and capturing with drones like the Mini 4 Pro or DJI Neo. Hope you found this video valuable—give it a thumbs up if you did; it’s much appreciated. Thanks for watching, and see you in the next one!
Discover more from DroneXL.co
Subscribe to get the latest posts sent to your email.


+ There are no comments
Add yours