


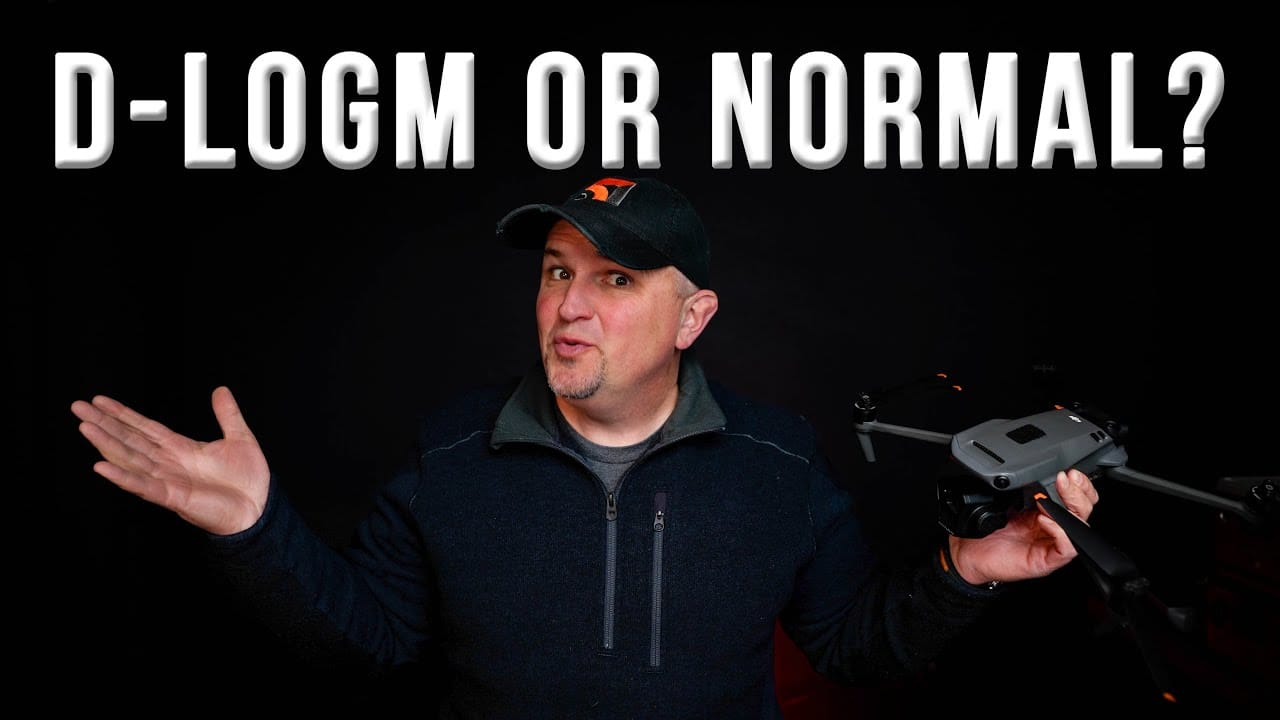
Today, I’m going to fly my drone around town to capture various scenes, recording them in both normal color profile and DLOG M color profile. I’ll edit the DLOG M footage and present both versions side by side. I want you to comment on which one looks better to you, A or B. Please don’t skip ahead in the video to find the answer. I genuinely want your honest opinion on which version you prefer. The goal is to determine if the extra effort to edit DLOG M footage is worth it compared to using the normal color profile for your final video or social media post.

At the end of the video, I’ll demonstrate how I edit my DLOG M footage and share a simple, free method for you to do the same. Let’s get started by capturing a few clips and seeing what you think.
Scene Comparisons
I’ve recorded three different scenes, each with two videos: one in normal color profile and one in DLOG M. Here’s how they break down:
Scene One: Downtown
- Clip A: Downtown scene, first version.
- Clip B: Same scene, second version.
Make a mental note of which one you like best, A or B, and let me know in the comments.
Scene Two: Baseball Field
Here’s a shot of one of our community baseball fields.
- Clip A: First version. Pay attention to colors, dynamic range, shadows, and highlights.
- Clip B: Second version of the same scene.
Which one looks best to you? Note your preference.
Scene Three: Catholic Church
This is another downtown shot featuring one of our Catholic churches.
- Clip A: First version.
- Clip B: Second version.
Pause the video here, comment on which clips you liked best for each scene (e.g., A or B for each), and share your thoughts.
The Reveal
Here’s the breakdown of the clips:
- Scene One: Clip A was DLOG M (edited), and Clip B was normal color profile.
- Scene Two: Clip A was DLOG M, and Clip B was normal color profile. The difference here was likely noticeable.
- Scene Three: Clip A was normal color profile, and Clip B was DLOG M (edited).
I’m not expecting you to guess correctly; I just want to know which ones you preferred. It’ll be interesting to see your comments. Now, let’s move on to how I edit DLOG M footage and another method you can use.
Editing D-LOG M Footage
I primarily use Adobe Premiere Pro for video editing, but I’ll also show you how to edit in CapCut, a free alternative, as some people prefer non-subscription software. Knowing how to edit DLOG M footage is valuable because, when done right, it can look significantly better.
Editing in Adobe Premiere Pro
Here’s how I edit the downtown DLOG M clip:
- Lumetri Color Tab: Start with basic correction. The footage looks flat and faded initially, with no contrast.
- Contrast Adjustment: Increase contrast to 125 for a bolder look.
- Saturation: Boost saturation to about 140 to enhance colors without overdoing it (e.g., avoiding overly yellow buildings).
- Sharpening: In the Creative tab, slightly increase sharpening to bring out details in elements like bricks, but avoid over-sharpening.
- Vibrance: Add a touch of vibrance for more color pop, ensuring it doesn’t look unnatural.
- Shadows: Adjust shadows slightly to retain detail in darker areas, like vehicles.
This simple process transforms the flat DLOG M footage into vibrant, presentable video.
Editing in CapCut
CapCut’s free desktop version is powerful and user-friendly. Here’s how to edit the church DLOG M footage:
- Auto Adjust: In the Adjustment tab, click “Auto Adjust” for an instant improvement. You can fine-tune the sliders if needed.
- Manual Adjustments:
- Contrast: Increase to about 36 to remove the flat profile.
- Saturation: Slightly boost saturation for richer colors.
- Clarity: Optionally, add a touch of clarity for extra detail, but don’t overdo it.
These basic tweaks make the footage presentable without needing advanced tools like curves or color wheels. CapCut is ideal for beginners intimidated by professional programs like Premiere Pro or Final Cut Pro. You can find plenty of beginner tutorials on YouTube by searching “CapCut for beginners.” The free version is sufficient, though a pro version is available.
Final Thoughts on Drone Video Editing
Video editing can feel overwhelming, especially if you’re new to creating content with drones, cameras, or phones. There’s a lot of information out there, and it’s hard to know where to start. I’m no expert—everything I know comes from eight years of experimenting. Hopefully, this video provides a starting point for editing your footage.
If you’re struggling with something specific, like editing drone or camera footage, let me know in the comments. I’d love to help you experience the satisfaction of creating something cool. If you found this video helpful, please give it a thumbs up—it really supports the channel. Subscribe to join the community, as we have exciting things planned for the next couple of months. Consider becoming a channel member to help the channel grow.
Thanks for watching! Have a great day, and as always, fly safe and fly smart.
Discover more from DroneXL.co
Subscribe to get the latest posts sent to your email.


+ There are no comments
Add yours