


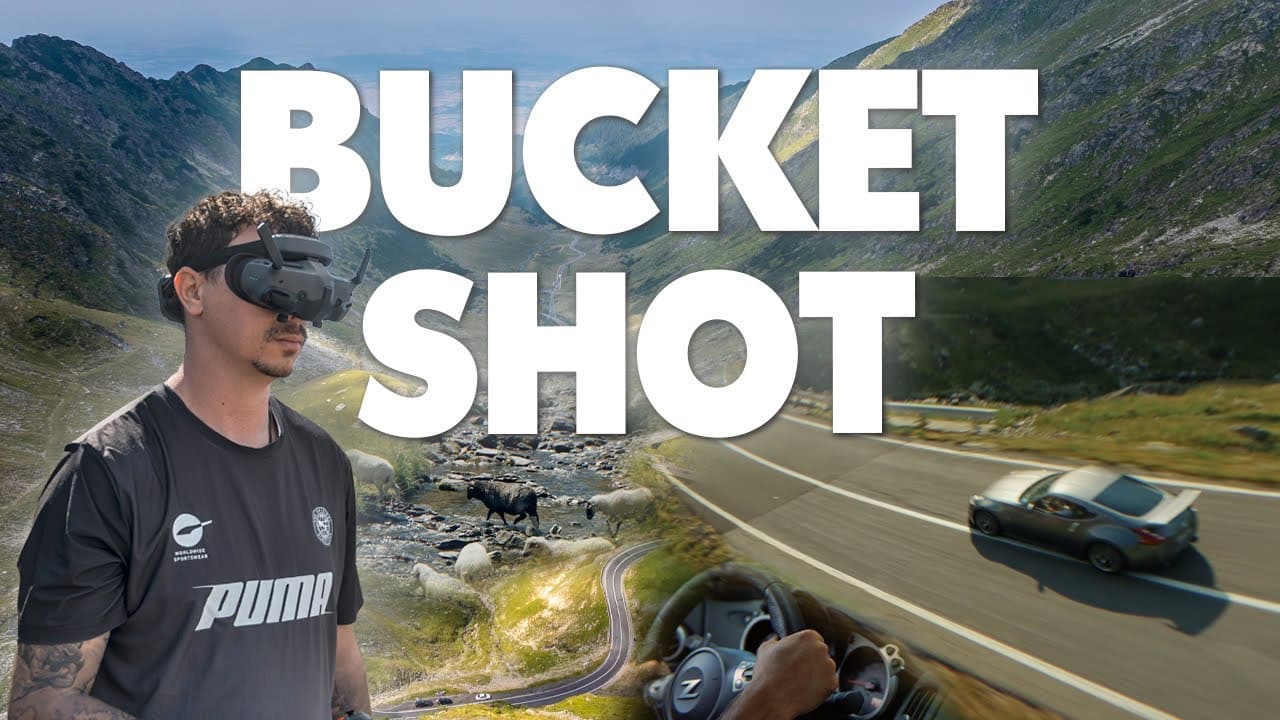
I believe this is one of the best drone videos I’ve ever shot and posted on my channel. In today’s video, I’ll provide some pointers, feedback, and impressions, and most importantly, share some tips on how you can achieve something similar. I’ll also show you some little things that might help you create something awesome as well.
Before I dive into the details, let me show you the video real quick, and then we’ll talk about it.

The Idea for the drone video
As you can see, I went for a very dynamic, action-packed edit. I had this idea in my head ever since I first visited this place last year. The road, by the way, is called Transfăgărășan. It’s in Romania and was built in 1974 as a strategic military road. It stretches over 90 km between the highest peaks in Romania and is widely considered one of the best driving roads in the world.
I visited the road last year, just before the announcement of the DJI Mini 4 Pro, and captured some drone shots. But ever since I returned, I had this idea of spending more time, planning things ahead, and doing something different—not just relying on drone shots. Drone shots are great, especially on this road, but I wanted to connect them with something else from the ground and do something a little more unique.
Since I went there with friends who also love driving, I was able to make that happen. I shot my friends’ cars in this video without hiring or renting any exotic cars. We just went there with our cars to enjoy the road and drive. I took the opportunity to not only drive but also film the experience.
Planning and Execution
The entire video was shot within 24 hours over two different shooting days. I had a very strict plan and shot list, which I encourage you to create if you want to record something similar. Make sure you have a detailed checklist or shot list that you can mark as done once you get the shot. This will keep you organized and help you avoid feeling lost, especially when you arrive at a location as overwhelming as this one.
Despite having a shot list, I still found myself unsure of how to start. But since I had the list, I began eliminating shots one by one, starting with the wide shots of the area using my drone.
Camera Drones
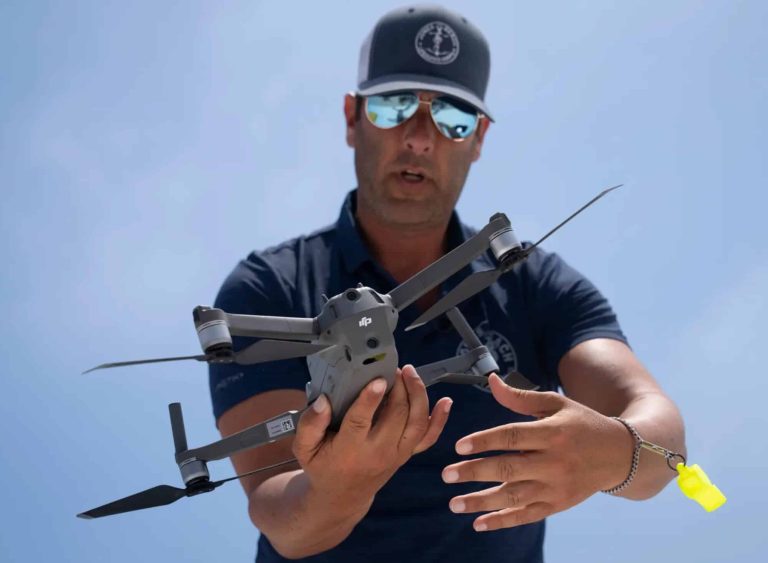
The drone I used was the Mavic 3 Pro, which I believe is the best choice for this location. It not only has three different cameras and focal lengths, which can significantly change the look of your footage, but it’s also incredibly stable in windy conditions.
Given the high altitude of the mountain, the weather changes rapidly—one minute it’s sunny, the next it’s windy and on the brink of a storm. You need to be prepared for these conditions, and the Mavic 3 Pro‘s stability and portability make it ideal for aerial videos in such environments. It can withstand strong winds without hesitation, allowing me to capture a variety of shots with confidence.
FPV Drone Shots
A video like this would be far less impressive without FPV footage, in my opinion. I used FPV Drones not only to dive along some amazing ridges but also to introduce more dynamic, fast-paced action into the video. I also used FPV to follow some of the cars, adding motion and making the video more engaging.
If I were to do this again, I’d go very early in the morning when there’s no traffic to follow the cars without any interruptions. This would not only be safer but also more visually appealing. Unfortunately, due to construction on part of the road, there was heavy traffic even in the early morning, so we couldn’t have the clear road we wanted. But that’s just how it is with public roads.
FPV Drones Used
I used two different FPV drones for this project. First, I started with the iFlight Helon 10. This drone is a beast for diving ridges or flying far from you, offering great stability. It’s bulky and uses a huge battery, but it’s worth it because it’s a 10-inch drone, providing excellent stability in the air. It also has strong signal strength and a reliable link between the goggles and the air units, so I wasn’t worried about losing signal at all.
For shots where I was closer to the cars and doing some acrobatic flying, I used the iFlight Nazgul Evoke 6-inch. This is my go-to everyday drone. I prefer the 6-inch size over the 5-inch for flying in windy conditions and over longer distances. It’s larger and more stable, with long antennas that stick out over the battery, ensuring strong signal strength.
 2")
While a 5-inch drone can also work in situations like this, I prefer the 6-inch for its confidence-inspiring performance. It still has GPS and return-to-home capabilities, which are important for reliable operation.
 3")
Action Camera
For the FPV shots, I used a GoPro Hero 12 Black with RealSteady Go stabilization. Although I prefer the Action 4 for its superior image quality, I decided to take a risk and shoot in the GoPro’s flat color profile without stabilization, intending to stabilize it in post-production. I wanted the smoothest possible footage, especially considering the challenges of shooting in windy conditions, which can introduce vibrations and “jello” effects that are hard to fix.
In this case, the GoPro Hero 12 Black provided the safest option for stabilization. However, I’m not a huge fan of its flat color profile, as it often looks pre-graded and the log footage is noisy. While the Action 4 consistently delivers great results and is easy to grade, I chose the GoPro for its stabilization capabilities in this project.
 4")
Ground Cameras
For the ground shots, I used my Sony ZV1, which is what I’m currently filming on. The ZV1 is a beast of a camera, and I’m extremely happy with it. It suits me well because it’s very video-oriented, which is what I do most of the time. I don’t care much about taking photos; I shoot videos 90% of the time, so a video-oriented camera is perfect for me. It’s also super portable, has a flip-out screen, and can produce amazing results with S-Log 3 and 10-bit video.
To capture rolling shots, I mounted the ZV1 on a DJI Ronin RS3 Pro gimbal. Although it might be overkill for a camera like the ZV1, I prefer to have something powerful enough to handle my setup, which includes a monitor and long lenses. The RS3 Pro ensures that the gimbal won’t be overloaded, even though the regular RS3 could probably handle my setup just fine.
For other ground shots that didn’t make the final cut or for action shots emphasizing details like the car’s wing, I used the Osmo Pocket 3. This camera was great for close-ups and emphasized the action throughout the video.
ND Filters
I used ND Filters on all of my cameras, following the 180° rule. For the most part, I used ND32 filters on my regular cameras, and for the ZV1, I used a PolarPro variable ND filter with 2 to 5 stops, which was more than enough.
Always use ND filters if you want to achieve natural motion blur in your footage, especially when aiming for quick, fast-paced actions. ND filters are essential for creating that natural motion blur, which is crucial for this type of video.
The Edit
Editing played a huge role in bringing this video to life. For me, it was about piecing the puzzle together, creating a natural storyline with a captivating intro, an exciting middle section, and a slow, gradual ending. I aimed for a natural progression in the action, and I think I achieved that.
It’s always important to overshoot so you have the freedom to experiment with different storylines and variations. The biggest challenge for me was color grading and making all the footage look cohesive. I used five different cameras: the Sony ZV1 shooting in S-Log 3, the Osmo Pocket 3 shooting in D-Cinelike, the Mavic 3 Pro shooting in D-Log and D-Log M, the Osmo Action 4 shooting in D-Cinelike M, and the GoPro Hero 12 Black shooting in a flat color profile.
Each camera had different ND filters and settings, so I did my best to color grade them to match as closely as possible. I’m not a professional colorist, but I did my best to create a cohesive video. I’ll continue learning and experimenting to improve in the future.
Plugins and Enhancements
I used several plugins to add movement to my shots, as I didn’t want any static footage unless it was intentional, like in the intro and outro. For many of the shots, I used the MotionVFX M Movement plugin, which is a must-have if you’re looking for more fluidity and dynamism in your shots.
Whether it’s camera shots or drone shots, this plugin can add a little spice to your footage. While I didn’t want to overdo it, many of the shots were slightly enhanced with some movement. You can really go crazy with this plugin, and I highly recommend it if you want to take your footage to the next level.
Sound Effects
The sound effects were a crucial part of tying the whole edit together. While I’m not entirely satisfied with my sound design, this was largely due to not having enough time to properly record the sounds I wanted on site. I still managed to gather some sounds from the cars and used services like Artlist and Epidemic Sound for additional effects. These services have been my go-to for years, and they can really enhance the sound of your video, bringing it to life. I highly encourage you to sign up for either Epidemic Sound or Artlist, or both if possible. They offer a wide range of high-quality sound effects that can make a significant difference in your final product.
What Would I Do Differently?
Looking back at the video, there are many things I would have done differently. If I had the chance to do it again, I’d re-shoot several scenes, record more sound, get extra angles, and generally do more to enhance the final product. But that’s something you realize only after you’re done with the edit and you watch the video with a fresh perspective.
I always recommend re-watching your videos after some time—maybe a week or two later. You’ll see it with a different set of eyes and spot areas for improvement. I do this with all the videos I really care about and have worked hard on. It’s a great way to learn and grow as a creator.
In this particular case, I would have shot more angles, added more FPV footage, included more dramatic drone shots, and arrived earlier to capture the entire road without traffic. There are always things that could have been done better, but that’s just part of the creative process.
Conclusion
I hope this video was informative and useful for you, helping you to create something epic yourself. Remember, there’s always room for improvement, so keep experimenting and pushing your boundaries.
This is Mike from Drone Supremacy, and I want to thank you so much for watching. I’ll catch you in the next video very, very soon.
Ciao!
If you enjoyed this article and video, I invite you to explore more of our Drone Supremacy content on DroneXL. Check out our in-depth Review of the DJI Goggles 3 and how the O3 Air Unit support enhances your FPV experience here. For those new to the world of drones, don’t miss our essential tips for beginner drone pilots here. And if you’re looking to capture breathtaking cinematic footage with your DJI Avata, we’ve got you covered with the best settings guide here. Dive in and elevate your drone skills with these resources!
Discover more from DroneXL
Subscribe to get the latest posts sent to your email.


+ There are no comments
Add yours