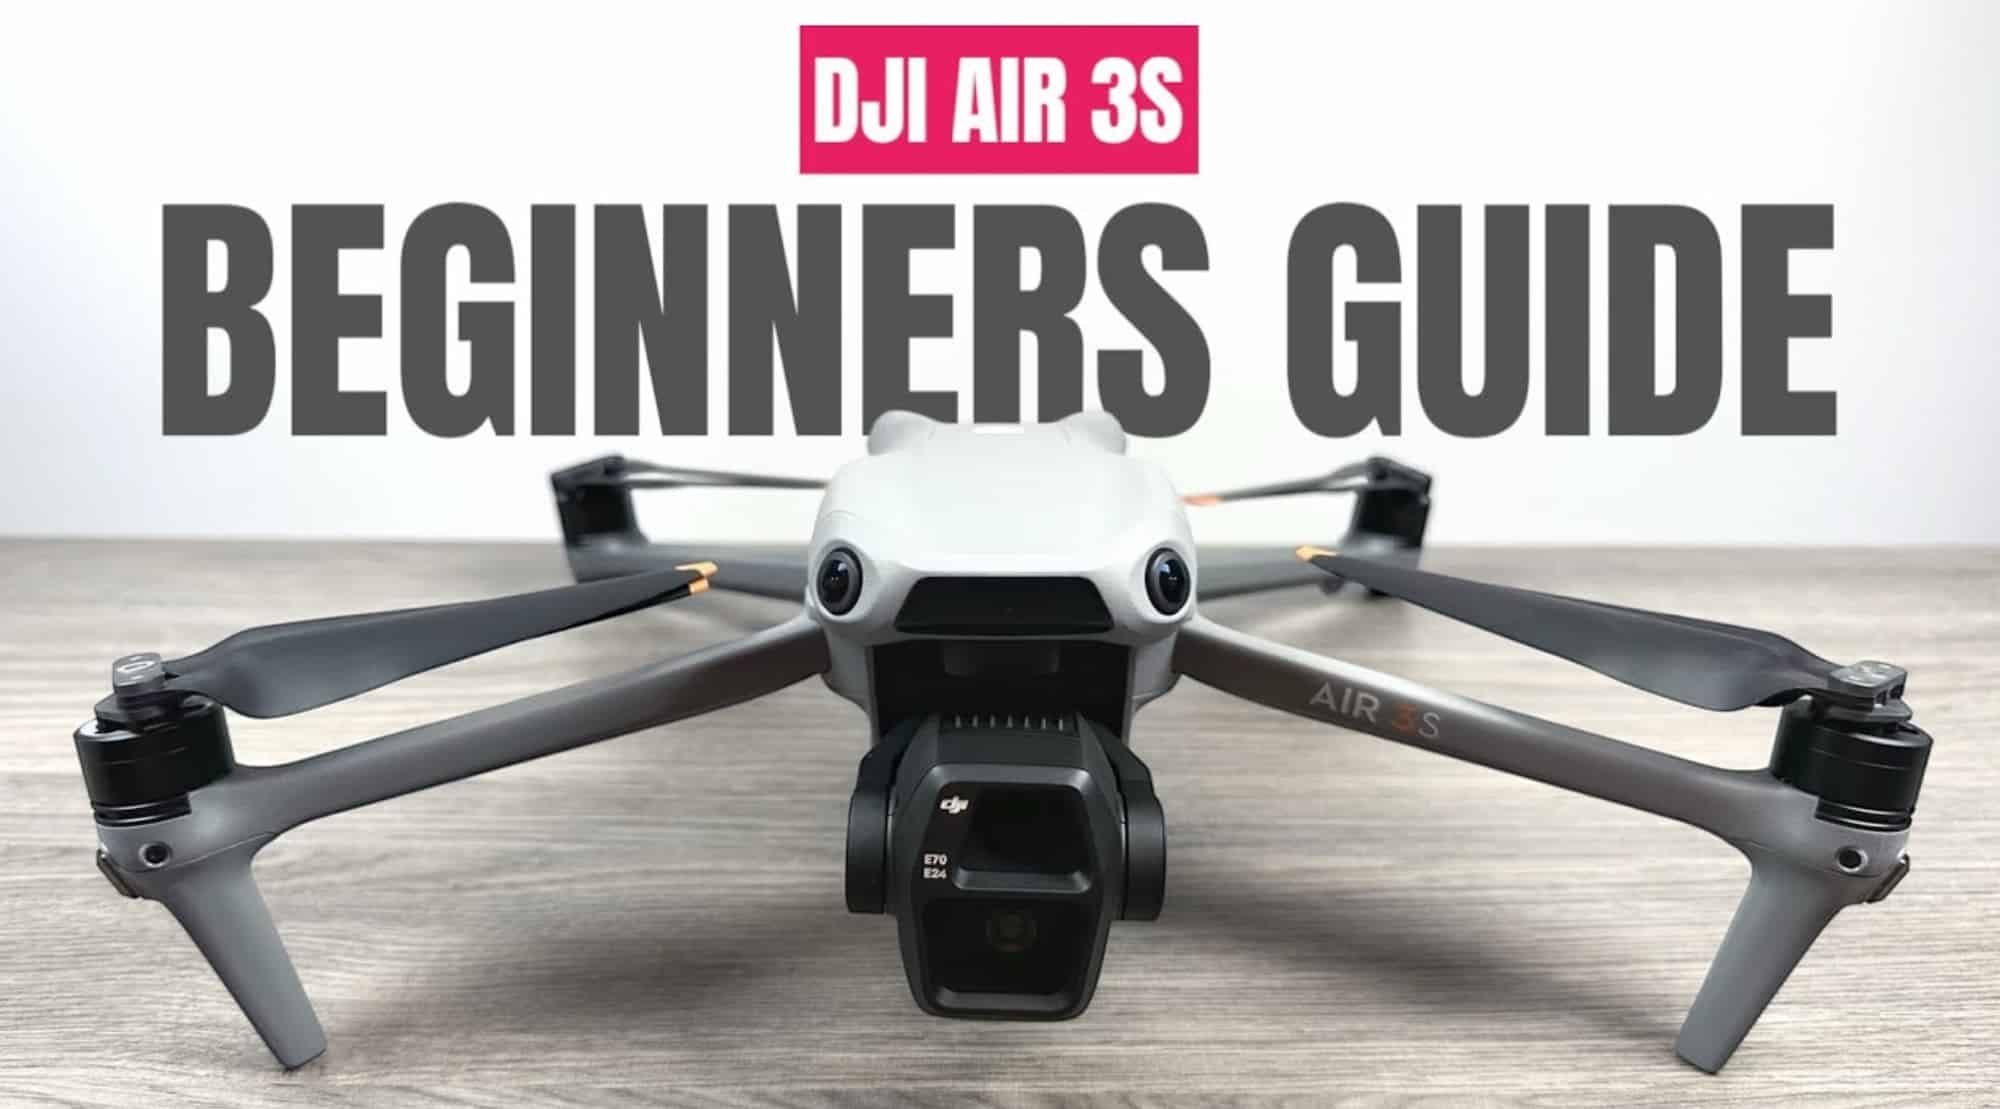
Hello, folks! Shawn here from Air Photography. This is my beginner’s guide for the brand-new DJI Air 3S. Whenever DJI releases a new drone, I like to create a guide to help new users—especially those who have never flown a drone—get familiar with the hardware and functionality to prepare for their first flight. Flying a drone can be a bit nerve-wracking at first, so hopefully, by the end of this guide, you’ll feel more confident about taking your first flight. Let’s dive in and get started!
Choosing Your DJI Air 3S Package
If you’re considering purchasing an Air 3, DJI offers a couple of different package options:
- Standard Kit: Comes with the drone, one battery, and a controller.
- Fly More Combo: Includes the drone, RC2 or RC-N3 controller, three batteries, a charging hub, extra propellers, ND Filters, and a carrying case.
The RC-N3 controller requires you to mount a smartphone. Alternatively, the RC2 controller has a built-in screen, so you don’t need to worry about mounting your phone or downloading the app. While it’s a bit pricier, I highly recommend the RC2 if it’s within your budget, as it simplifies setup.

Fly More Combo Contents
With the Fly More Combo, you’ll receive:
- Drone with one pre-installed batteryController (either RC2 with a built-in screen or RC-N3 for smartphone mounting)
- Charging hub with two extra batteries, totaling three batteries
- USB-C to USB-C data cable for charging and data transfer
- Spare propellers
- ND filter set
- Carrying case for all components
With the standard kit, you’ll get the drone, one battery, RC-N3 controller, a couple of spare propellers, and the data cable.
Setting Up and Familiarizing with the Drone
Removing the Gimbal Guard
Your DJI Air 3S comes with a gimbal guard on the front to protect the camera. Press down on the bottom and pull it away to remove it. Always keep the gimbal guard on during transport to protect the delicate gimbal.
Unfolding the Drone
To unfold the drone, start with the front legs and then fold out the back legs. The battery is located at the back, and it’s already pre-installed. To release it, press the buttons on either side, then press it back in until it clicks. The battery has an indicator button on the back to show its charge level, even when it’s not installed.
USB-C Port and Memory Card Slot
Below the battery compartment, you’ll find a USB-C port used for charging and data transfer. Right below it is the memory card slot. This model has sensors on all sides for obstacle avoidance.
Overview of the Controllers
RC2 Controller with Built-In Screen
The RC2 controller is a premium option with a built-in screen, so there’s no need to mount a smartphone. Key features include:
- Mode selector (Cine, Normal, and Sport)
- Return to Home/Pause button
- Power button with charge indicator
- USB-C port for charging
- Memory card slot for recording screen content
- Customizable C1 and C2 buttons
At the top of the controller are antennae, a shutter button for photos and videos, a camera button, and two dials. One dial adjusts the gimbal angle, and the other controls zoom.

RC-N3 Controller for Smartphone Mounting
The RC-N3 controller requires a smartphone mount and uses the DJI Fly App to control the drone. It has a similar button layout to the RC2, but lacks a built-in screen. Features include:
- Mode selector (Cine, Normal, and Sport)
- Return to Home/Pause button
- Power buttonUSB-C port for charging and firmware updates
- Function button programmable through the DJI Fly app
- Dial to adjust gimbal angle
This controller has no memory card slot, as it relies on your smartphone for screen recording.
Charging and Memory Options
If you have only the drone and controller, charge the battery through the drone itself. With the Fly More Combo, you can use the charging hub, which charges one battery at a time, starting with the one that’s closest to full.

The DJI Air 3S includes 48GB of internal storage, which can fill up quickly when filming in 4K. To expand storage, install a memory card (I recommend the SanDisk Extreme Pro). Insert it with the graphic side facing down until it clicks. For the RC2 controller’s memory slot, insert the card with the graphic side up.
First-Time Setup and Firmware Updates
When using your drone for the first time, you’ll need to activate it and update the firmware, which can take up to 10 minutes. Follow the on-screen instructions, connect to Wi-Fi if necessary, create a DJI account, and activate your drone.
Exploring the DJI Fly App
The DJI Fly app is your main control interface. Here’s a quick breakdown of its features:
- Waypoint Missions: Set custom waypoints for flight paths.
- Focus Track: Lock onto a subject for active tracking.
- Takeoff/Landing Button: Initiate takeoff, landing, or return to home.
- Map and Compass: Displays your location, drone position, and home point.
- Vision Assist: Offers a view from the obstacle avoidance cameras.
- Telemetry Data: Shows height, distance, speed, and more.
You can switch between the wide-angle and telephoto cameras, adjust resolutions and frame rates, and select different shooting modes, including slow motion and burst shots.
Safety Settings
Within the Fly app’s safety menu, you can adjust obstacle avoidance settings:
- Bypass: The drone finds a safe route around obstacles.
- Brake: The drone stops upon encountering an obstacle.
- Off: Disables obstacle avoidance (not recommended for beginners).
Setting altitude and distance limits is also possible, which can be helpful for safe operation.

Basic Flight Controls
- Left Stick: Controls altitude (up/down) and rotation (left/right).
- Right Stick: Moves the drone forward/backward and left/right.
Combining stick movements allows for more dynamic maneuvers, which can help you capture smoother footage once you’re comfortable with basic controls.
Using Return to Home
If the controller loses connection or the battery runs low, the drone automatically initiates Return to Home. You can also initiate this manually using either the controller or the Fly app.
To activate Return to Home:
- Press and hold the Return to Home button on either the controller or the Fly app.
- The drone will automatically follow a green path shown on the screen back to its takeoff location.
Final Tips for Your First Flight
Before your first flight, familiarize yourself with local drone regulations. It’s also wise to find a large, open field with minimal obstacles or people. A landing pad can help keep the camera clean and prevent dust or debris from getting on the lens.

To power on the drone and controller, do a quick press followed by a long press on both. Ensure you have enough satellites and a home point is set for safe operation.

For beginners, practice basic maneuvers and learn how the drone responds before focusing on capturing cinematic footage. DJI drones are reliable and safe, with features like obstacle avoidance and Return to Home, so any initial anxiety will ease as you gain more experience.
Thank you for watching! I hope this guide was helpful. If you’re new to drones, consider subscribing for more tutorials and guides on DJI products.

Discover more from DroneXL.co
Subscribe to get the latest posts sent to your email.









+ There are no comments
Add yours