


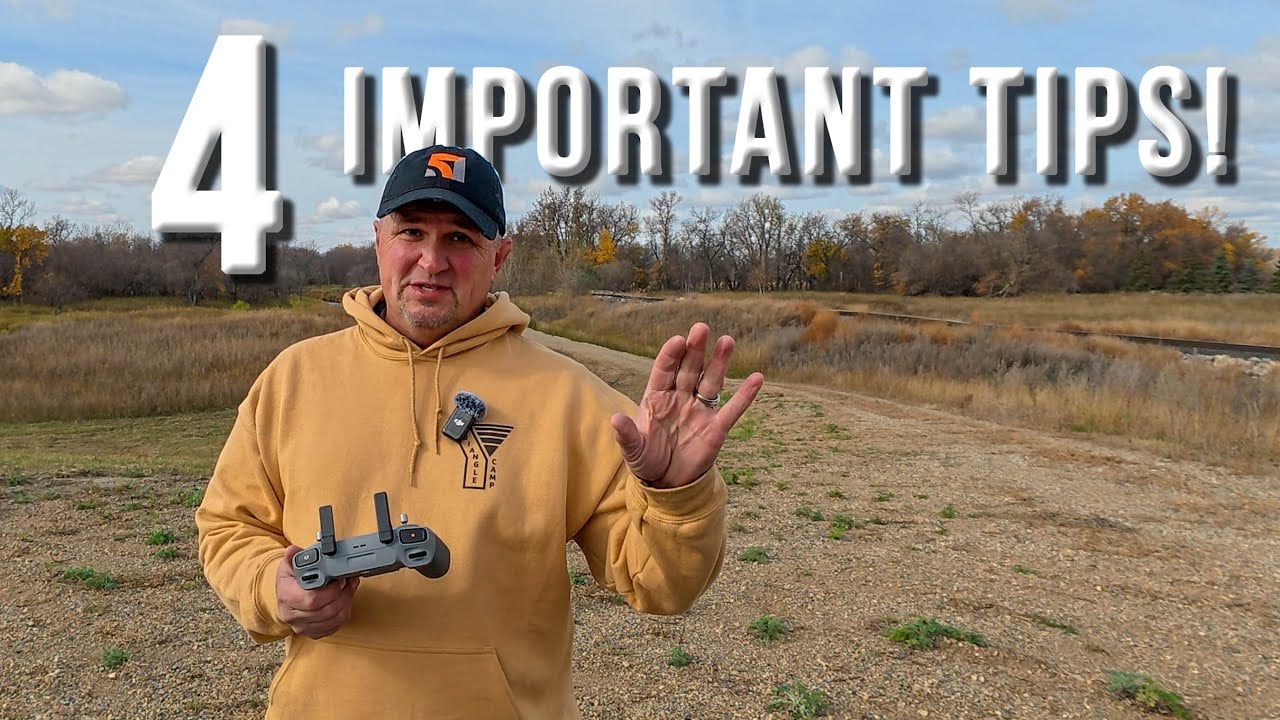
Hi everyone! In this video, I’m going to share four tips about your DJI drone that you may not have considered. I guarantee you didn’t know at least one of these, so let’s dive right in without wasting any time!

Tip 1: Understanding the Lifespan of Your DJI Drone Battery
The battery is the lifeblood of your drone, and taking good care of it can extend its lifespan—because, let’s face it, drone batteries are really expensive! The typical lifespan of a DJI battery is between 200 and 400 charge cycles before you’ll notice performance decreases. You’ll still be able to fly after 400 cycles, but you might get 30 seconds to a minute less flight time compared to when it was new. However, the battery’s lifespan depends on a few factors.
To maximize battery life, avoid regularly depleting it below 20% charge. Occasionally flying it down to 10%, 5%, or even 0% is fine, but I don’t recommend it—it’s really hard on the battery. Staying above 20% consistently will significantly extend its life. Also, store your batteries in cool, dry places, as they hate moisture and heat. Keeping them in a dry, cool spot at home will help. Finally, minimize using sport mode. Constantly flying in sport mode puts a lot of wear and tear on the battery. It’s fun, but if you do it all the time, stock up on extra batteries!
One more thing: you may have heard to store DJI batteries at 40% charge for maximum life, but that’s no longer necessary. These smart batteries self-deplete to proper storage levels if left dormant for too long. With newer drones, you can store them fully charged—they’ll handle it themselves. For older drones (five years or more), you might still need to manually discharge them to 40%. Lastly, monitor battery health to ensure the cells remain consistent. For more detail, use AirData UAV software. Need a tutorial? I’ll link one by a much younger Billy Kyle in the video description!
The bottom line: with proper care, your DJI batteries can last for years.
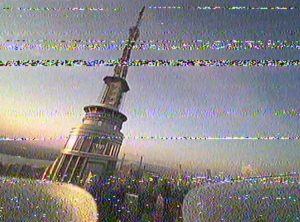
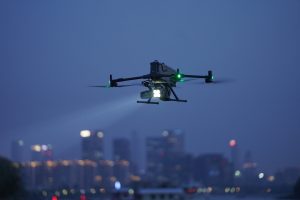
Tip 2: Capturing City Skylines Legally
What if you live in or are visiting a big city—like Minneapolis, where I just was—and want to capture stunning skyline shots? Many buildings, like the 900-foot-tall ones I filmed recently, exceed the 400-foot above-ground-level (AGL) rule. So, what can you do?
As a recreational pilot, there’s not much flexibility—you must stay below 400 feet AGL, even near tall buildings. However, as a Part 107-certified remote pilot on a commercial flight, you can fly within 400 feet of those structures and up to 400 feet above them. This rule doesn’t apply to recreational flights, despite what some believe.
Two solutions: First, get your Part 107 remote pilot certificate. It’s relatively easy, especially with a study course like Drone Pilot Ground School or the Pilot Institute. It opens up opportunities—not just for money, but for flying in more places, like around skyscrapers. Second, if you don’t want to certify, find a Part 107 pilot to act as your remote pilot in command. They’re responsible for the flight, but you can operate the controls while they supervise nearby, ready to take over if needed. Check out my video on why everyone should get their Part 107!
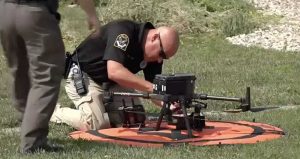
Tip 3: Ensuring a Safe Return-to-Home Feature
This tip might seem obvious, but I see it asked often in forums: it’s about satellites. When you power on your DJI drone, it takes time to connect to satellites. You’ll see a number next to the satellite icon, but the drone won’t lock its home point until it has enough—typically 12, 13, or 14 satellites. Don’t rely solely on that number, though. Even with 20 satellites, it might not lock the home point.
Always wait for confirmation (visual and audible) that the home point is set before flying too far. If the drone needs to return home unexpectedly—or you trigger return-to-home—and the home point isn’t locked, you might be hiking to retrieve it, or worse, it could land somewhere inaccessible. So, always wait for that confirmation.
One more note: don’t depend on return-to-home to land precisely where you launched. In emergencies, it’s helpful, but usually, use it to get the drone close, then land manually. It might be off by a few inches, which is fine in open spaces but risky in tight spots. Take control and land it yourself for safety.
Tip 4: Using Your Drone Beyond Flying
Have you ever considered using your drone for more than just flying? It sounds strange, but hear me out. Recently, I did a real estate shoot and wanted to try a video walkthrough with the new DJI Flip. I knew it wouldn’t match the quality of a gimbal and high-end camera recording in log for color and exposure, but I wanted to test this affordable drone.
Flying inside the property (with the owner’s permission), it performed well—good colors and decent footage. But in some areas, like hallways and tight rooms, I lost GPS, switching to atti mode. With prop wash in tight spaces, the drone got unstable and crashed a couple of times. So, I handheld it! I hit record and used the drone like a gimbal-mounted camera. The stabilized footage turned out great.
If you need smooth footage but can’t fly due to safety, restrictions, or GPS issues, try handheld recording. It’s an overlooked option worth considering. I’ll share the full walkthrough at the end of this video.
Closing Thoughts
There you have it—four tips I hope you found valuable! If you did, please give a thumbs up. Also, consider becoming a channel member for as little as $1.99. You’ll join an exclusive club with bonus content and early Giveaway access, helping this channel grow. I’m working on something big, and 51 Drones members will hear about it first!
Thanks for watching! Have a great day, and as always, fly safe and fly smart!
Discover more from DroneXL.co
Subscribe to get the latest posts sent to your email.


+ There are no comments
Add yours